This post may contain affiliate links. Please read our disclosure policy.
So, the past three years I’ve wanted beachy waves in my hair. In college, it was all about straight hair. I had hair all the way down below my chest and it was always stick straight. Couldn’t live without my hair straightener! Then, a week before graduation, I decided to chop off all my hair. I got a stacked bob and I’ve basically had it since college. I keep going back and forth whether or not I want to grow out my hair again. I miss my long hair but I do know that growing it out for our wedding two years ago was such a pain. I’m not used to having my thick heavy hair on my neck so nearly every day when I was growing it out, I was bitching about how I can’t wait to cut it. I think I just need to get over that stage and stick through it. Who knows what I’ll do.

Anyway, so I’ve been watching tutorials online on how to get beachy waves and my girl friends all told me about getting a curling wand ’cause supposedly it gets you better results. I decided I was going to do it! Wavy hair, here we go. Wrong. I can’t get it to look right and the hair wand is impossible to use. I know it’s a learning curve but I get frustrated easily :) and I keep burning my fingers left and right. I don’t like the heatproof glove they give you ’cause it feel so unnatural. I guess I’m just going to have to get a few singed fingertips before I get the hang of this. Got any tips for me using a curling wand? Apart of me also thinks that it’s never going to work with my short hair because it’s so thick and has a ton of volume so I literally look like I got a perm, haha
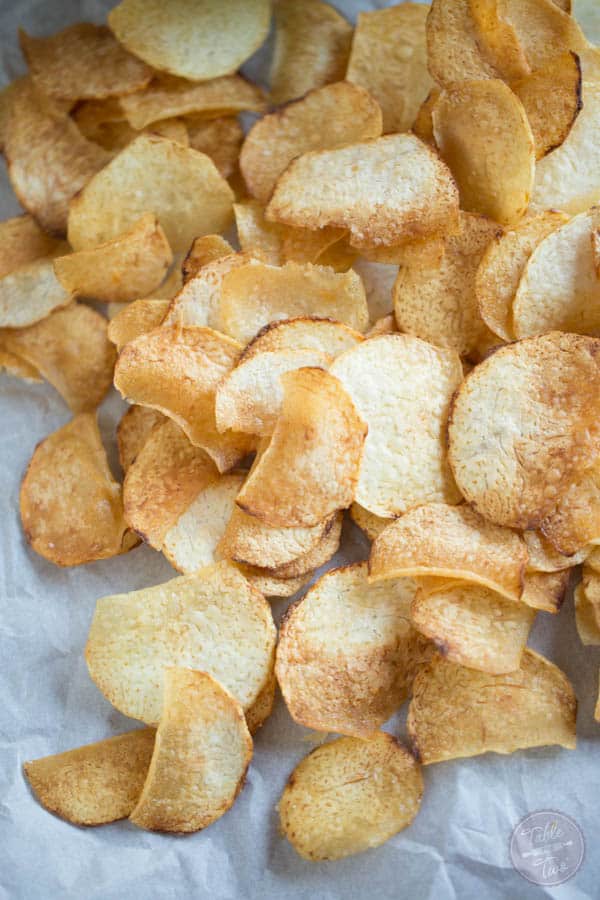
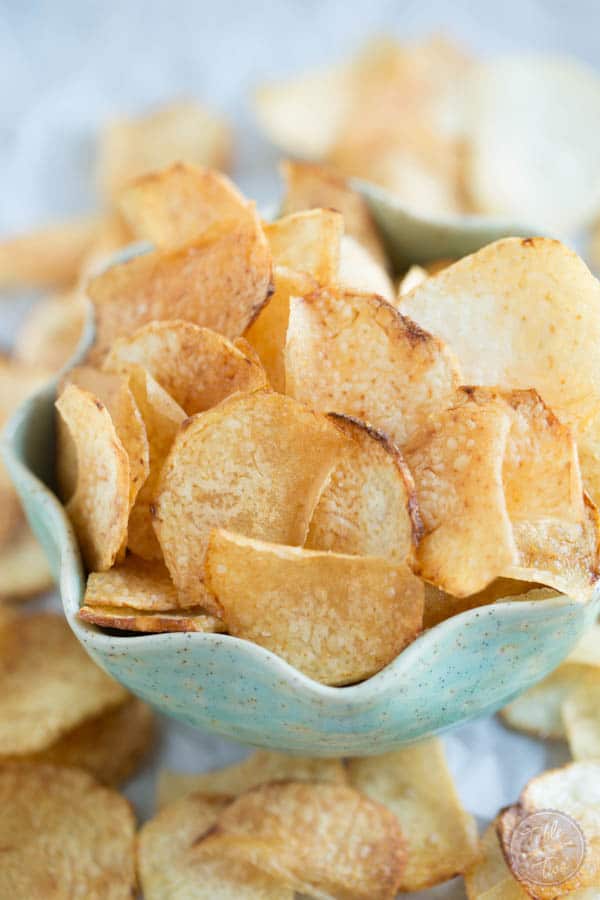
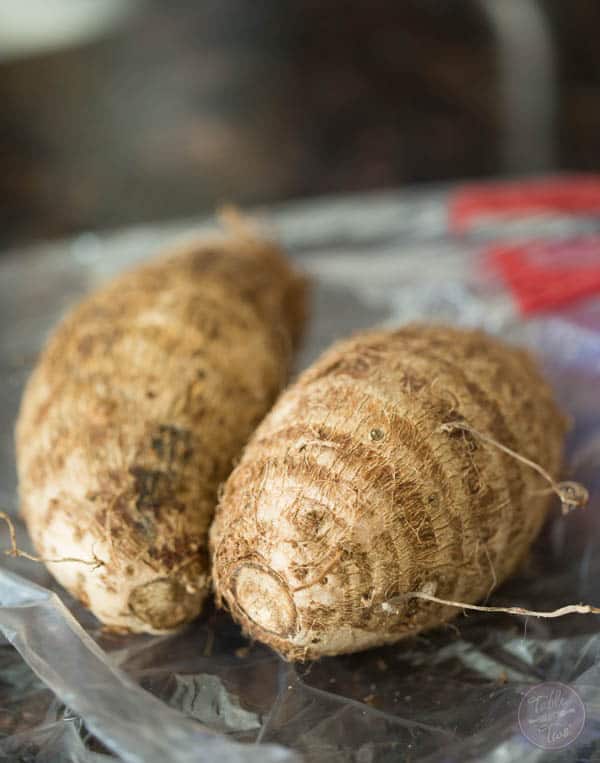
Taro chips!! You know those bags of Terra Chips you get in stores or sometimes get on JetBlue planes? I always dig out the taro chips and save them for last. They’re my favorite. They have now started making bags of just taro chips but they’re expensive and you don’t get a lot! Taro chips are super easy to make at home yourself (if you like frying stuff) and not expensive at all. Taro is pretty cheap at grocery stores, especially if you go to an international grocery store. I have a photo of what taro looks like below in case you’re curious.
I was really hoping mine would have more purple in it than what I got but it’s not like I could chop it in half at the grocery store :) either way, purple or not, these taro chips were delish!
Taro isn’t the most attractive looking root out there but it’s sure delicious!

Homemade Taro Chips
Equipment
Ingredients
- 8 cups (1893 ml) canola oil
- 2 large taro roots, rinsed and peeled then sliced to 1/16-inch thin with a mandoline slicer
- Kosher salt
Instructions
- Prepare a plate with a couple sheets of paper towels.
- Heat up canola oil to 350 °F (177 °C) in a heavy bottom pot, such as a Dutch oven.8 cups (1893 ml) canola oil
- Once the oil is heated up, carefully place a handful of taro into the pot and fry for 1-2 minutes, flipping them halfway through to ensure even cooking and browning on both sides. Using a spider strainer, fish out the chips and place on paper towel-lined plate to drain excess oil. Sprinkle kosher salt onto hot taro chips.2 large taro roots, Kosher salt
- Repeat until all taro is fried.
- This is best eaten day of.
Notes
Nutrition
There are affiliate links within this post.


Thanks for this post because after reading this i learn to make patato chips.
Wow the chips are fantastic and i want to eat …..
I’m all about a crunchy snack so I have a feeling I’d inhale these chips!
Chips look awesome! By the way- the curling wand is my best friend- and you don;t have to have long hair to have wavy hair! Look at like Jessica Alba with a wavy bob- I cut a bob again after growing mine out and curl it all the time :)
These chips looks fantastic!
Oh YUM!! These look amazing :)