This post may contain affiliate links. Please read our disclosure policy.
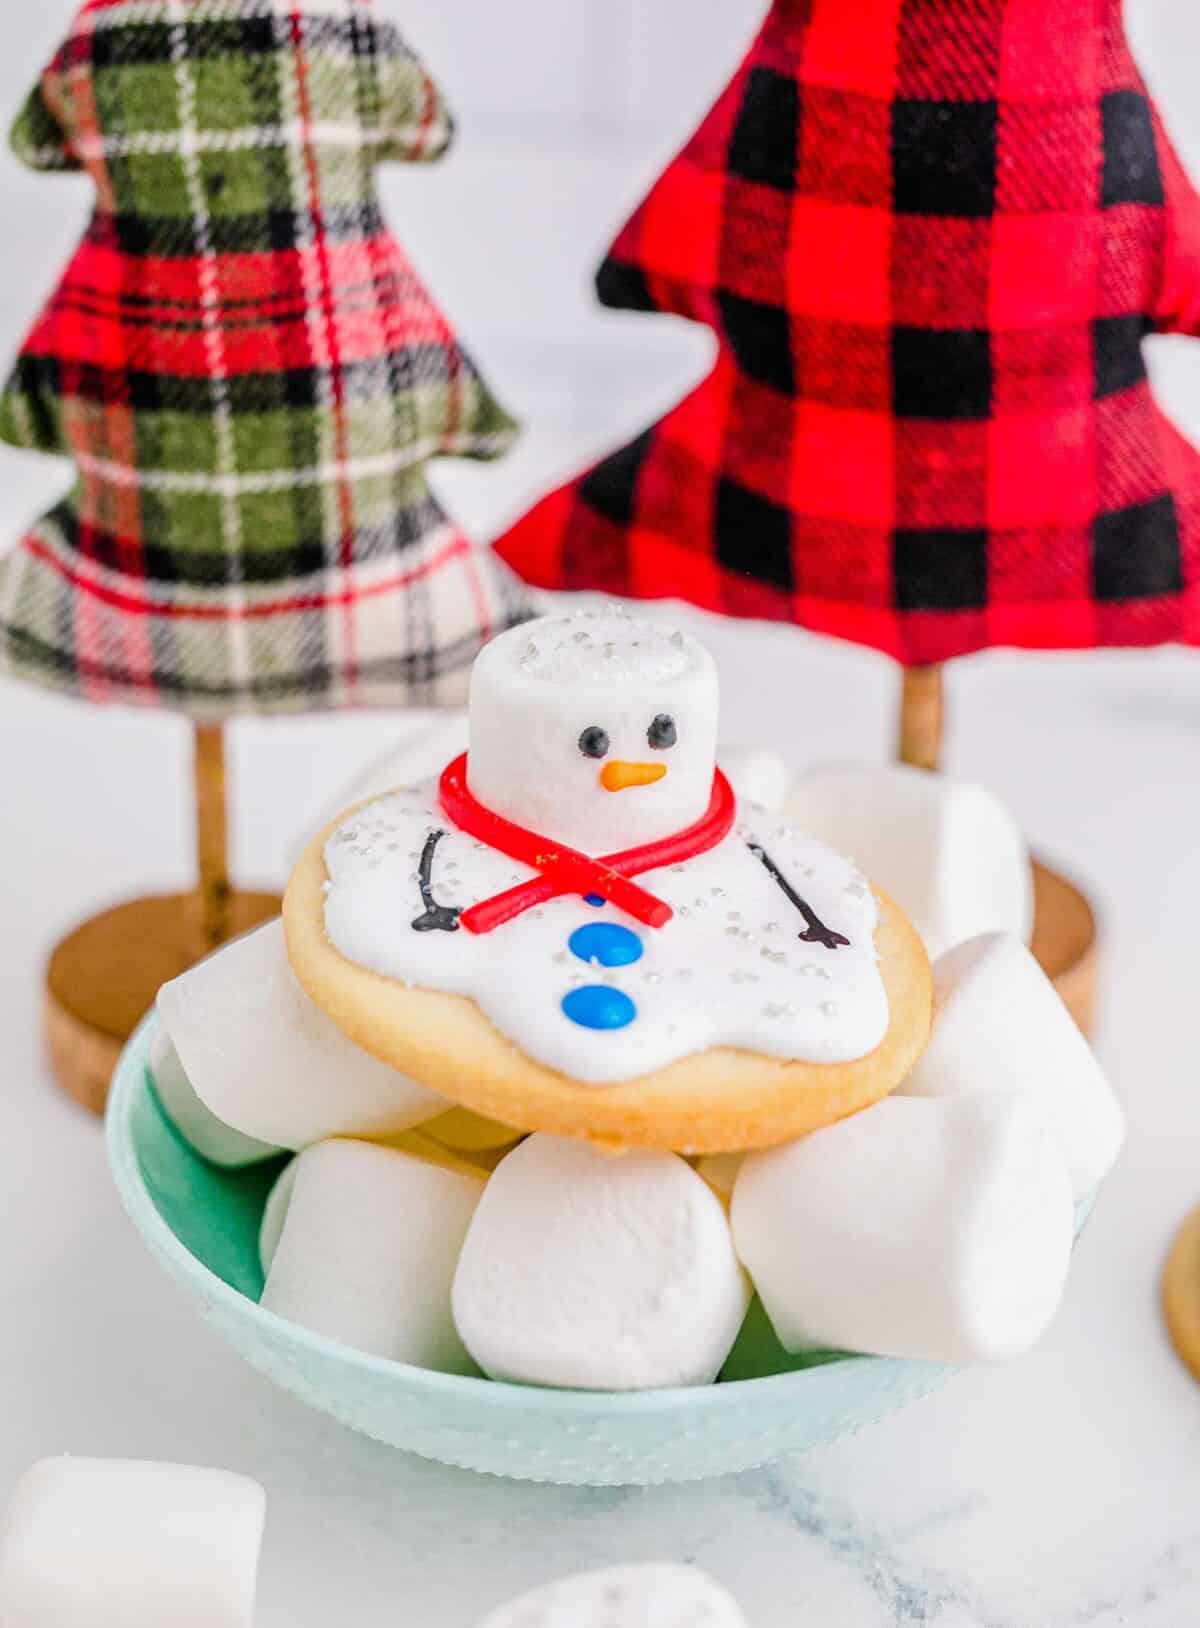
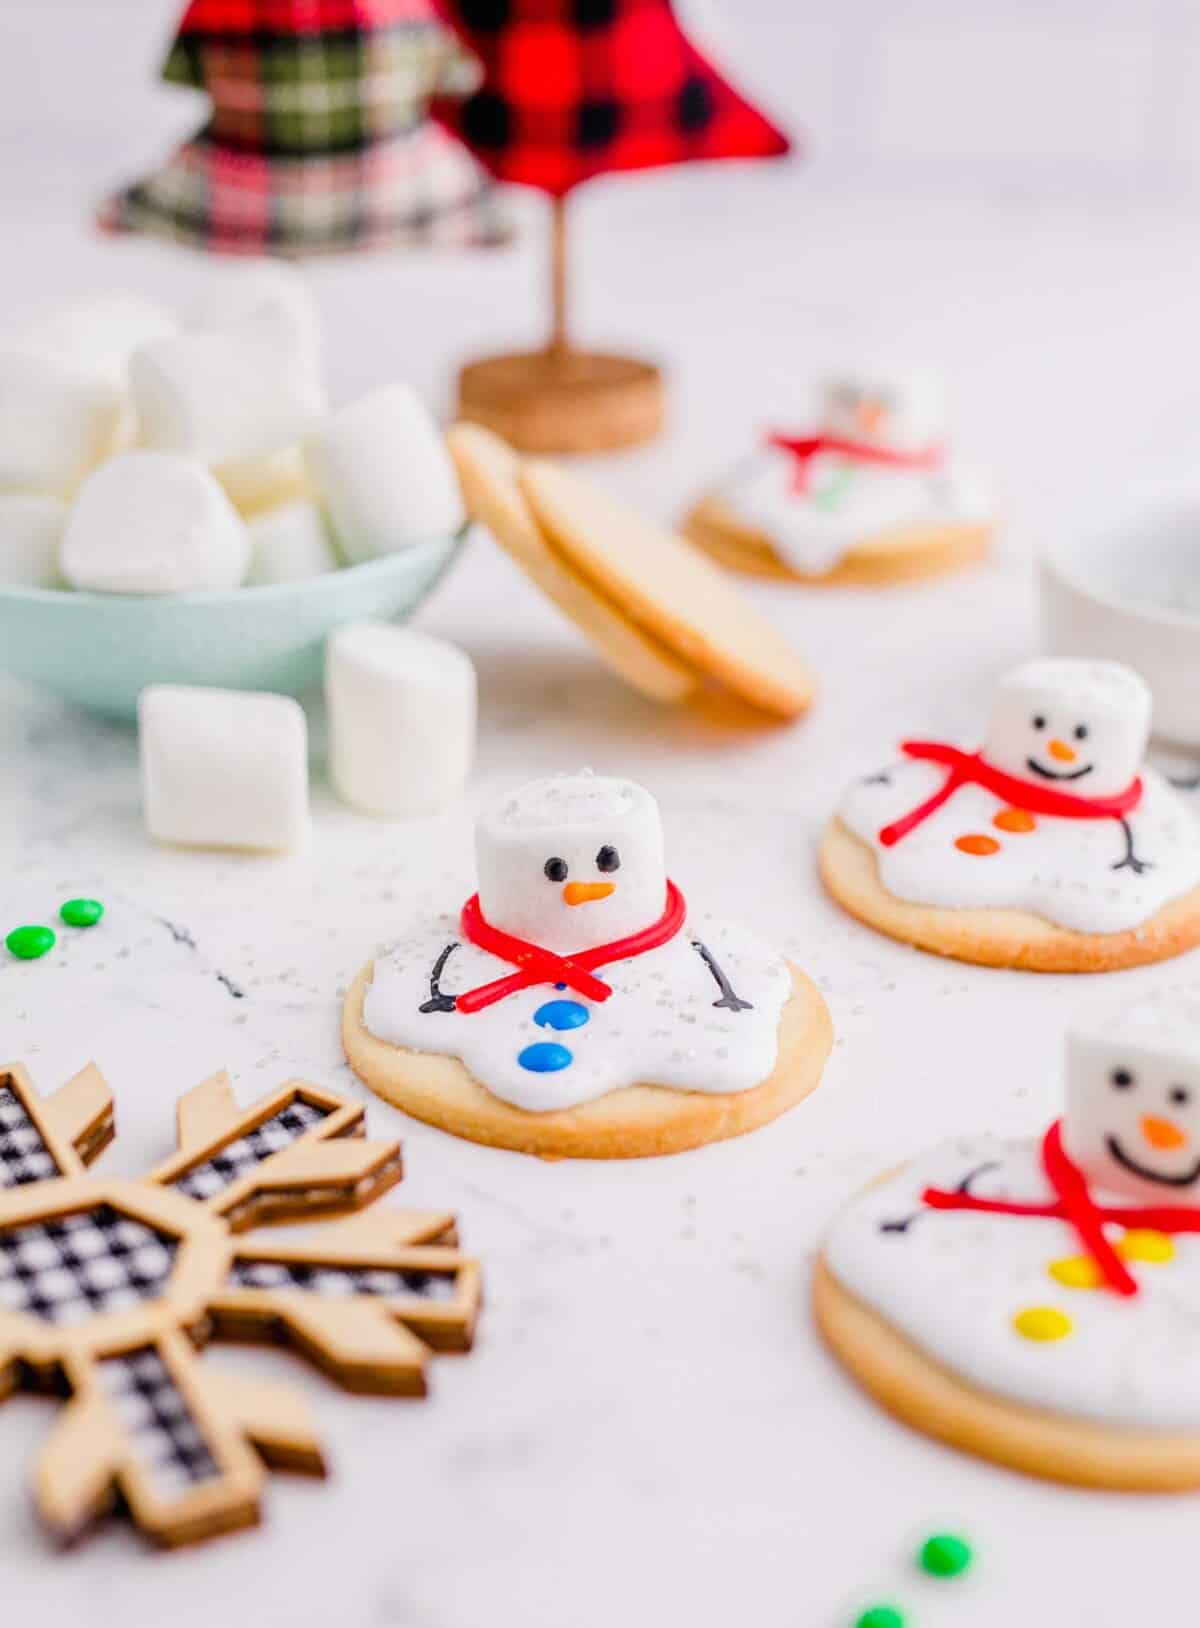
Adorably festive and deliciously homemade, these Melted Snowman Cookies are perfect for any holiday party! Sweet, buttery sugar cookies are topped with marshmallow and royal icing “snowmen” that look like they want to run and have some fun before they melt away!
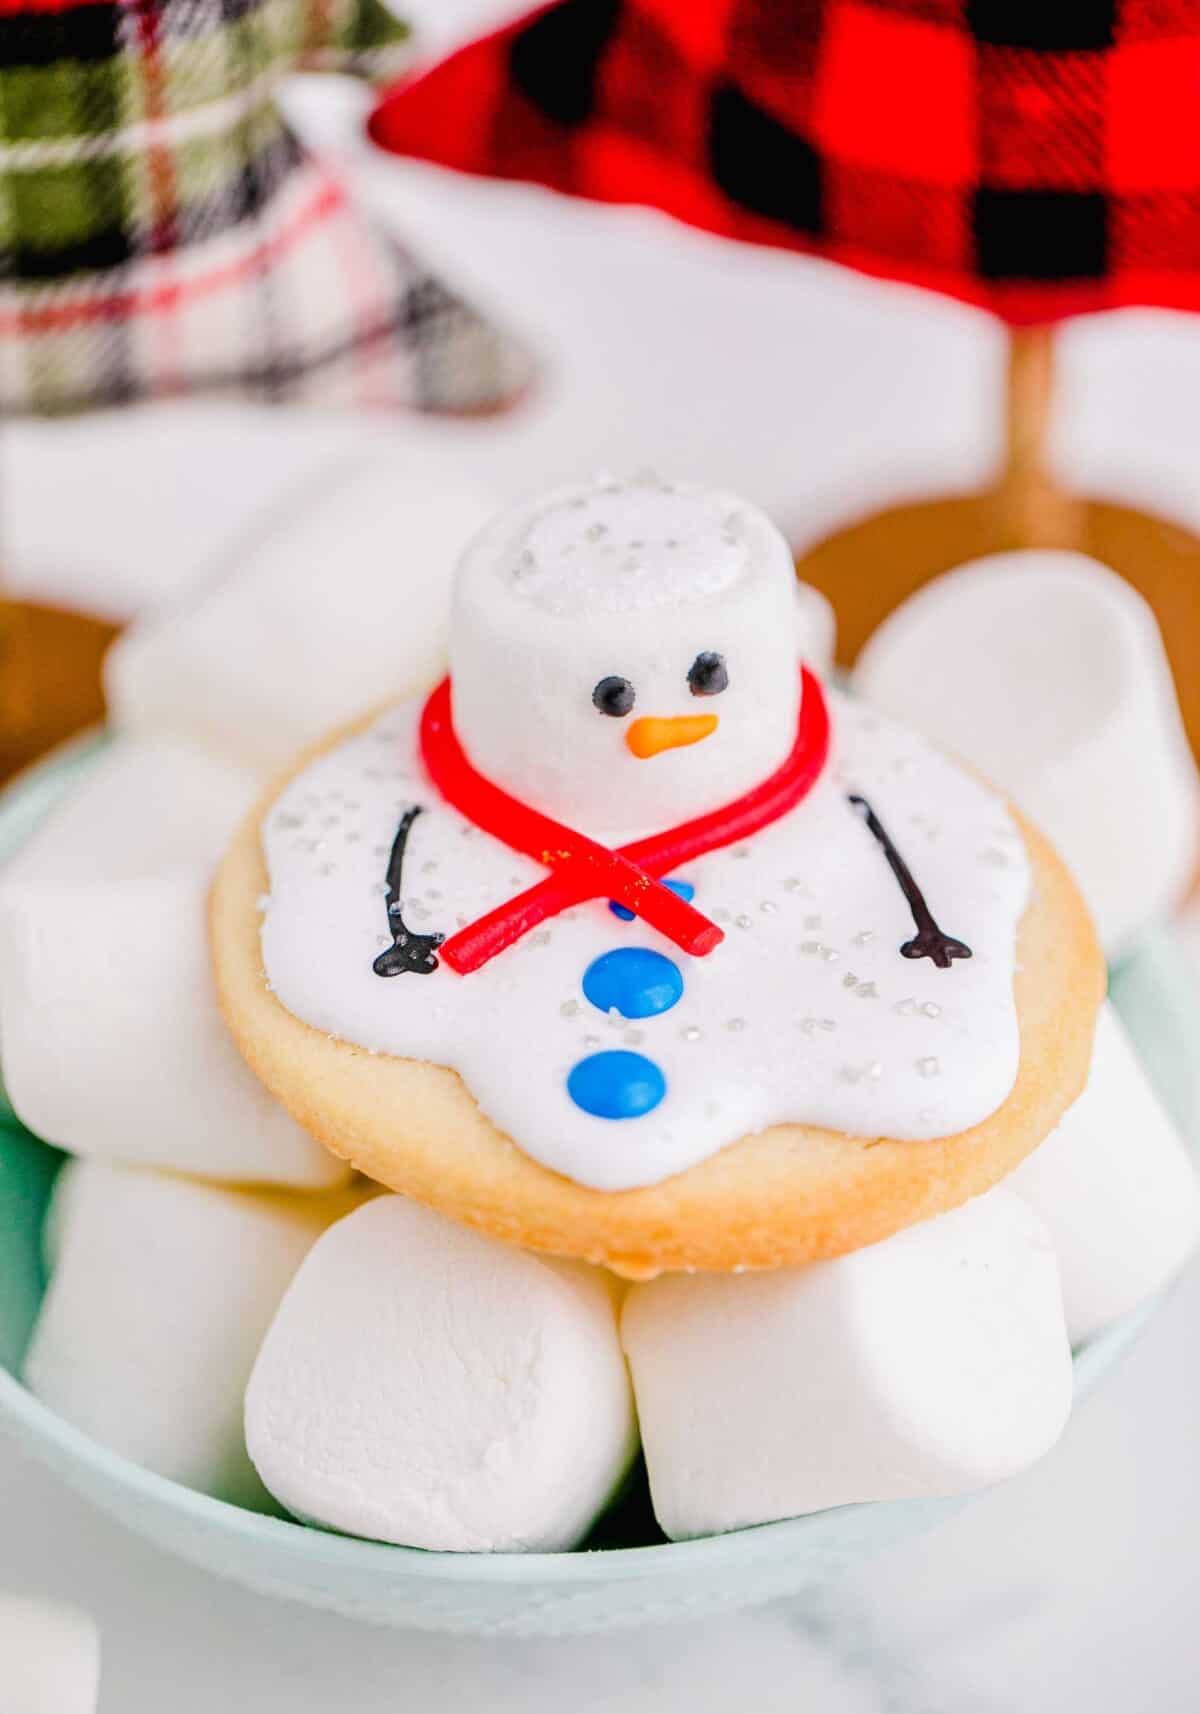
Sugar cookies with homemade royal icing and marshmallows is a delicious combination, but it’s especially perfect when made to look like little melted snowmen! When served, these are the kind of cookies that get everyone to say “aww” when they first see them.
These cookies remind me of when Olaf starts melting in the movie Frozen. You know, your kid’s (or yours — no shame!) favorite movie that you’ve probably seen at least 5 million times by now? Except instead of a magical ice flurry to keep this snowman from melting all the way, it’s the decadent royal icing that keeps the little snow puddle thick and perfectly placed on the cookie.
Speaking of kids, if you do happen to have any running around your house, they’ll love helping you decorate these little snowmen cookies! Making the tiny buttons, arms, face, and scarf is easy and fun to do with little hands helping you! You’re really going to enjoy this recipe if you live in a state that has a warmer climate and no snow. This is even more fun (and way less cold) than assembling a real snowman!
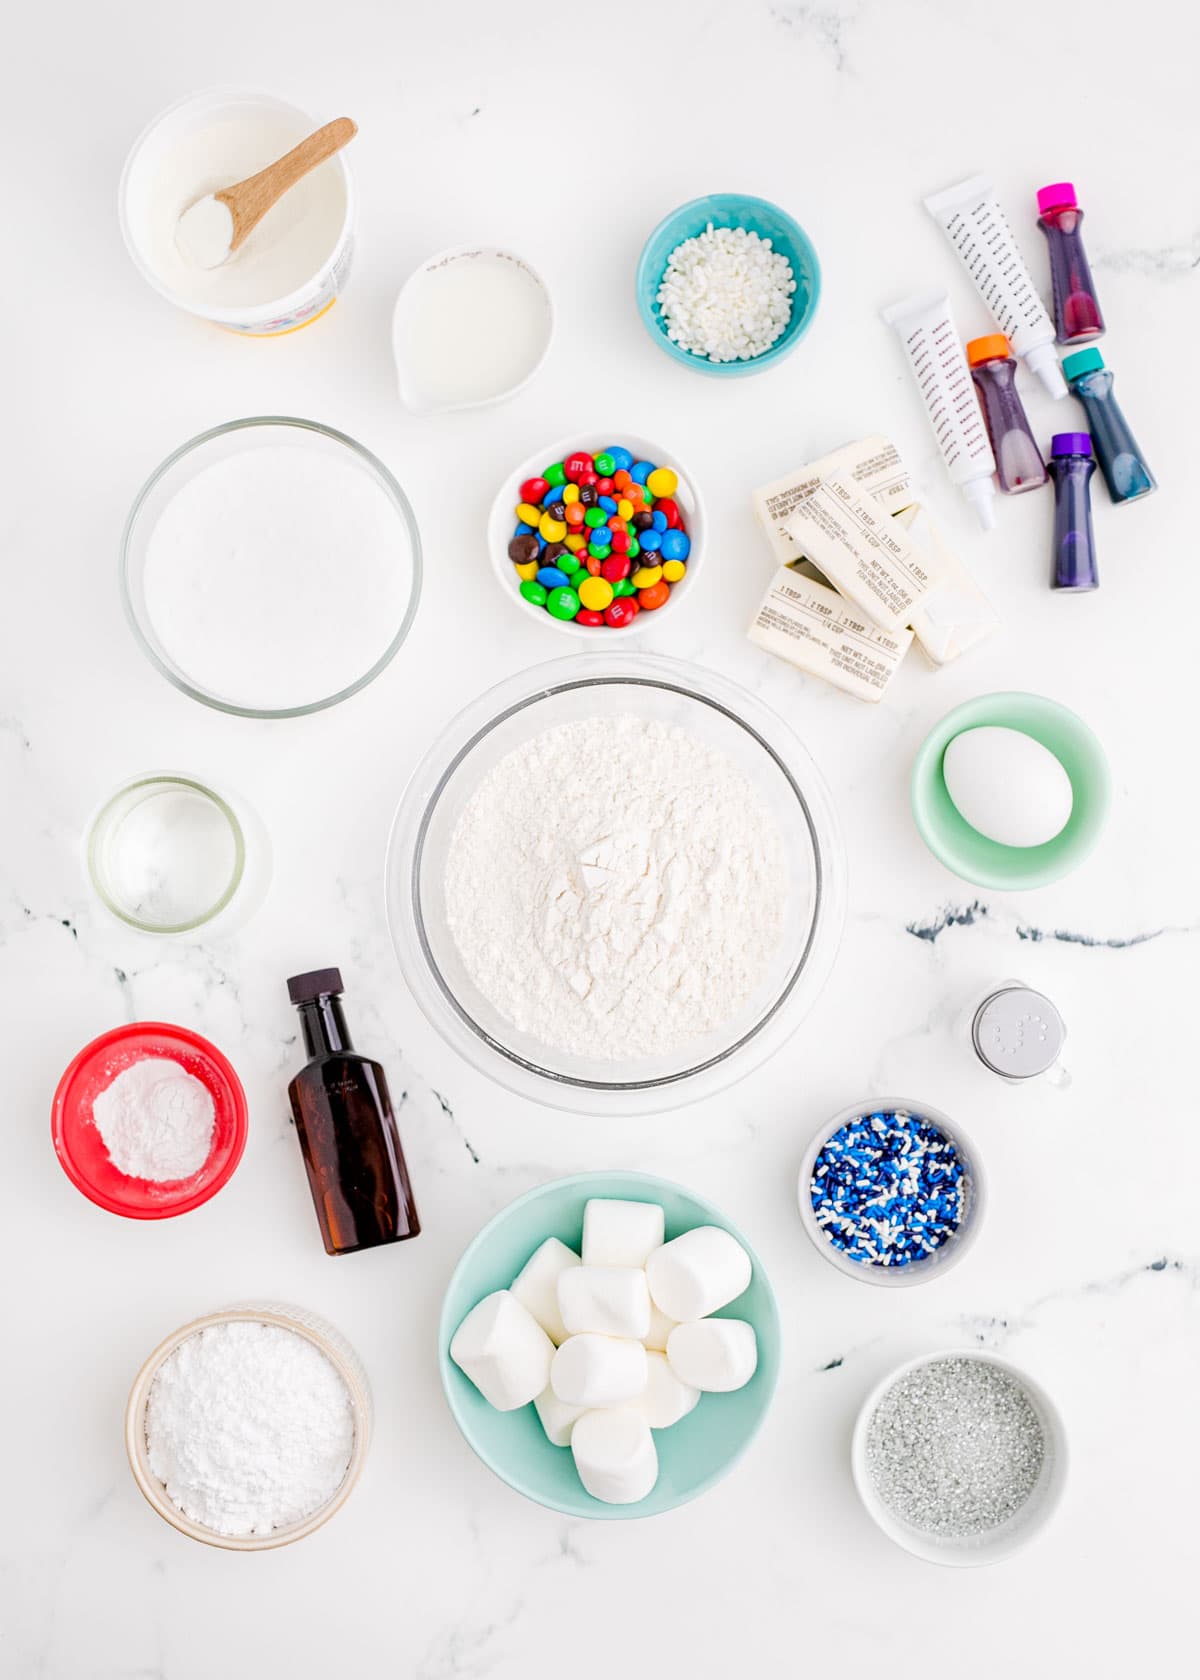
Ingredients for Melted Snowman Cookies
The cookies call for:
- Salted butter – It needs to be room temp, so leave it out on the counter for about an hour prior to baking.
- Sugar – All you need for the dough is plain white granulated sugar.
- Egg – Just one egg is all you need!
- Milk – I like to use whole milk for the best consistency.
- Vanilla – Use pure vanilla extract for the best flavor, not imitation.
- Flour – All purpose flour is what you’ll need to create the structure of the cookies.
- Baking powder – To help the cookies rise, of course!
- Salt – Just a pinch.
The royal icing will need:
- Powdered sugar – Essential for any icing recipe!
- Meringue powder – If you can’t find any at your local grocery store, check online.
- Warm water
The fun garnishes include:
- Marshmallows – any brand will do, just make sure they’re standard sized, not jumbo or mini.
- Gel coloring
Ingredient Substitutions and Information
- Meringue powder. If you can’t find meringue powder, you could substitute pasteurized egg whites. You will substitute pasteurized egg whites (or 6 Tablespoons of pasteurized egg whites from a carton). Whisk the egg whites until foamy, then beat in the powdered sugar at medium speed for 5 minutes. Adjust the water as needed.
- Flavoring royal icing. You are welcome to add vanilla (keeping in mind that the icing will not be as white, unless you use clear vanilla extract). Or you could add almond extract or peppermint extract. You will want to start with 1 teaspoon.
- Difference between gel coloring vs. food coloring. You could use food coloring, but I prefer to use gel color instead because you get a more intense color and don’t need to use as much. It is seriously so much more vibrant than food coloring. Once you use it once, you’ll understand why and never go back to food coloring!
How to Make Melted Snowman Cookies
For detailed instructions and specific measurements, be sure to check the recipe card below. It expands more in detail of each step.

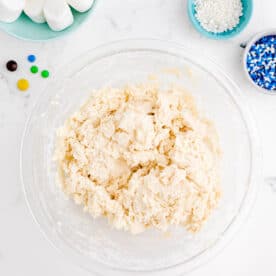
- Make the cookie dough. In a medium bowl, beat together the butter, sugar, egg, milk and vanilla. Then add the flour (start with 2 cups), baking powder, and salt. Beat this until well blended.
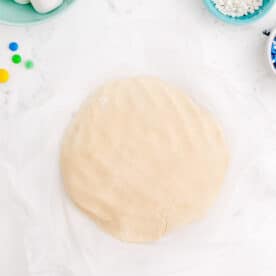
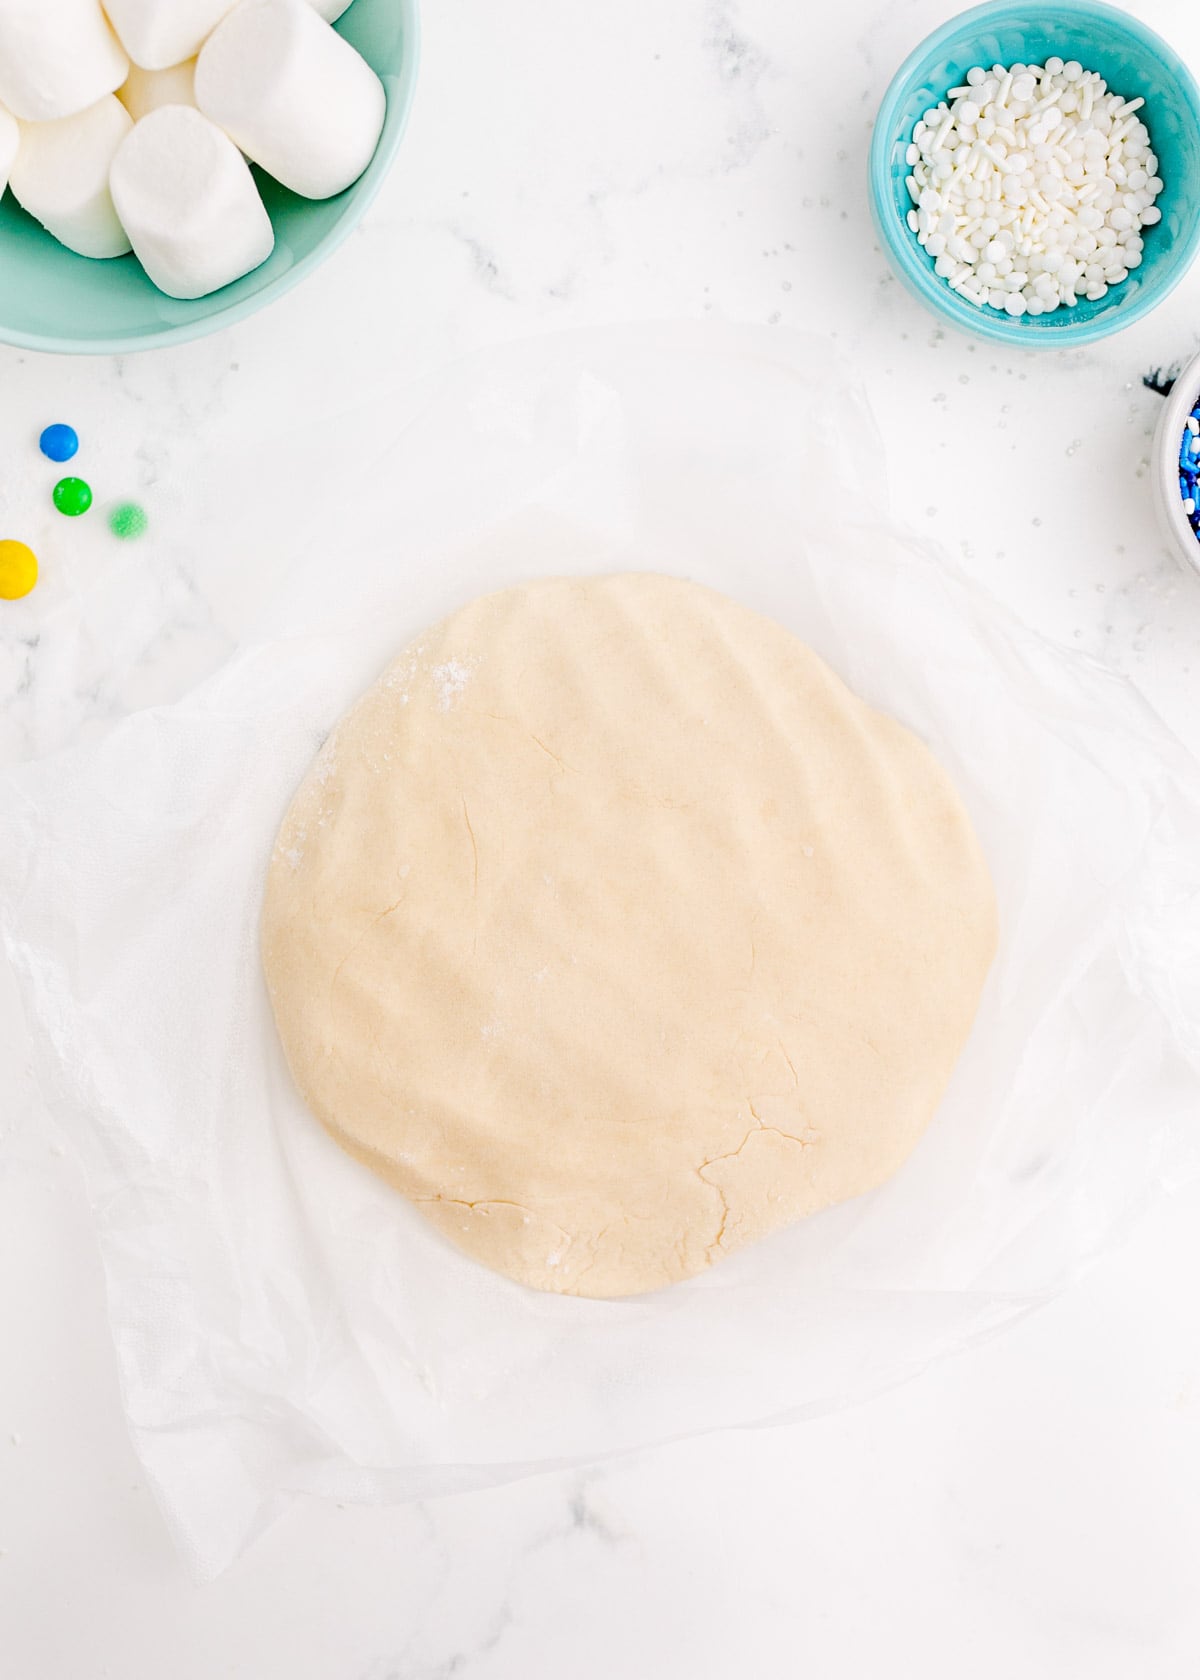
- Chill the cookie dough. Divide the dough into two equal discs and wrap tightly with plastic wrap and chill in the refrigerator for 1 hour.
- Set oven. Preheat the oven to 375 °F (191 °C). When you remove the dough from the fridge, allow it to sit at room temperature until soft enough to roll easily.
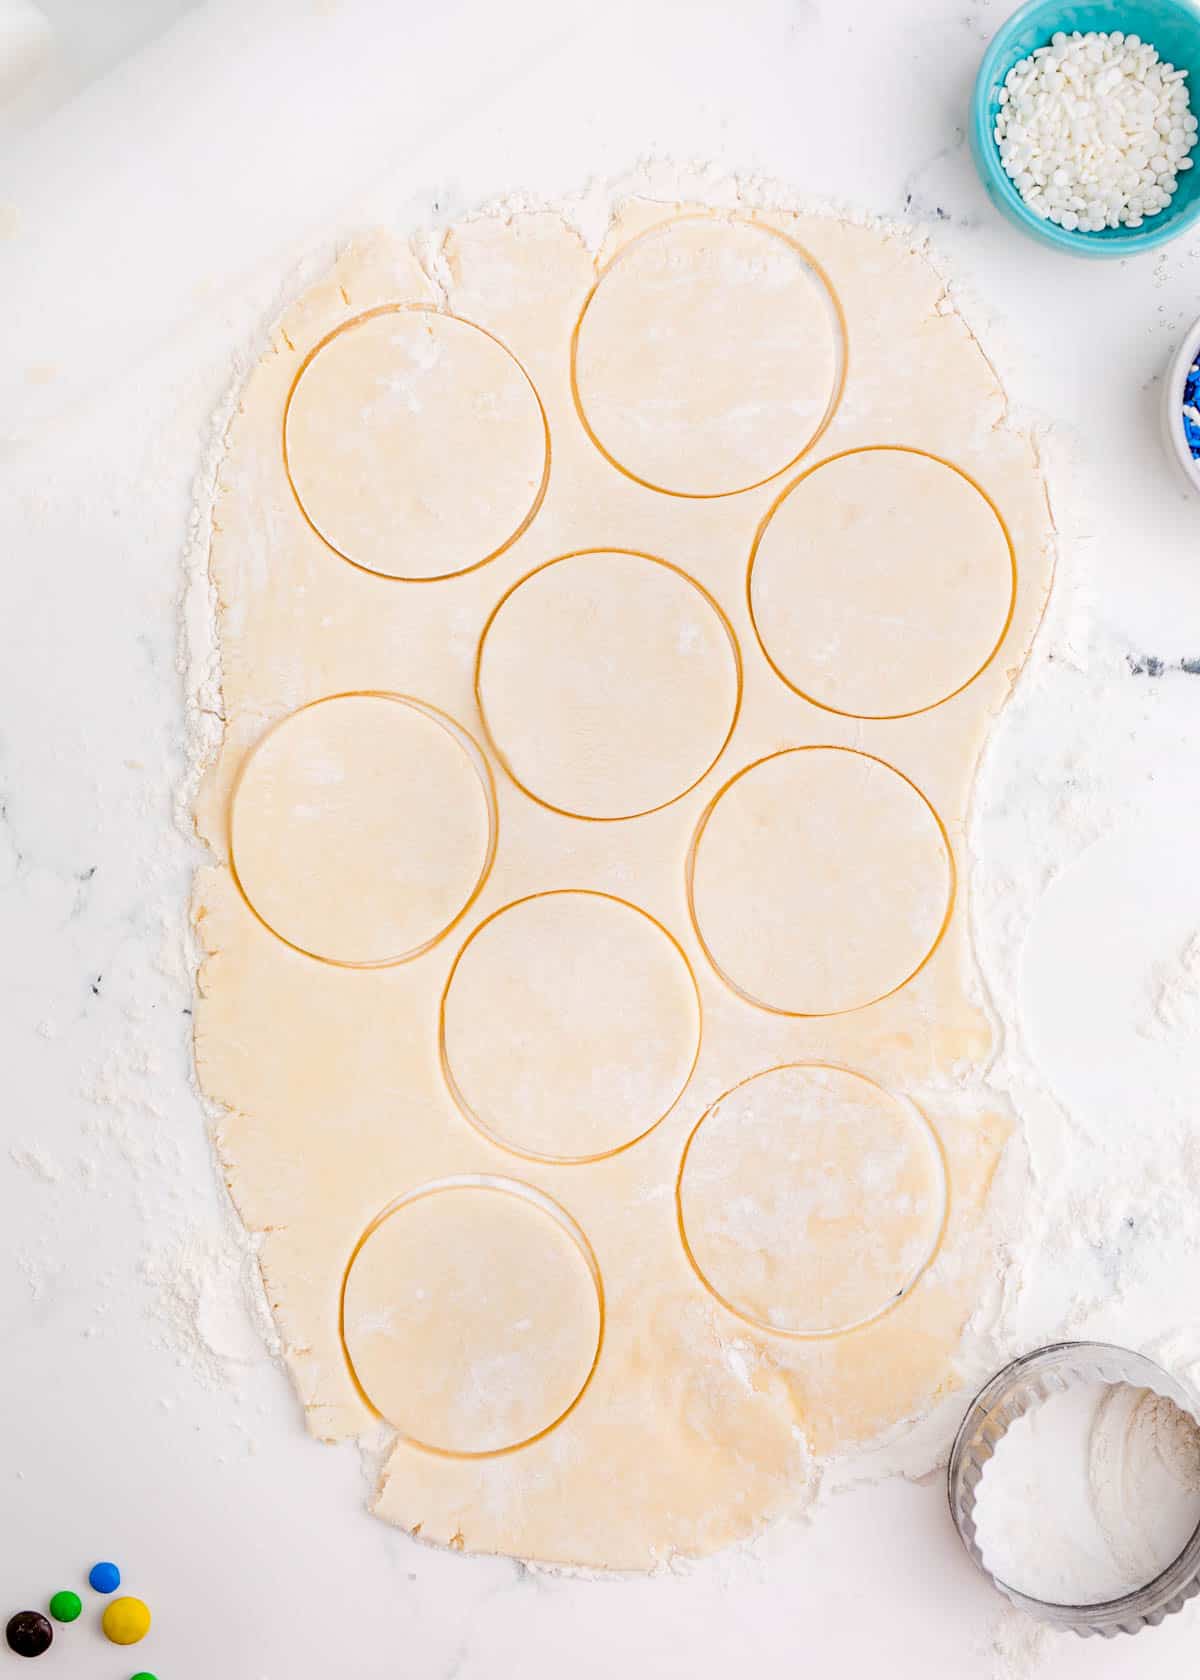
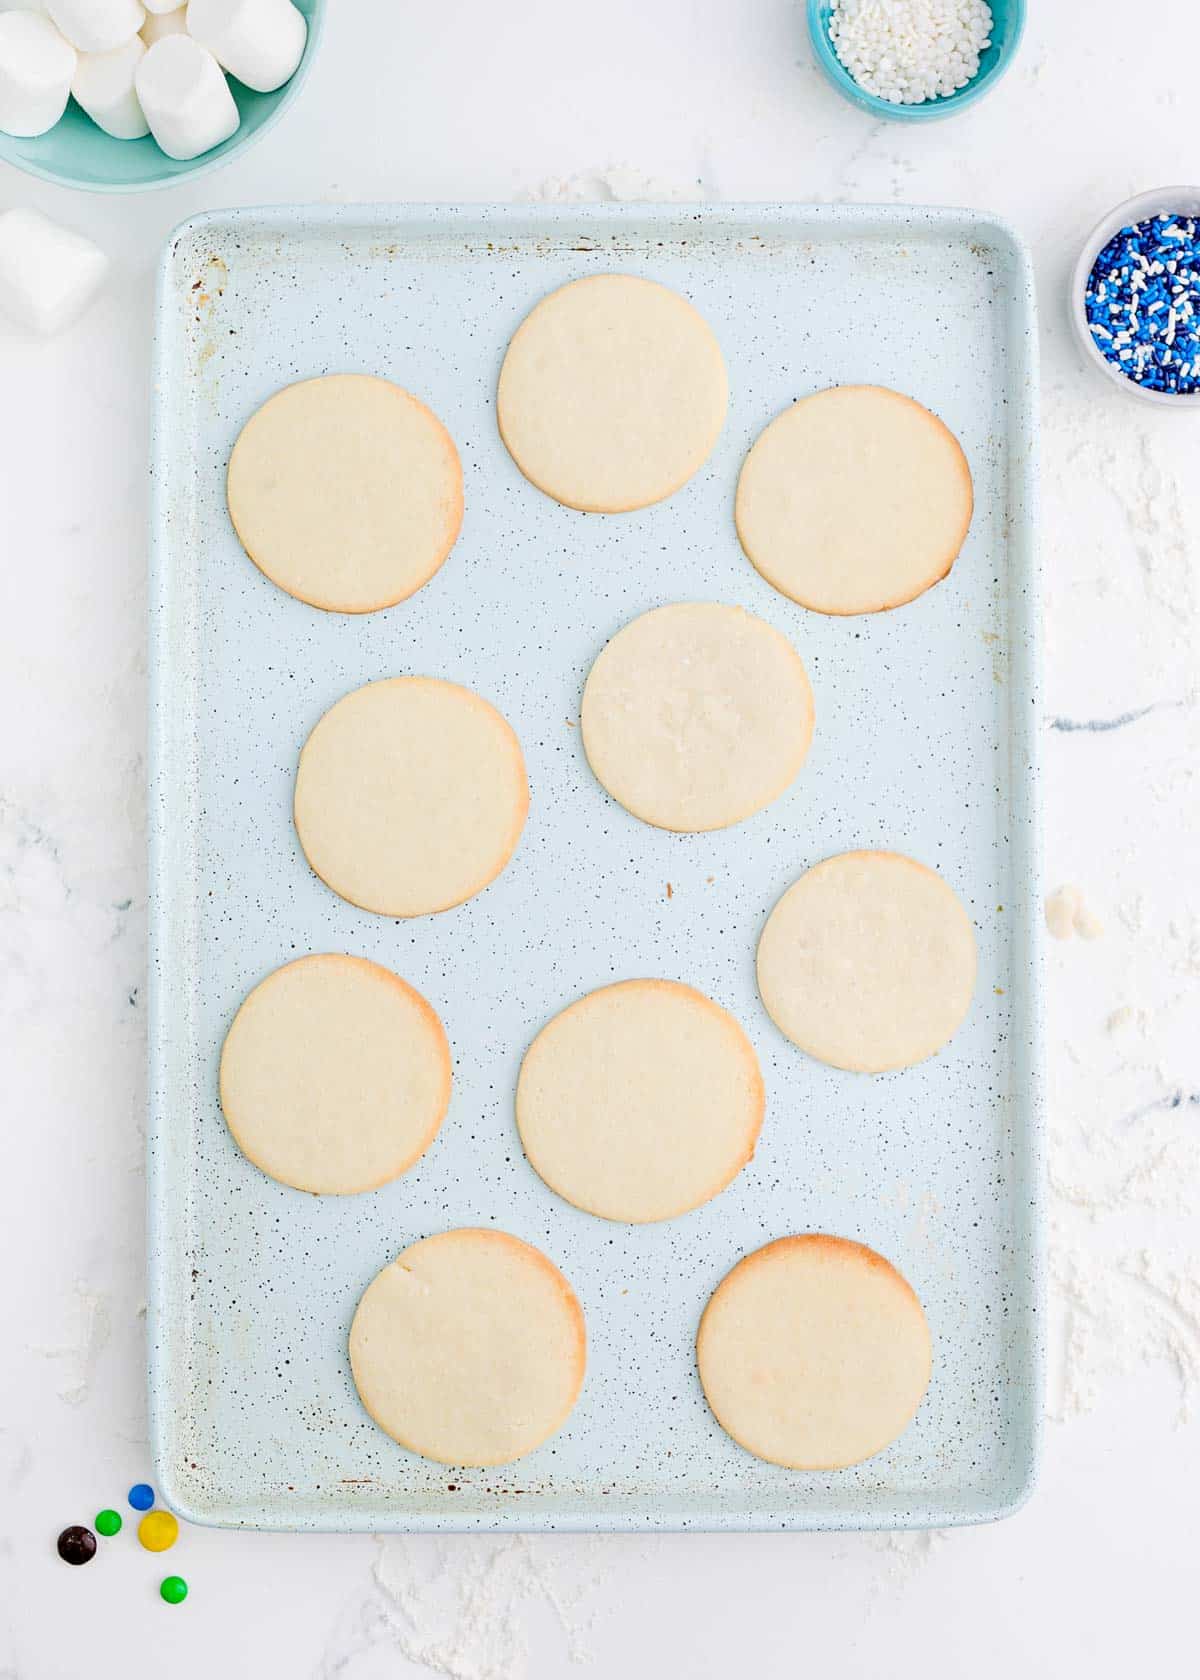
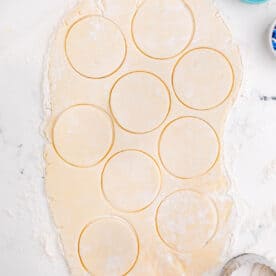
- Make the cookies. On a lightly floured surface, roll out the dough to ¼ inch thick. Use a 2 ½ inch, lightly floured cookie cutter to cut out as many cookies as you are able to. Place cookies onto a large baking sheet.
- Bake the cookie dough. Bake for 7-10 minutes or until the edges are just golden. Once cookies are done, remove from oven and allow to cool COMPLETELY before icing.

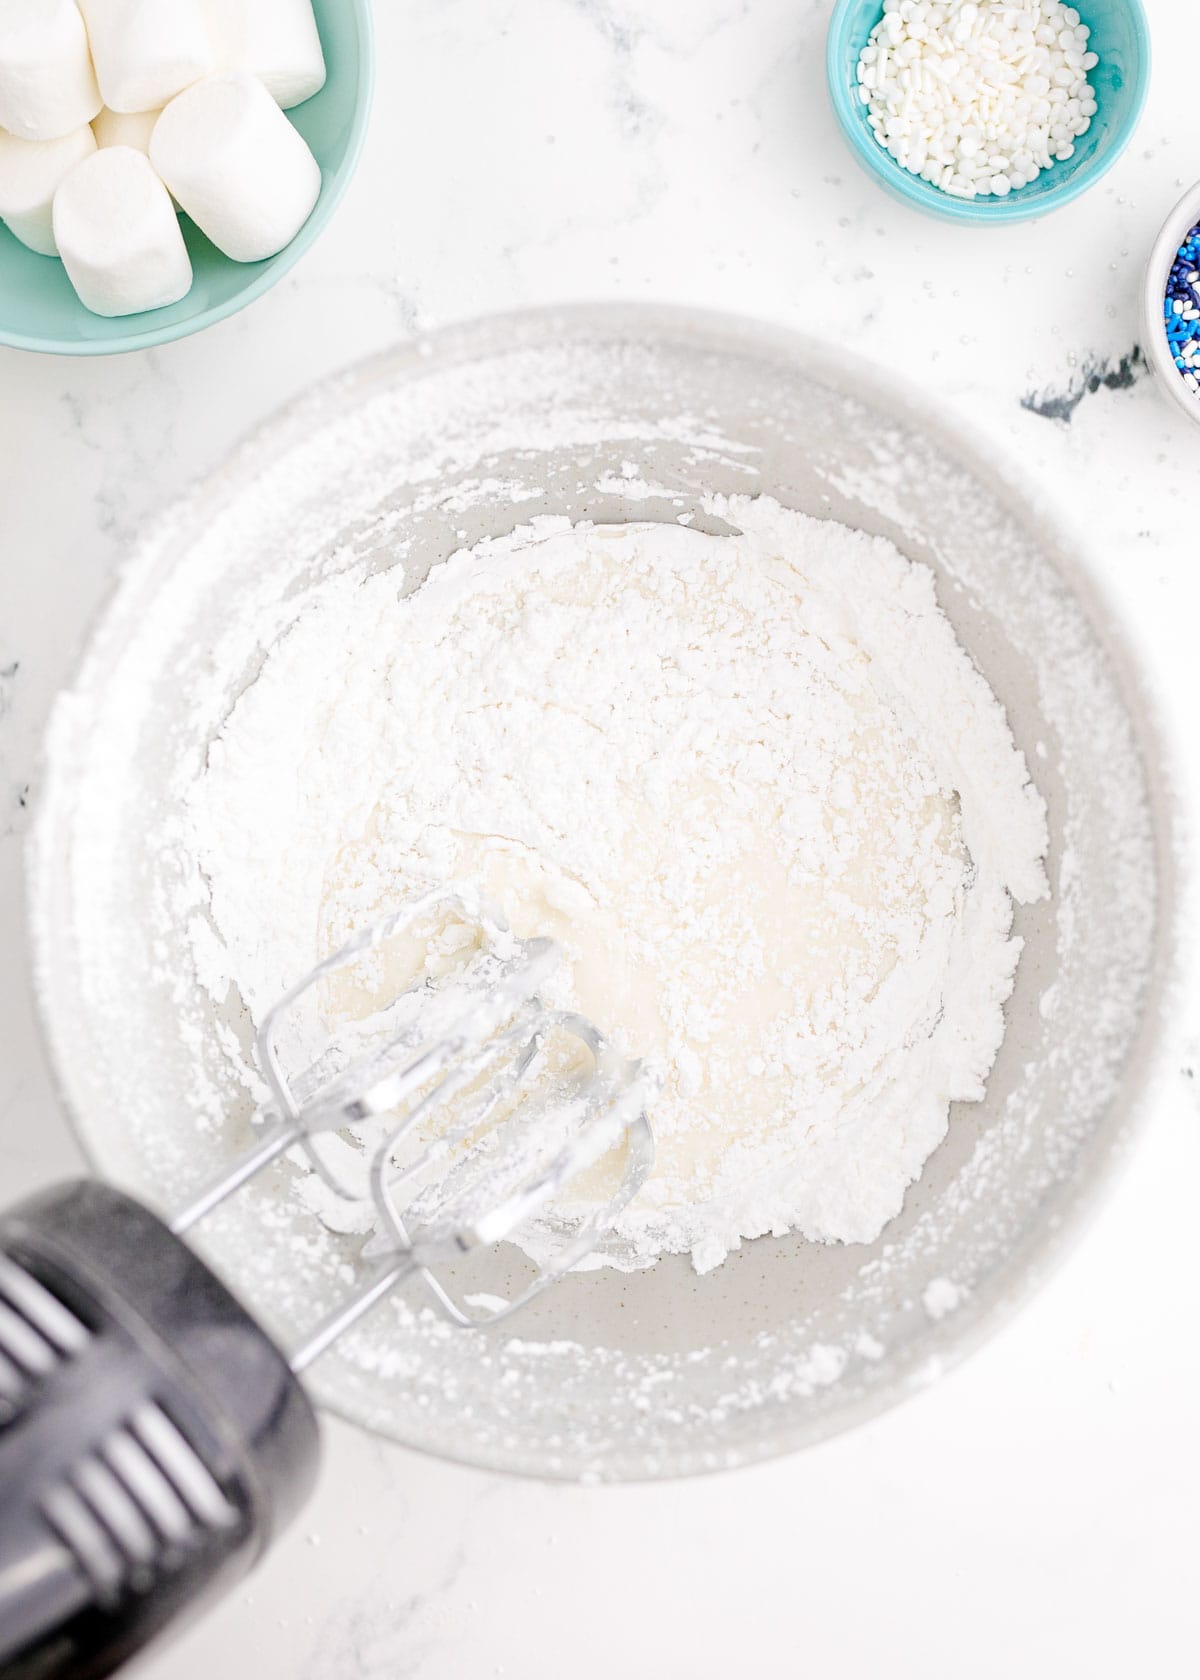
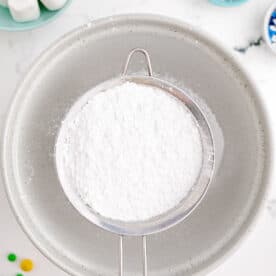
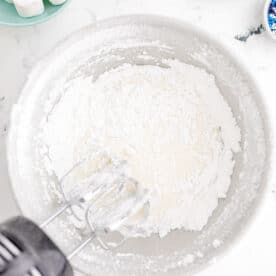
- Make the icing. While the cookies cool, make the icing by sifting together powdered sugar and meringue powder in a large, grease-free mixing bowl. Add 5 tablespoons of the warm water. Use a stand mixer with a whisk attachment (or an electric hand-held mixer) to beat at high power for 10 minutes. Check the consistency. We want to get to a thicker consistency of icing that still has the ability to move and slide on the cookie a bit.
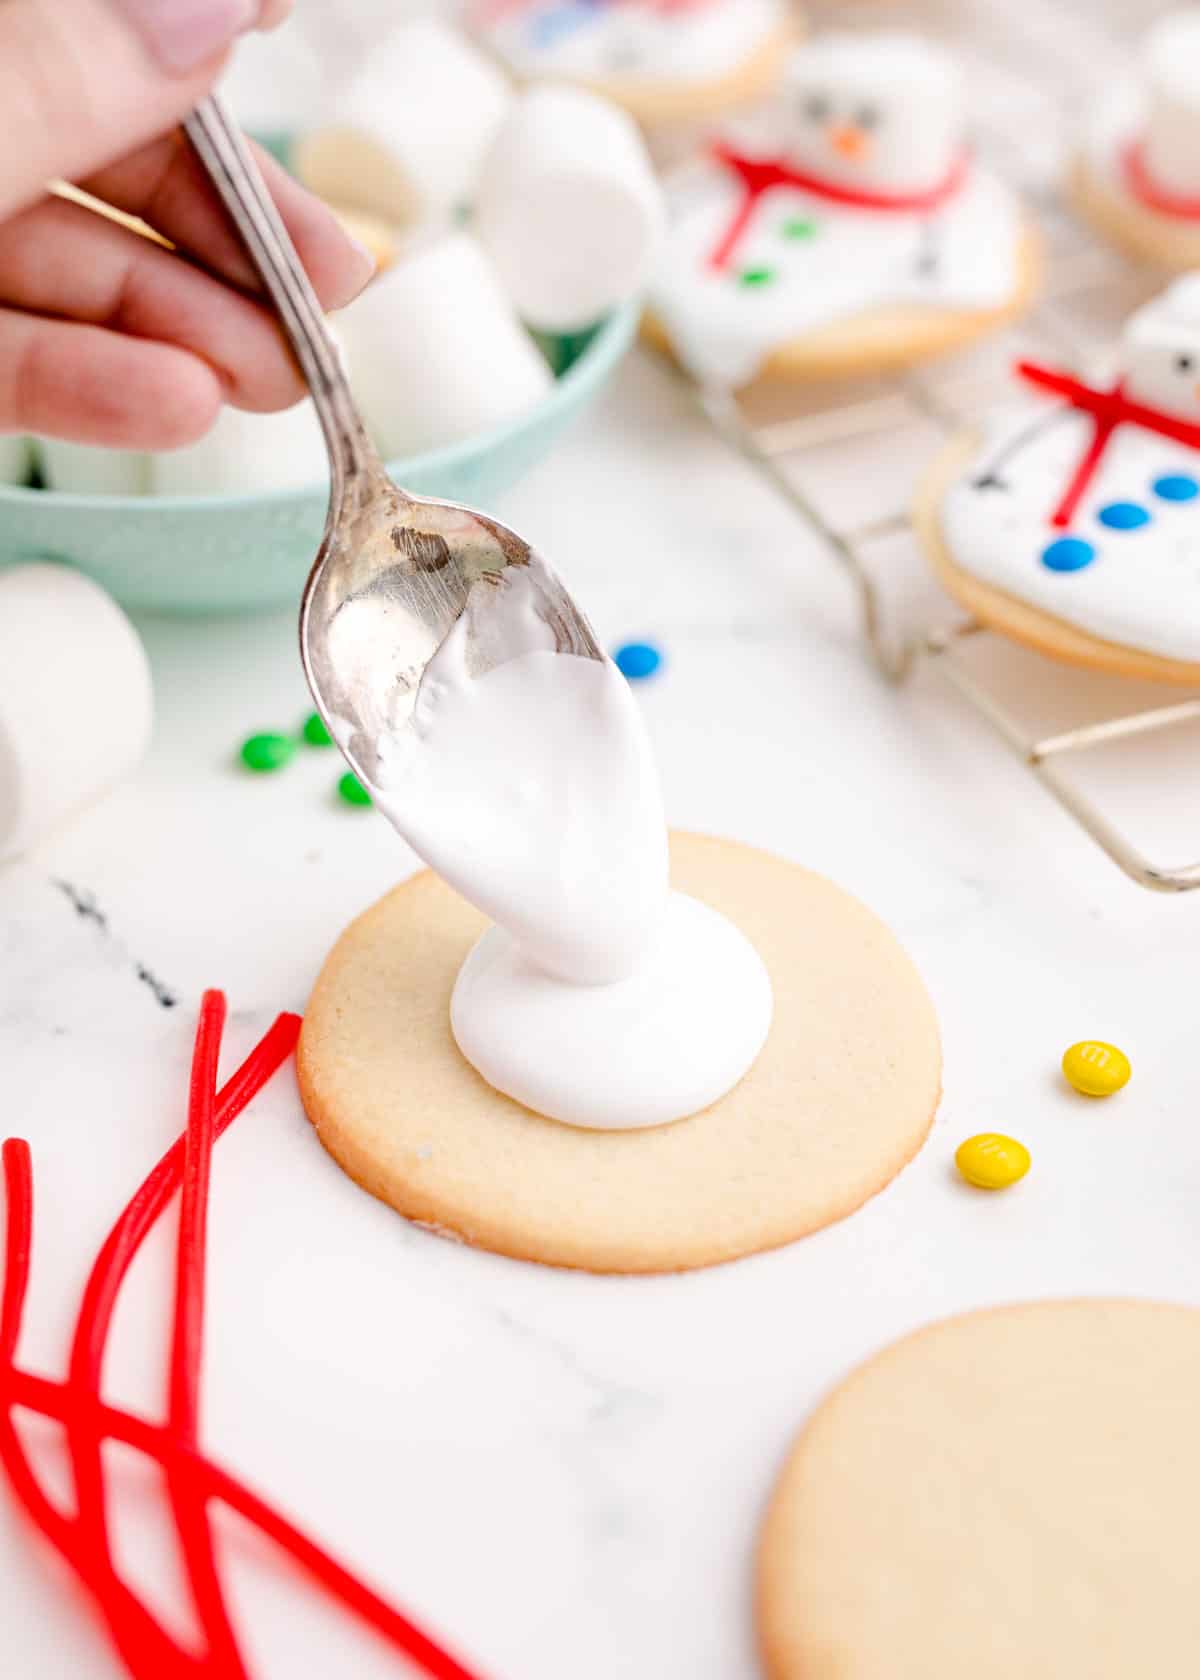
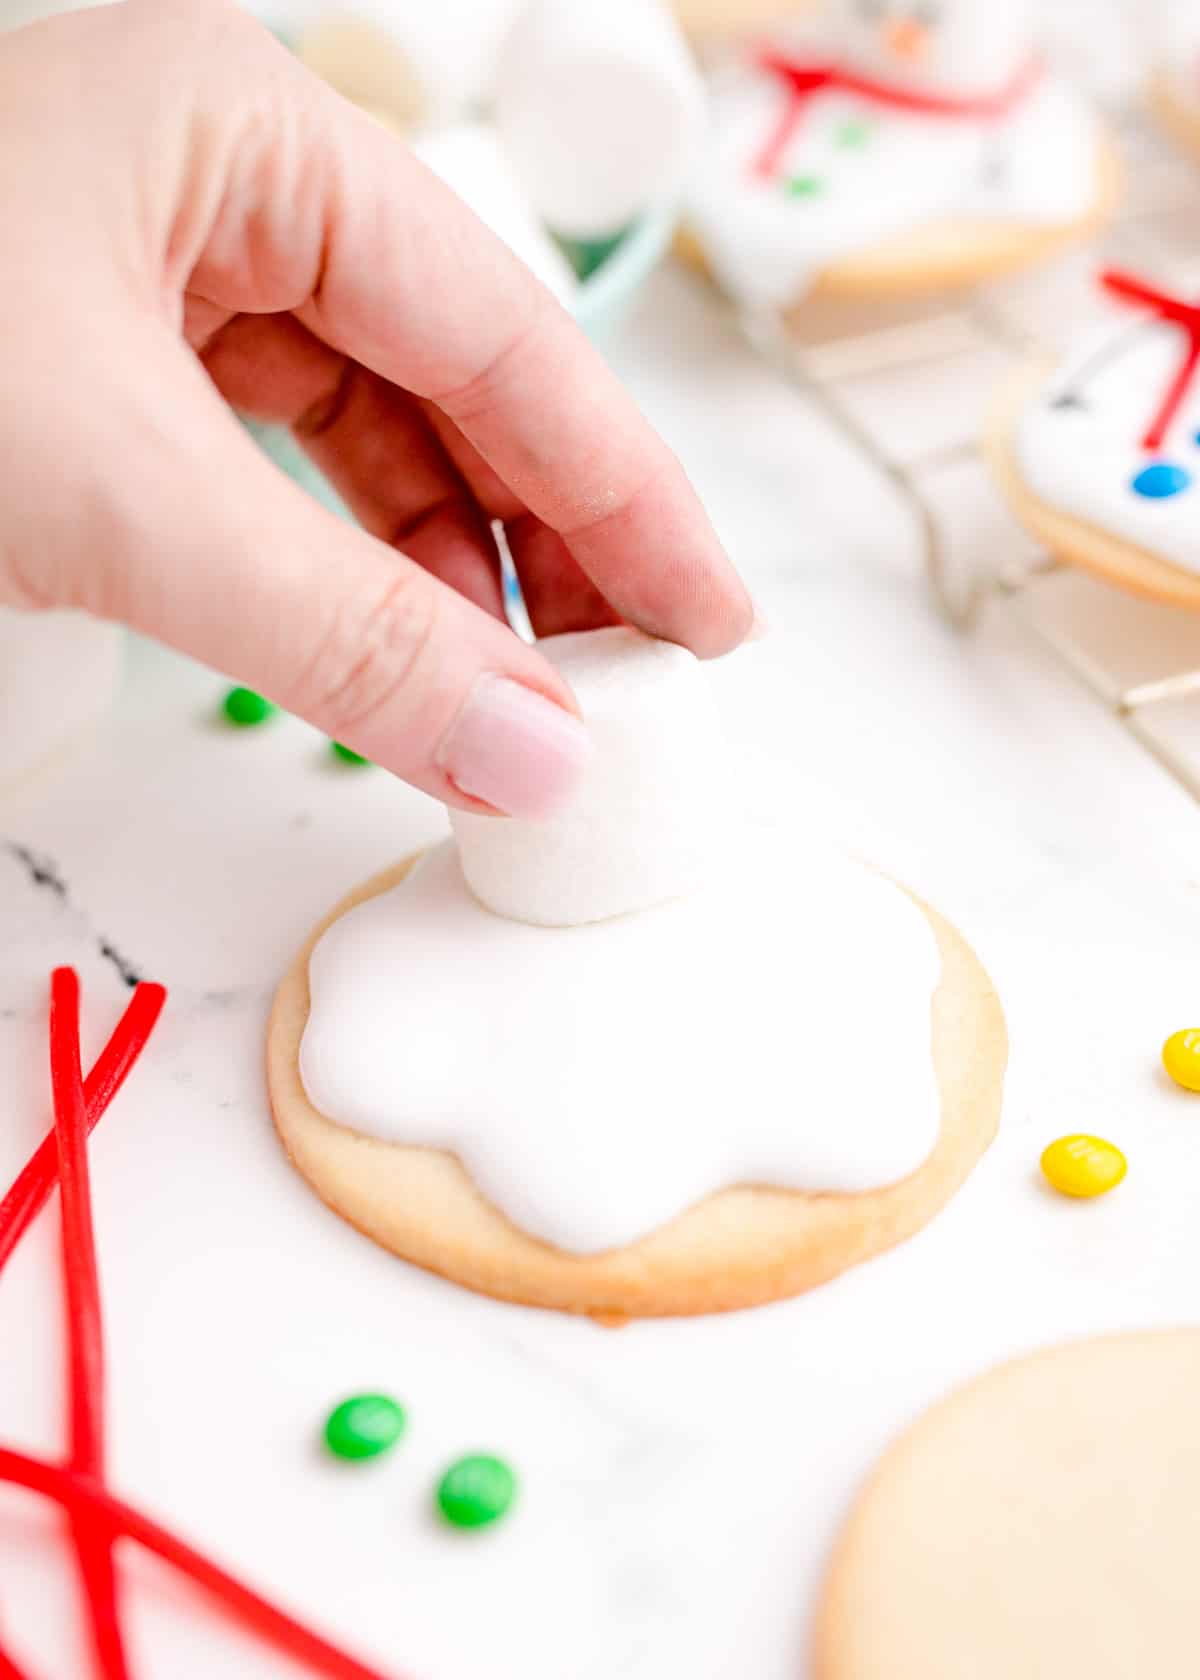
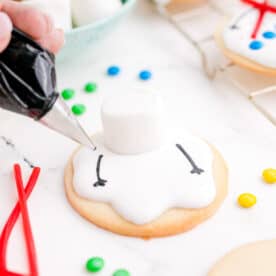
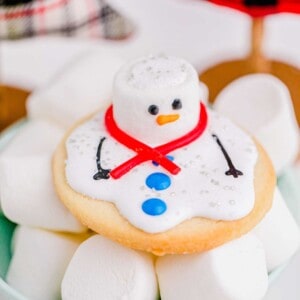
- Assemble the melted snowmen. When you are ready to ice/make the melted snow, drop a dollop of icing onto the middle of the cookie and carefully spread out towards the edges. Place a large marshmallow on top to represent the head. Pipe on the arms, add the buttons, eyes, carrot nose, and whatever else you want to do to your melted snowman!
Storage Instructions
In an airtight container, these melted snowman cookies will stay fresh in the fridge for up to a week.
For freezing: The unused icing may be stored in the fridge for up to 2 weeks, or in the freezer for up to 2 months. Iced cookies will freeze well for up to 3 months.
Gifting Instructions
Create a Holiday Cookie Box and add these adorable melted snowman cookies in the box along with another favorite man…the Gingerbread Man! These Classic Linzer Cookies and Cornflake Marshmallow Wreaths are festive additions as well!
Melted Snowman Cookies
Ingredients
- ½ cup (114 g) salted butter
- 1 cup (200 g) granulated sugar
- 1 egg
- 2 to 3 Tablespoons milk
- 1 ½ teaspoons vanilla extract
- 2 to 2 ½ cups (313 g) flour
- 2 teaspoon baking powder
- ¼ teaspoon salt
For the royal icing:
- 4 cups (480 g) powdered sugar
- 3 Tablespoons meringue powder
- 7 Tablespoons of warm water, to start
For garnish:
- 30 marshmallows, 1 for each cookie
- Gel coloring
- Optional Garnish: Sprinkles, M&M minis, Pull and Peel twizzlers,
Instructions
- In a medium bowl, beat together the butter, sugar, egg, milk and vanilla. Then add the flour (start with 2 cups), baking powder, and salt. Beat this until well blended. If the dough is still really sticky you may mix in another ¼ to ½ cup of flour.½ cup (114 g) salted butter, 1 cup (200 g) granulated sugar, 1 egg, 2 to 3 Tablespoons milk, 1 ½ teaspoons vanilla extract, 2 to 2 ½ cups (313 g) flour, 2 teaspoon baking powder, ¼ teaspoon salt

- Divide the cookie dough into 2 equal size disks. Wrap these and place them in the fridge for 1 hour (or until firm).
- When you remove the dough from the fridge, allow it to sit at room temperature until soft enough to roll easily.
- Preheat the oven to 375 °F (191 °C)
- On a lightly floured surface, roll out the dough to ¼ inch thick.
- Use a 2 ½ inch, lightly floured cookie cutter to cut out as many cookies as you are able to.
- Place the cookies 1 inch apart on ungreased baking sheets.
- Bake for 7-10 minutes or until the edges are just golden. (they can cook quickly so watch carefully after the 5 minute mark)
- When the cookies are removed from the oven, move them to cooling racks to cool completely before frosting them.
- To make the icing: In a large, grease-free mixing bowl, sift together the powdered sugar and meringue powder.4 cups (480 g) powdered sugar, 3 Tablespoons meringue powder
- Add 5 tablespoons of the warm water. Use a stand mixer with a whisk attachment (or an electric hand-held mixer) to beat at high power for 10 minutes. Check the consistency.7 Tablespoons of warm water
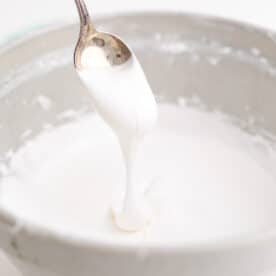
- We want to get to a thicker consistency of icing that still has the ability to move and slide on the cookie a bit. Add more water if the icing is too thick and is so still that it will barely move. If it is too thin, beat longer, it thickens the longer you beat it.
- When you are ready to ice/make the melted snow, drop a dollop of icing onto the middle of the cookie and carefully spread out towards the edges. You can make this as perfect or messy as you’d like. Some icing might slowly run off the side, that's ok. But if it quickly runs off, your icing may be too thin. Either way, just use a little trial and error to get the look you want. There will be plenty to experiment!
- Place one marshmallow on each cookie to represent the head of the snowman.30 marshmallows
- When you are ready to add the eyes and buttons, add some black gel coloring to some of the icing and pipe on arms and eyes. Do the same with orange food coloring to make icing for the carrot nose. Then drop on some mini m&ms for buttons, a licorice for the scarf and some sprinkles for fun!
- The royal icing will take about 2 hours to dry. If you need the icing to firm up more quickly, you can refrigerate them.