This post may contain affiliate links. Please read our disclosure policy.
Raspberry thumbprint cookies combines the buttery richness of a shortbread cookie with the bright, tart flavor of raspberry jam. They are the perfect addition to your holiday cookie box, afternoon tea, or anytime you are craving these little gems!
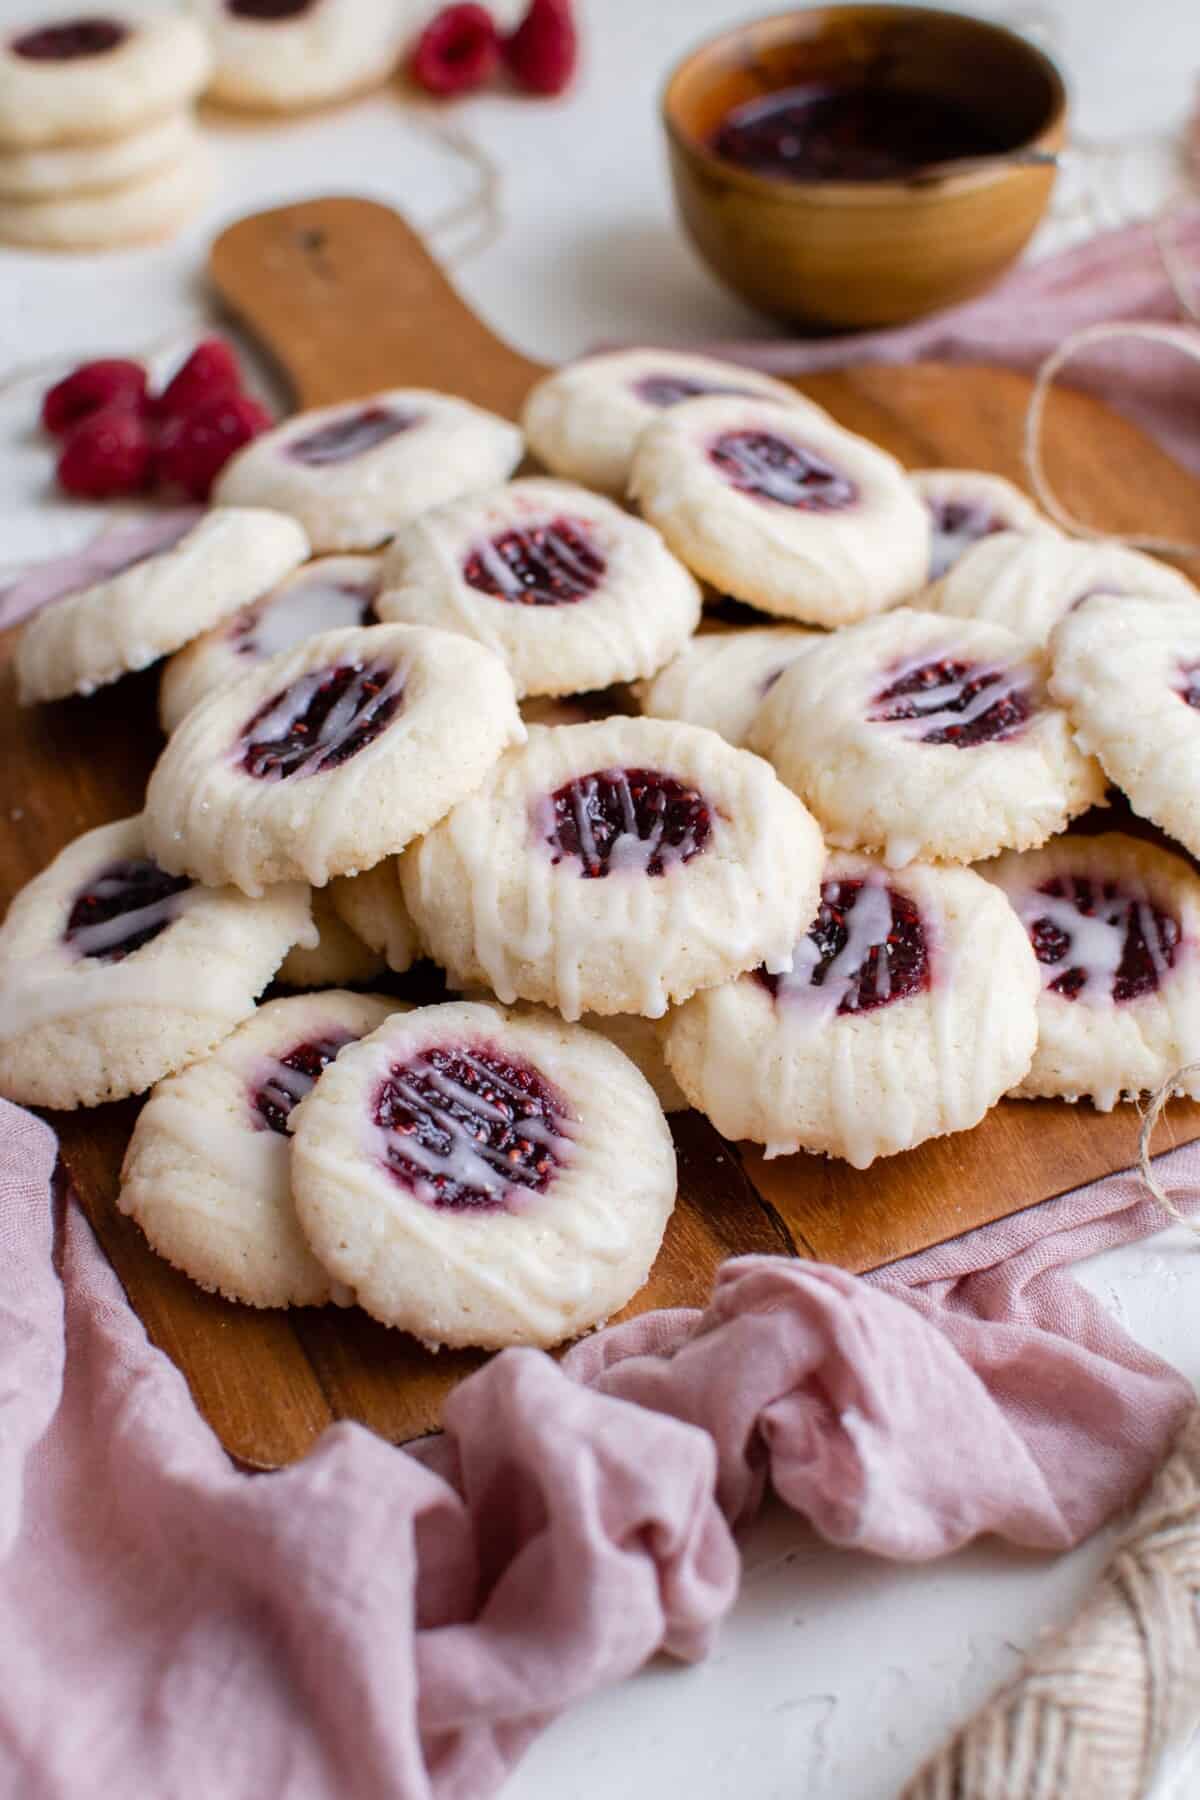
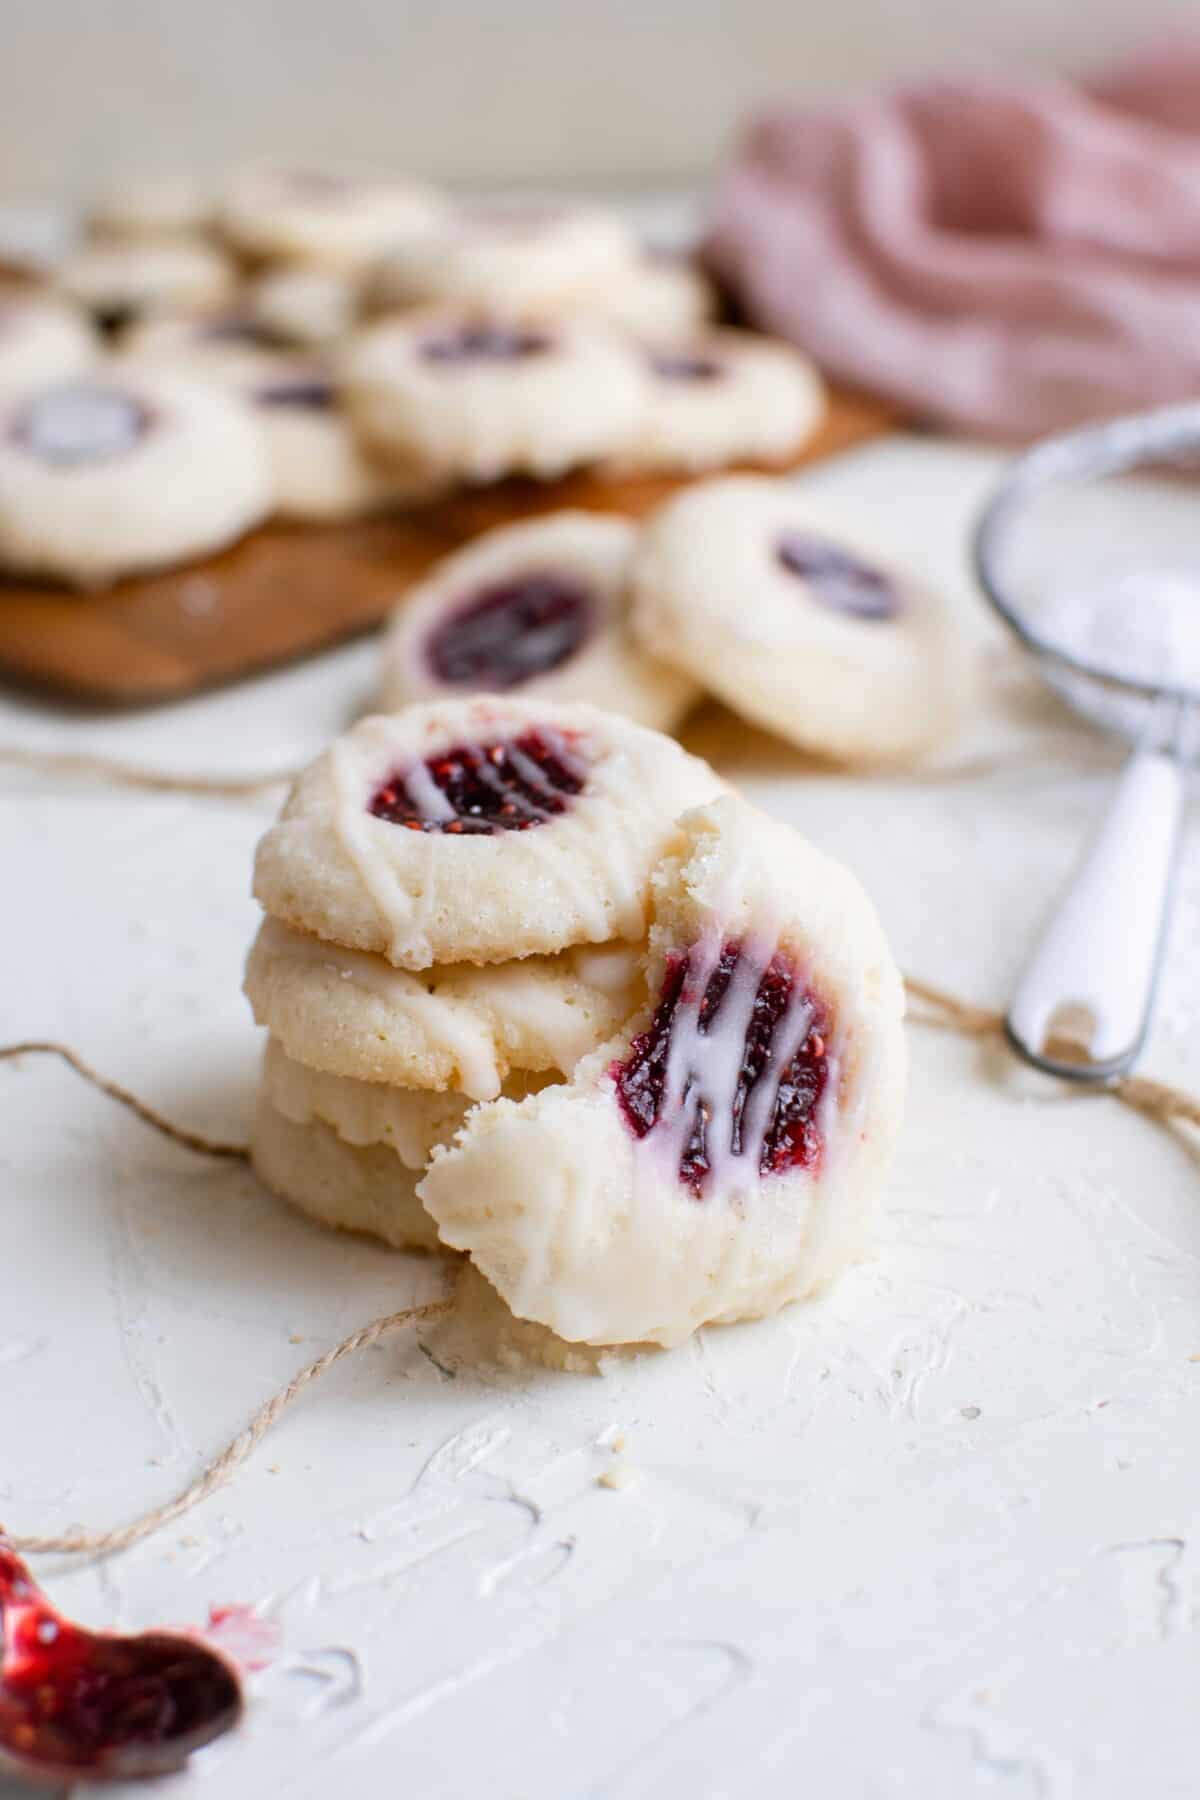
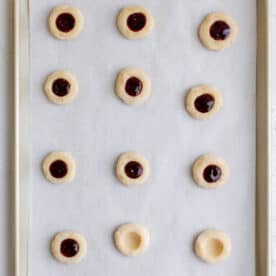
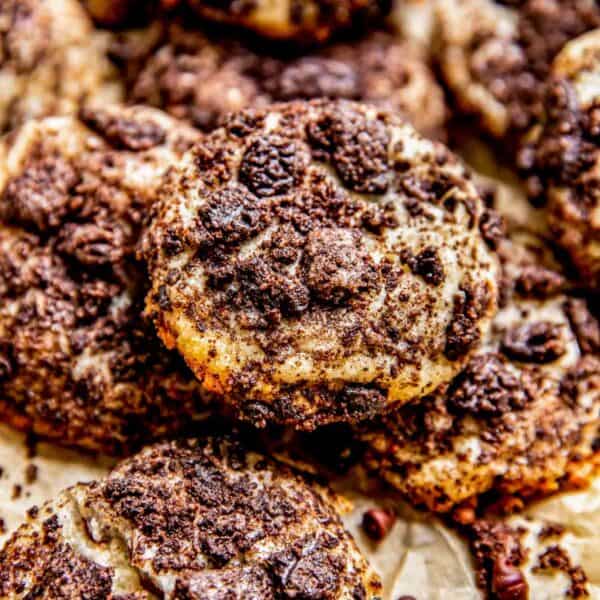
Thumbprint cookies are most often seen around Christmas time when cookie season is on full display. These adorable little cookies get their name from the distinctive “thumbprint” indentation pressed into the center of each unbaked dough ball before baking. These little indentations create the perfect vessel to hold a spoonful of fruity jam. The exterior cookie is soft and tender, they kind of remind me of softer shortbread cookies.
With their perfect balance of sweetness and tang, raspberry thumbprint cookies make an elegant addition to afternoon tea, holiday cookie trays *, or anytime you need a cute, easy-to-make cookie!
Ingredients for Raspberry Thumbprint Cookies
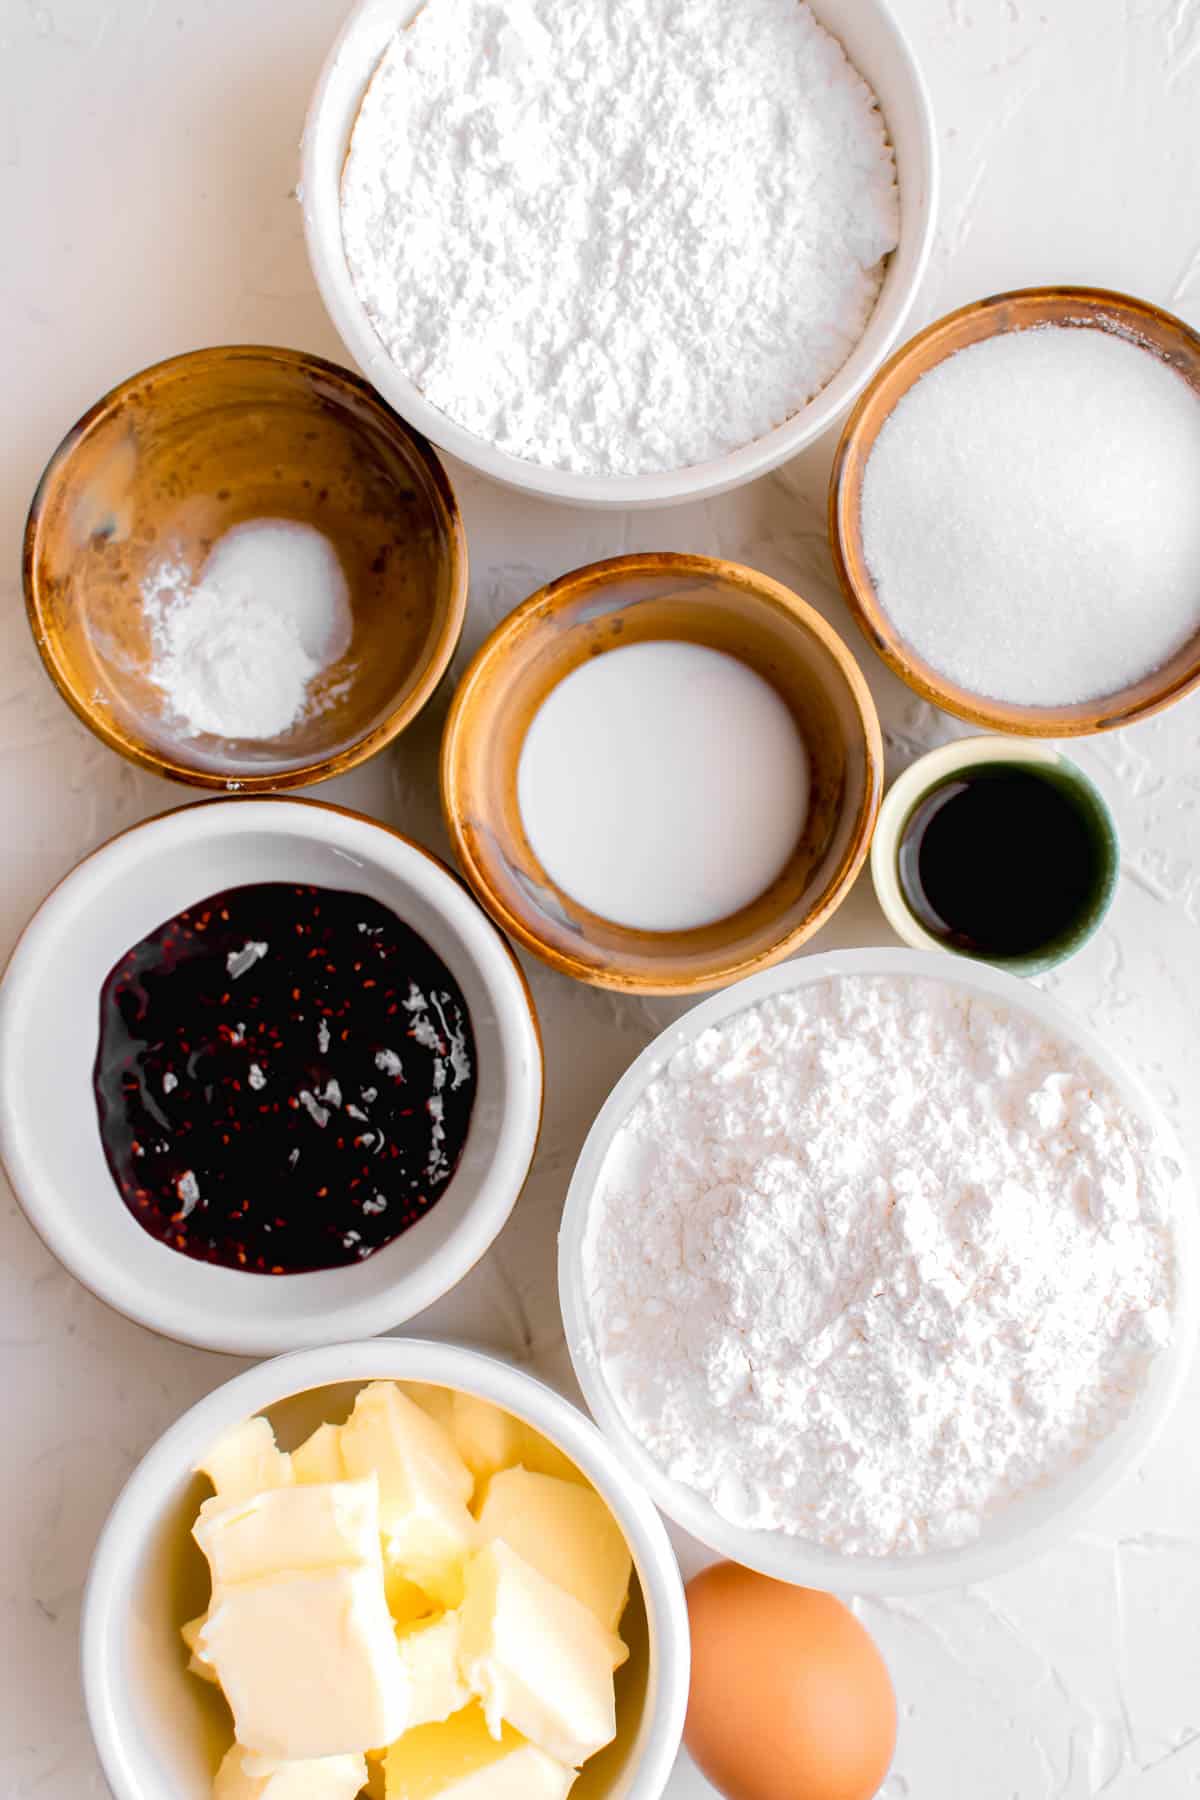
- Butter – unsalted room temperature butter to cream together easily.
- Granulated sugar
- Egg – make sure this is at room temperature so it doesn’t cause the butter to seize and be chunky.
- Vanilla extract – you may replace this with almond extract, if you prefer.
- Powdered sugar – this is also known as confectioner’s sugar.
- All-purpose flour
- Baking powder
- Salt
- Raspberry preserves or raspberry jam
For the icing you’ll need:
- Powdered sugar
- Milk
- Vanilla extract
How to Make Raspberry Thumbprint Cookies Step by Step

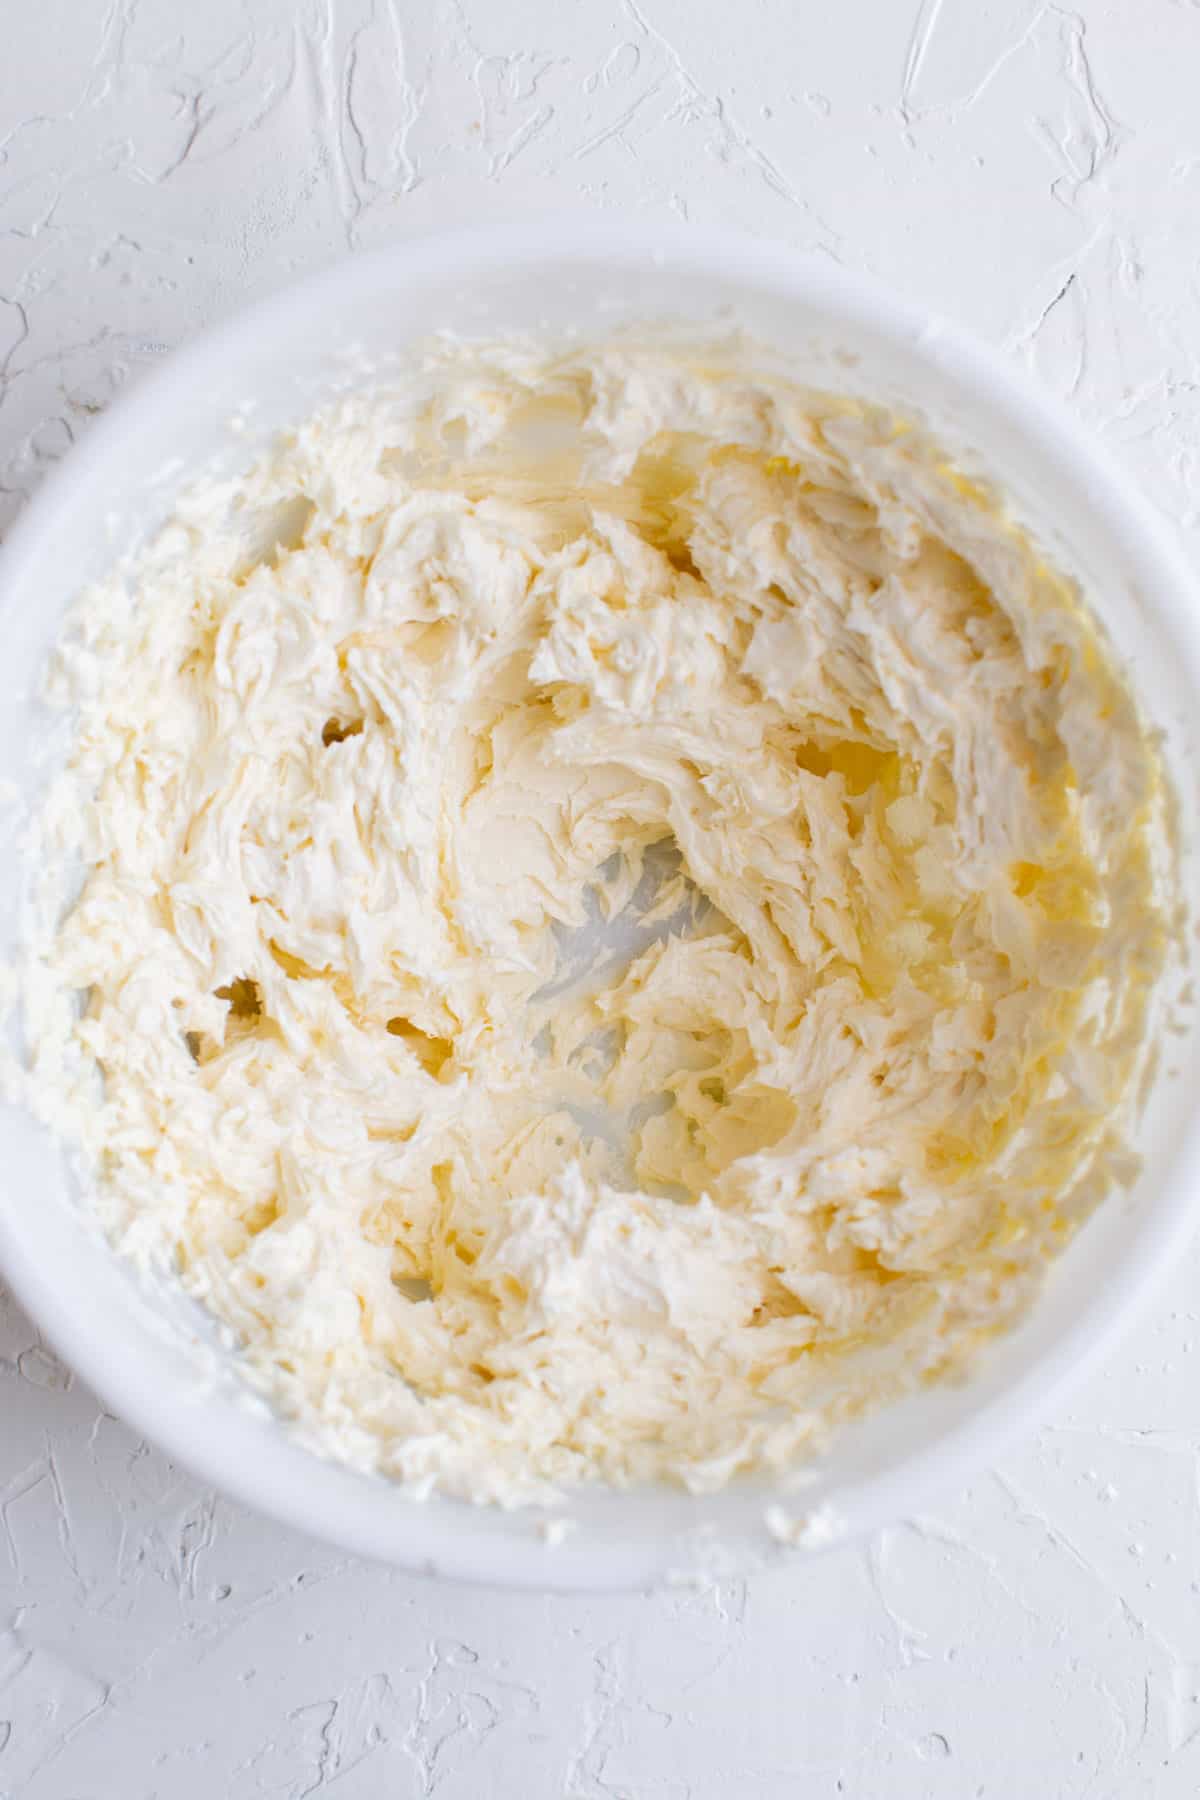
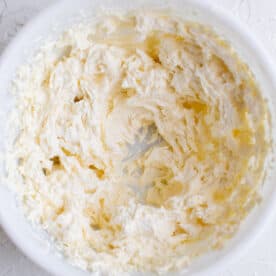
- Cream butter and sugar together. Start out by whipping the butter until it’s light and smooth then add the granulated sugar in and whip together. If using an electric hand mixer, use the beater attachment. If using a stand mixer, use the paddle attachment.
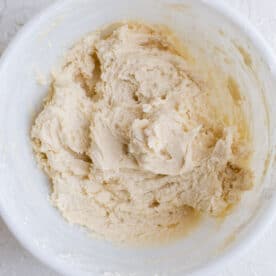
- Add the egg and vanilla extract. Beat in the egg and vanilla extract until well-combined.

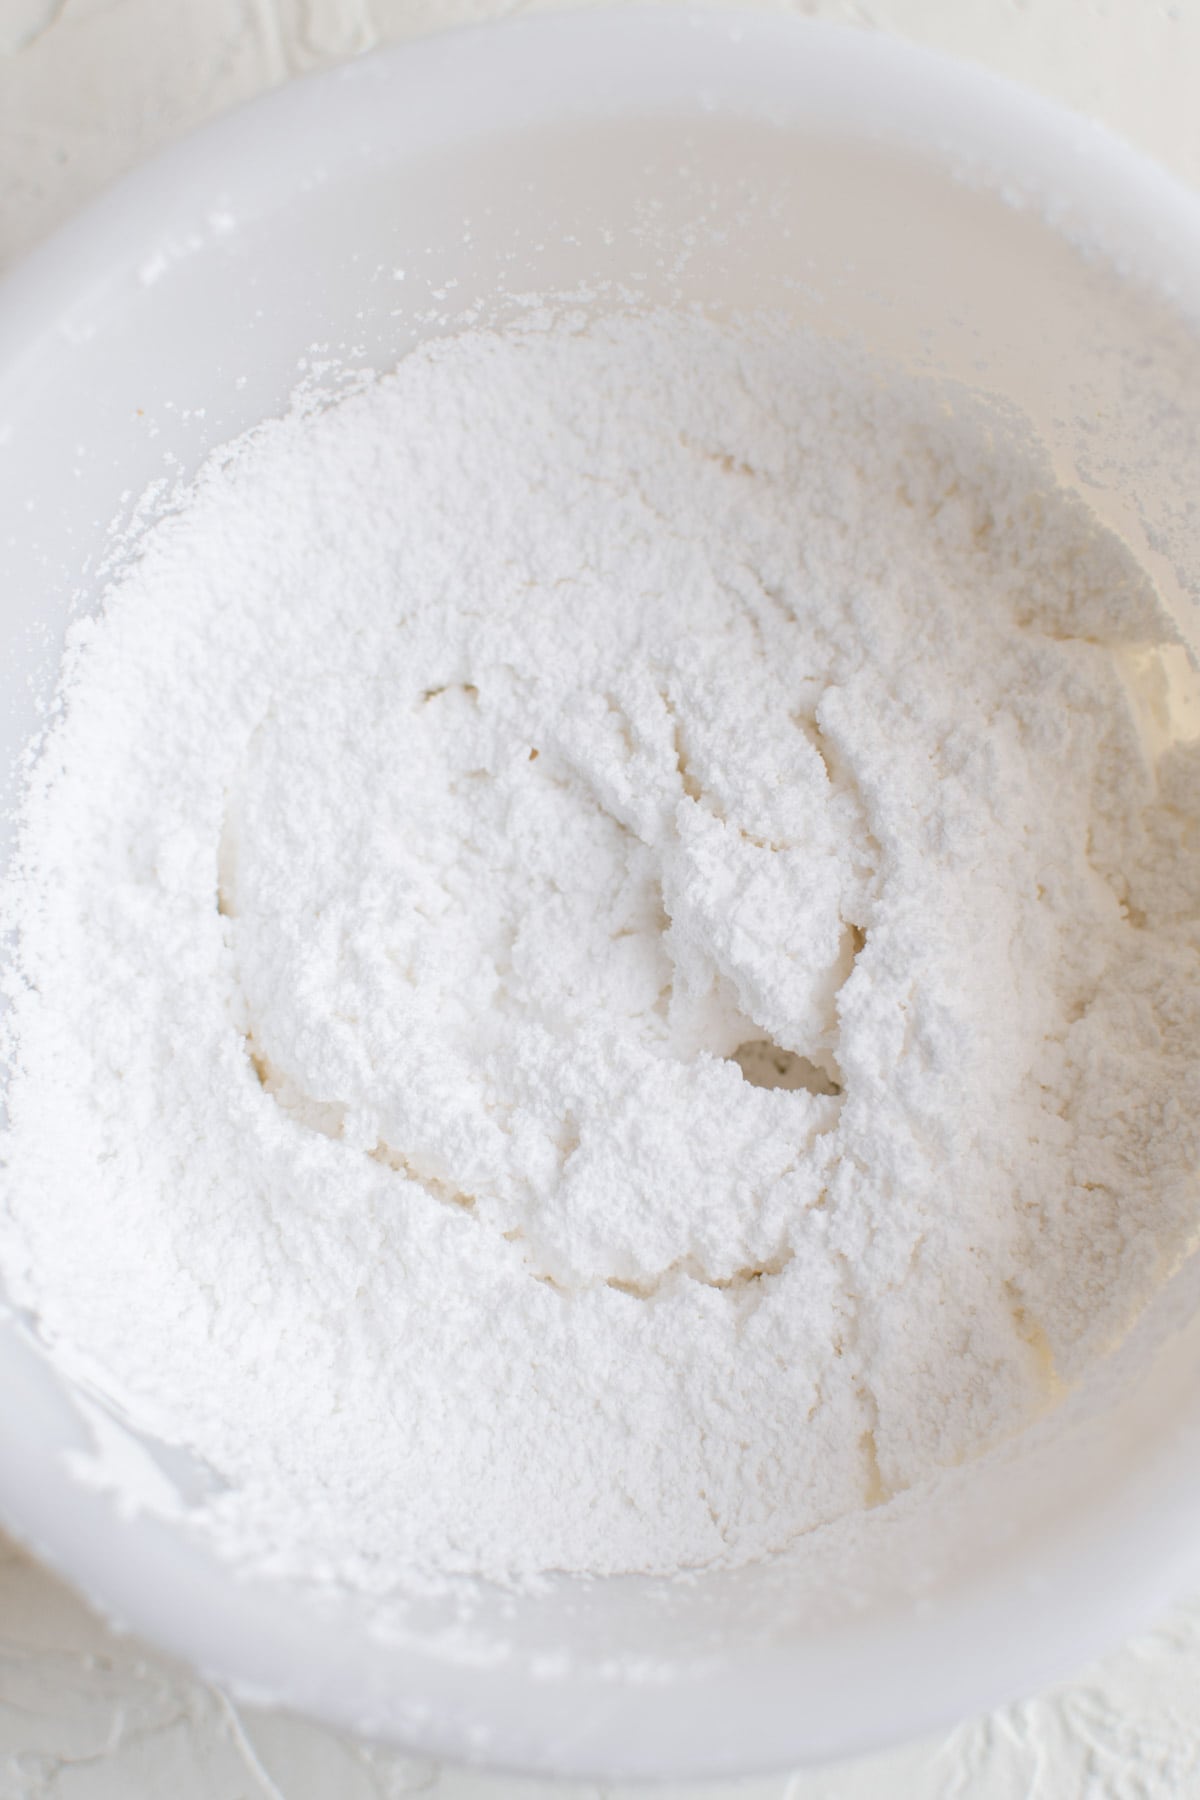
- Sift in powdered sugar. Gently sift the powdered sugar into the mixture and beat until smooth.
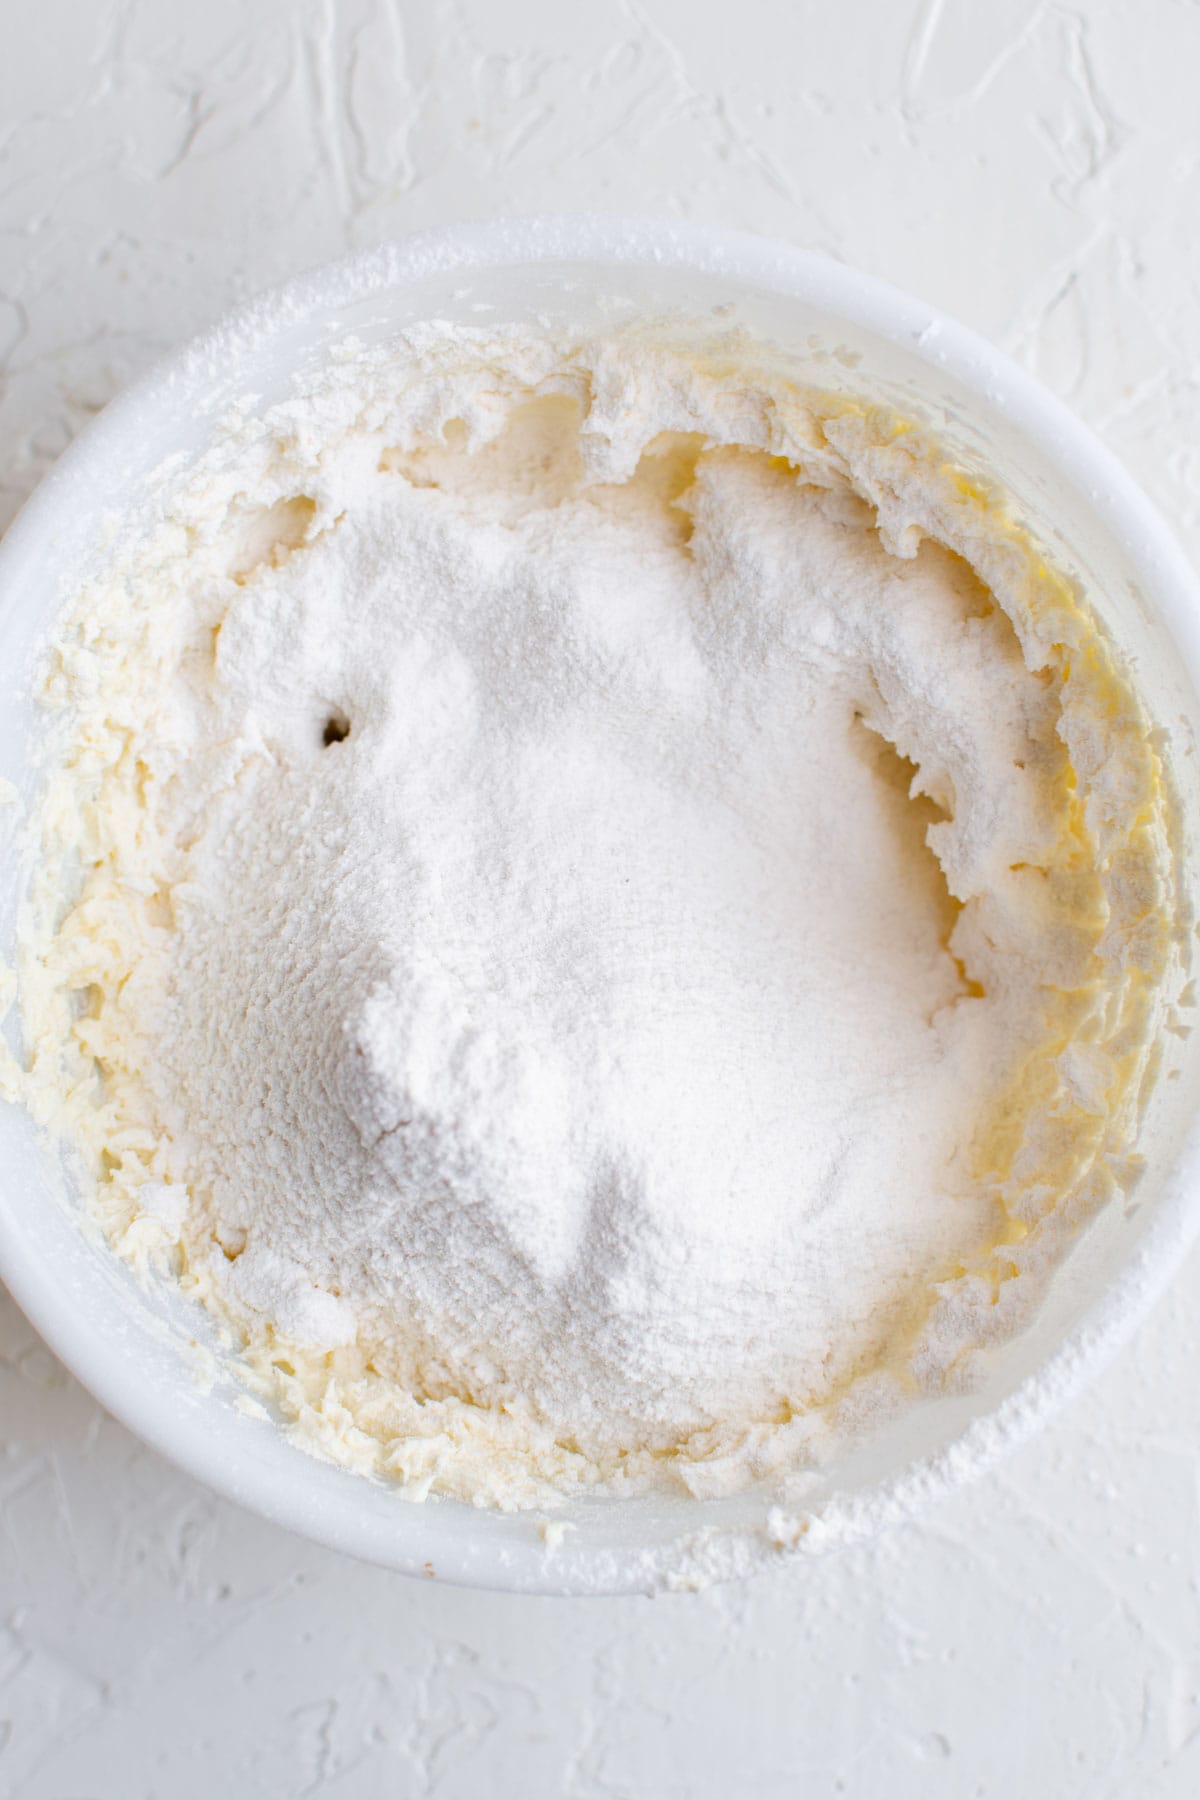
- Mix the dry ingredients. In a separate bowl, whisk together the dry ingredients.
- Combine. Pour the dry ingredients in with the wet ingredients and using a spatula, stir until combined.
- Cover and refrigerate. Allow to chill for at least 1 hour in the refrigerator.
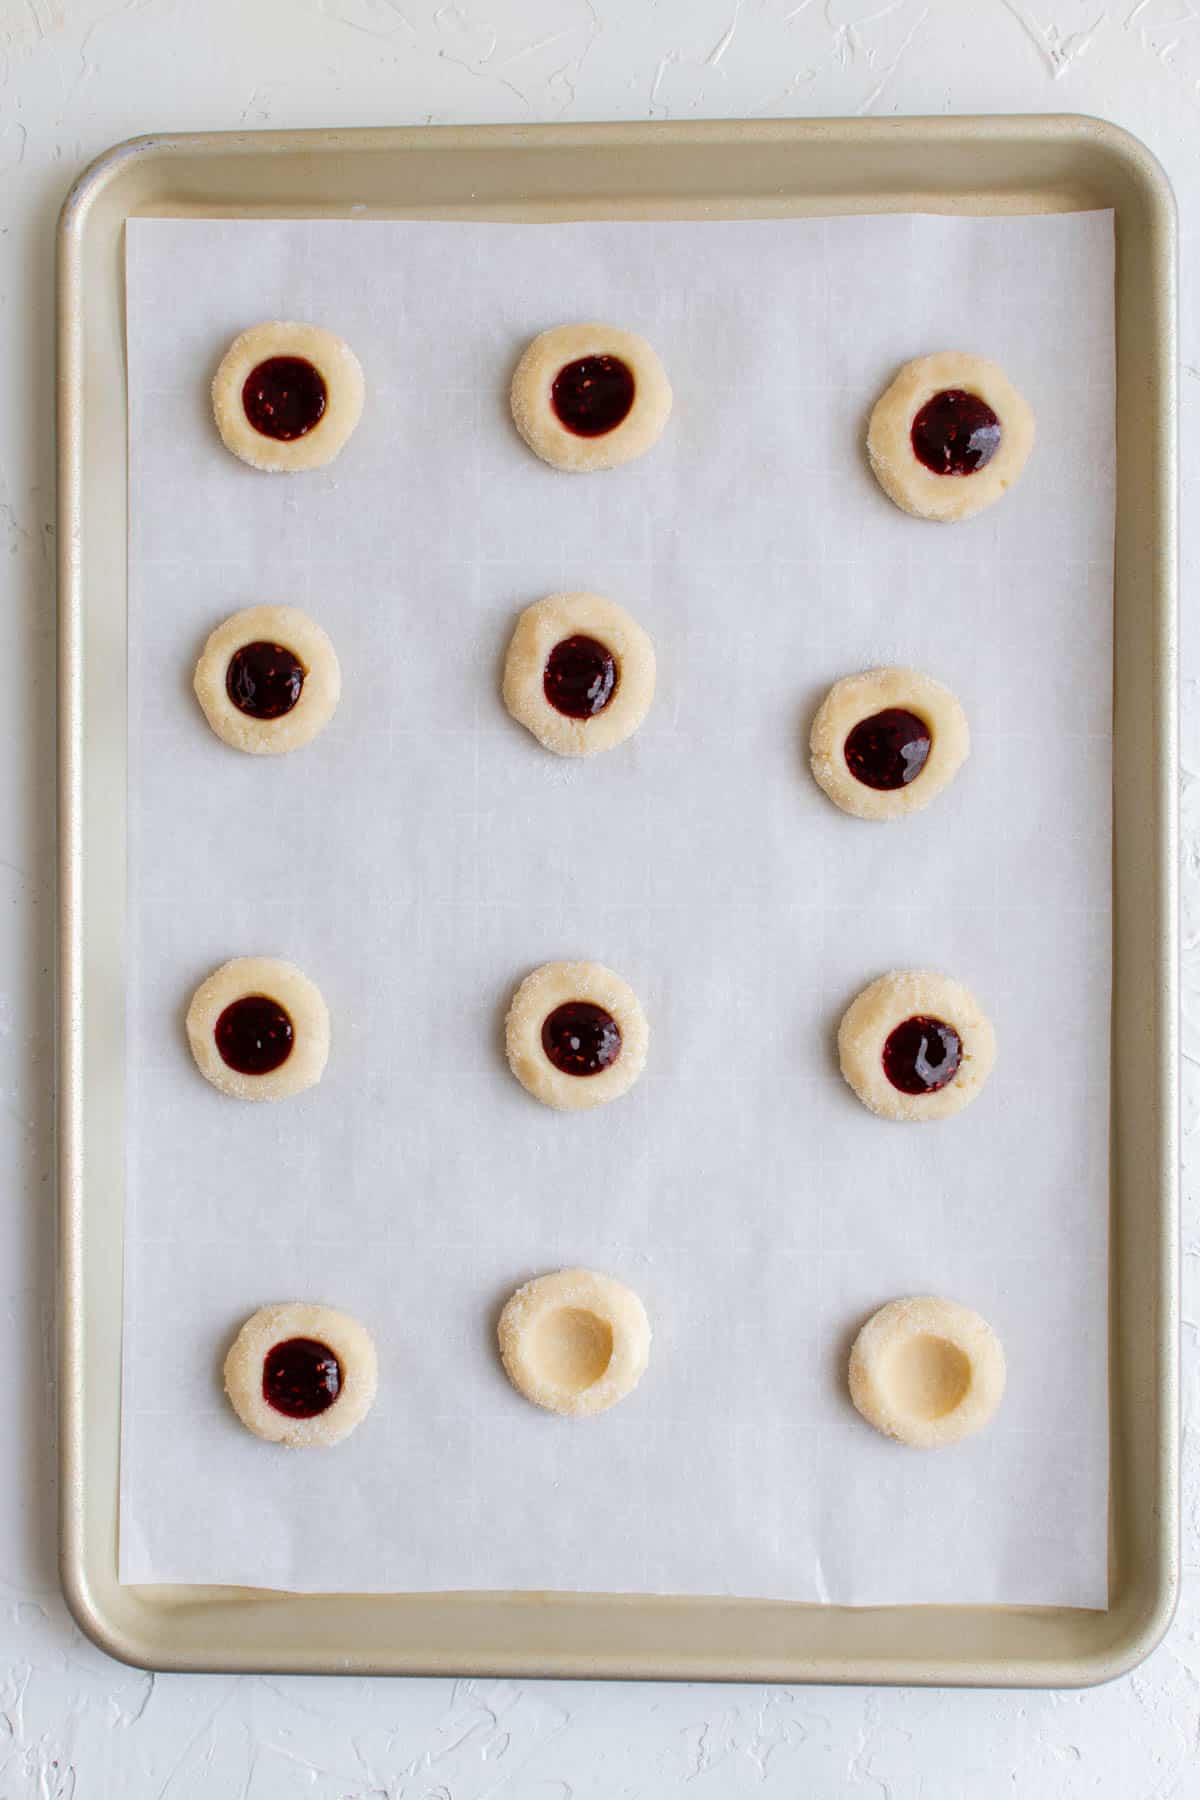

- Time to bake! Once the dough has cooled, preheat the oven to 350 degrees Fahrenheit and take the dough out of the refrigerator. Form 1-inch cookie dough balls and roll it in remaining granulated sugar. Make sure to heat the raspberry preserves in a microwave for 20 seconds. Remove and stir then return to the microwave and heat again for 10 more seconds.
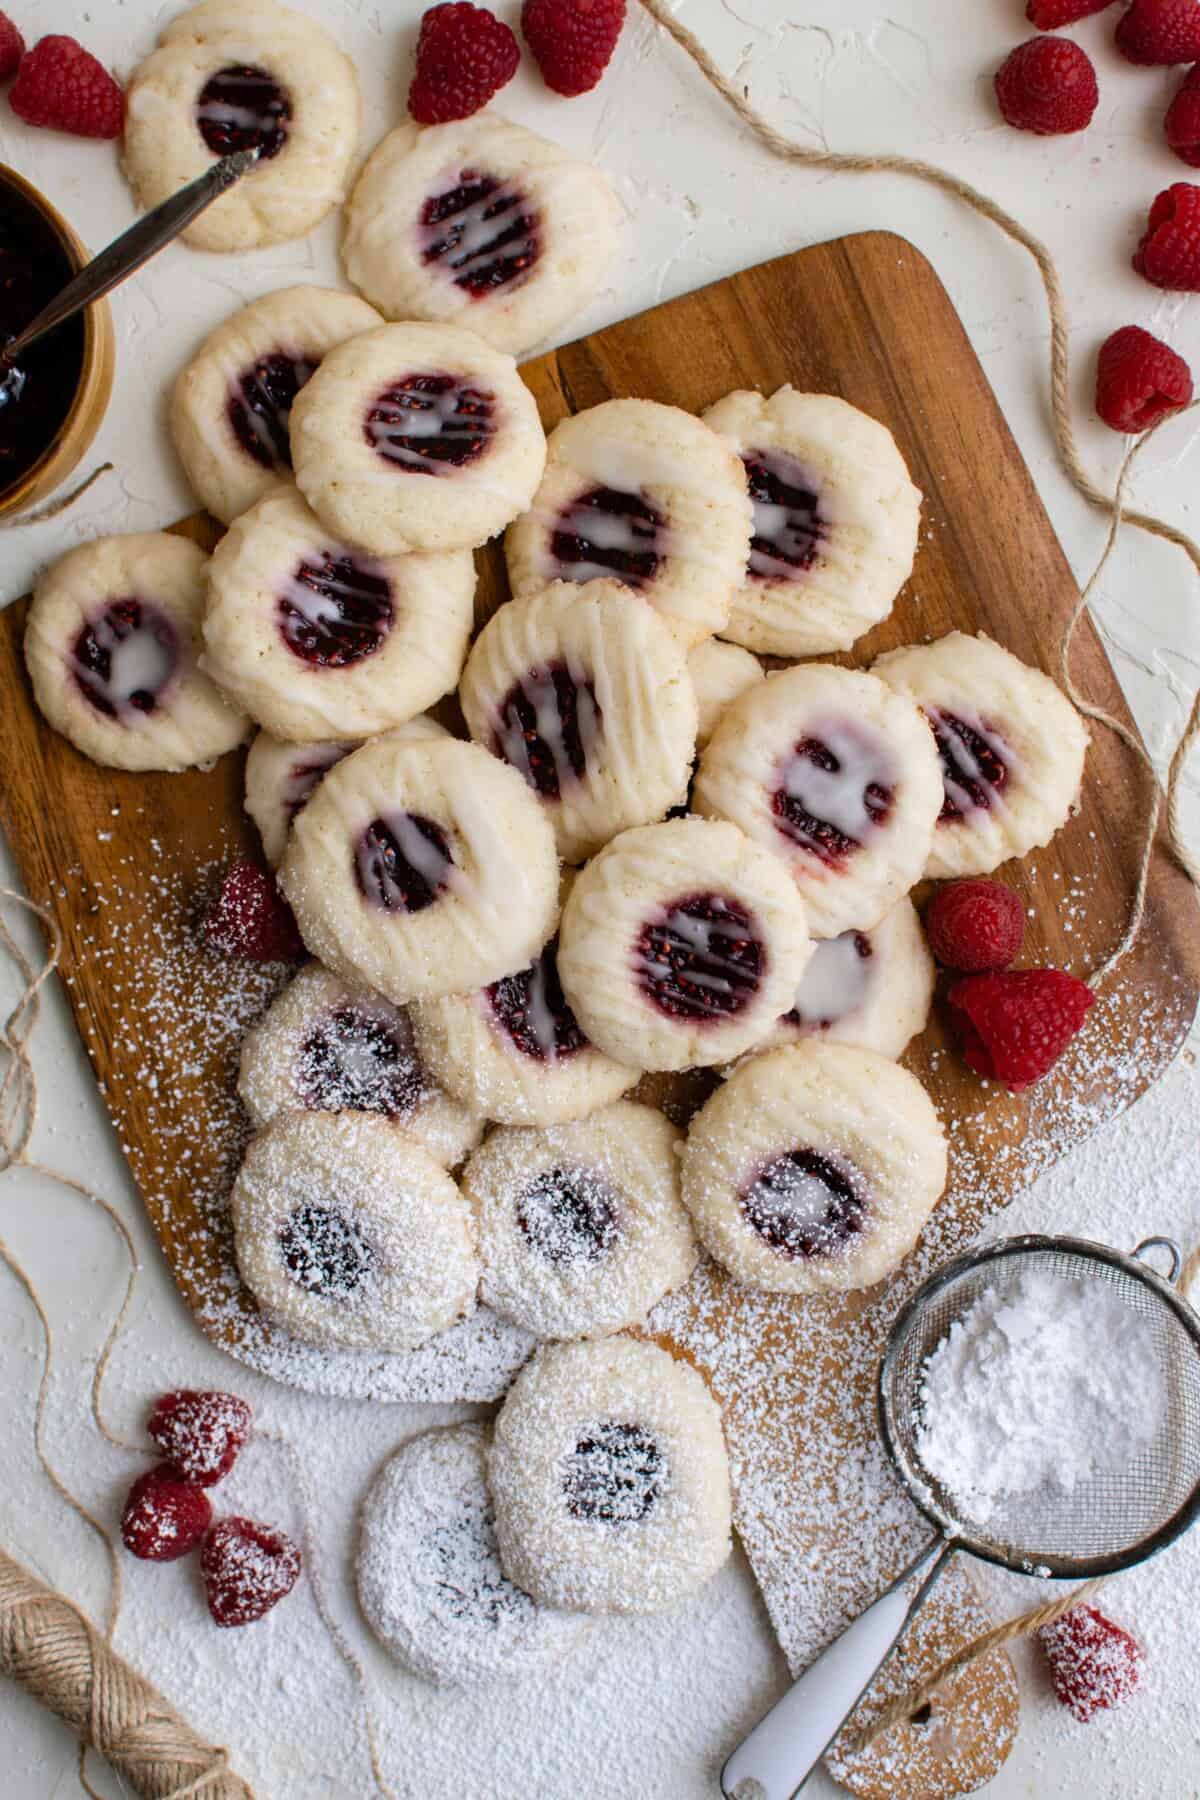
- Make the indention and fill the cavity. Place 9-12 cookies on the cookie sheet and press your thumb or a ¼ teaspoon into the cookies quickly (do not let your thumb or spoon sit or the dough will start to stick). Fill the cavity to the top with the preserves.
- Bake. Bake for 10-12 minutes or until the edges start to brown. When done, allow to cool on baking sheet for 5 minutes before removing and placing on a wire rack to cool completely.
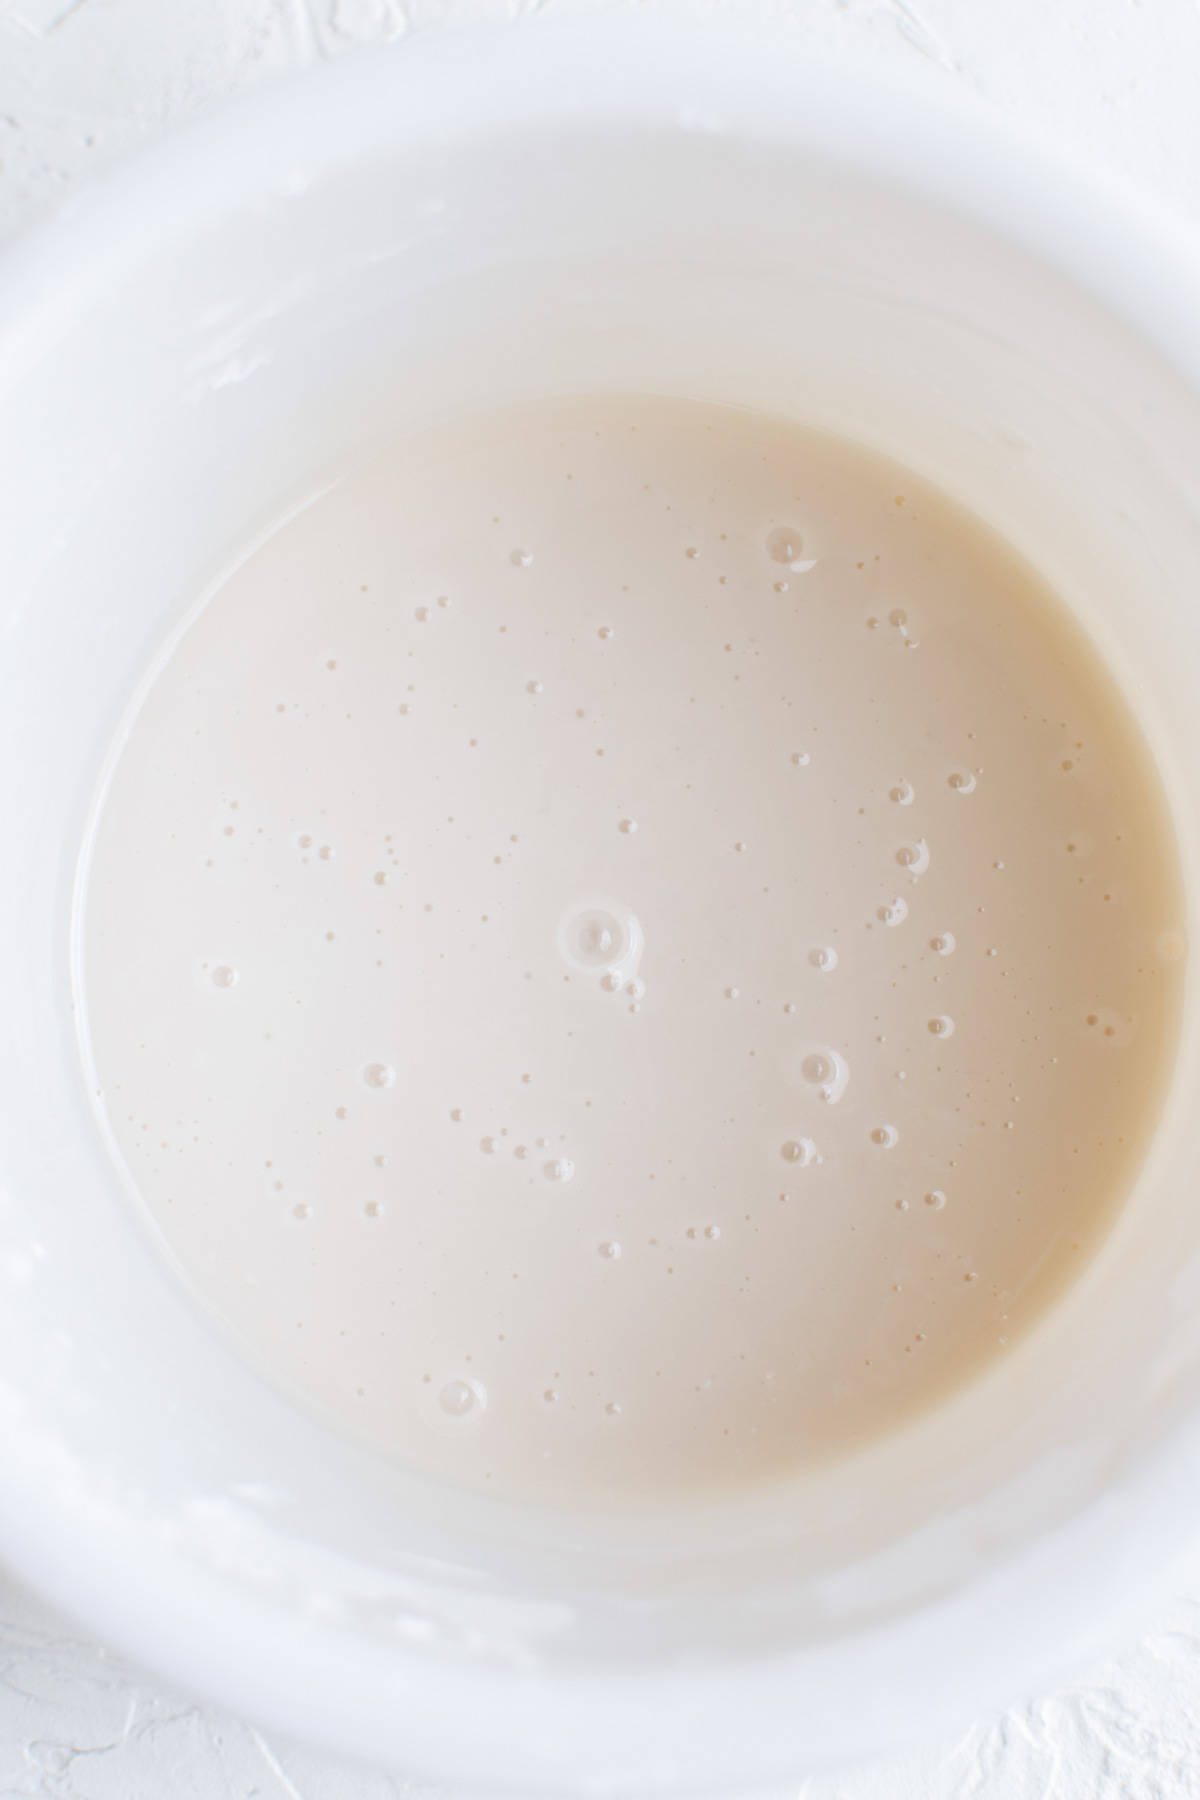
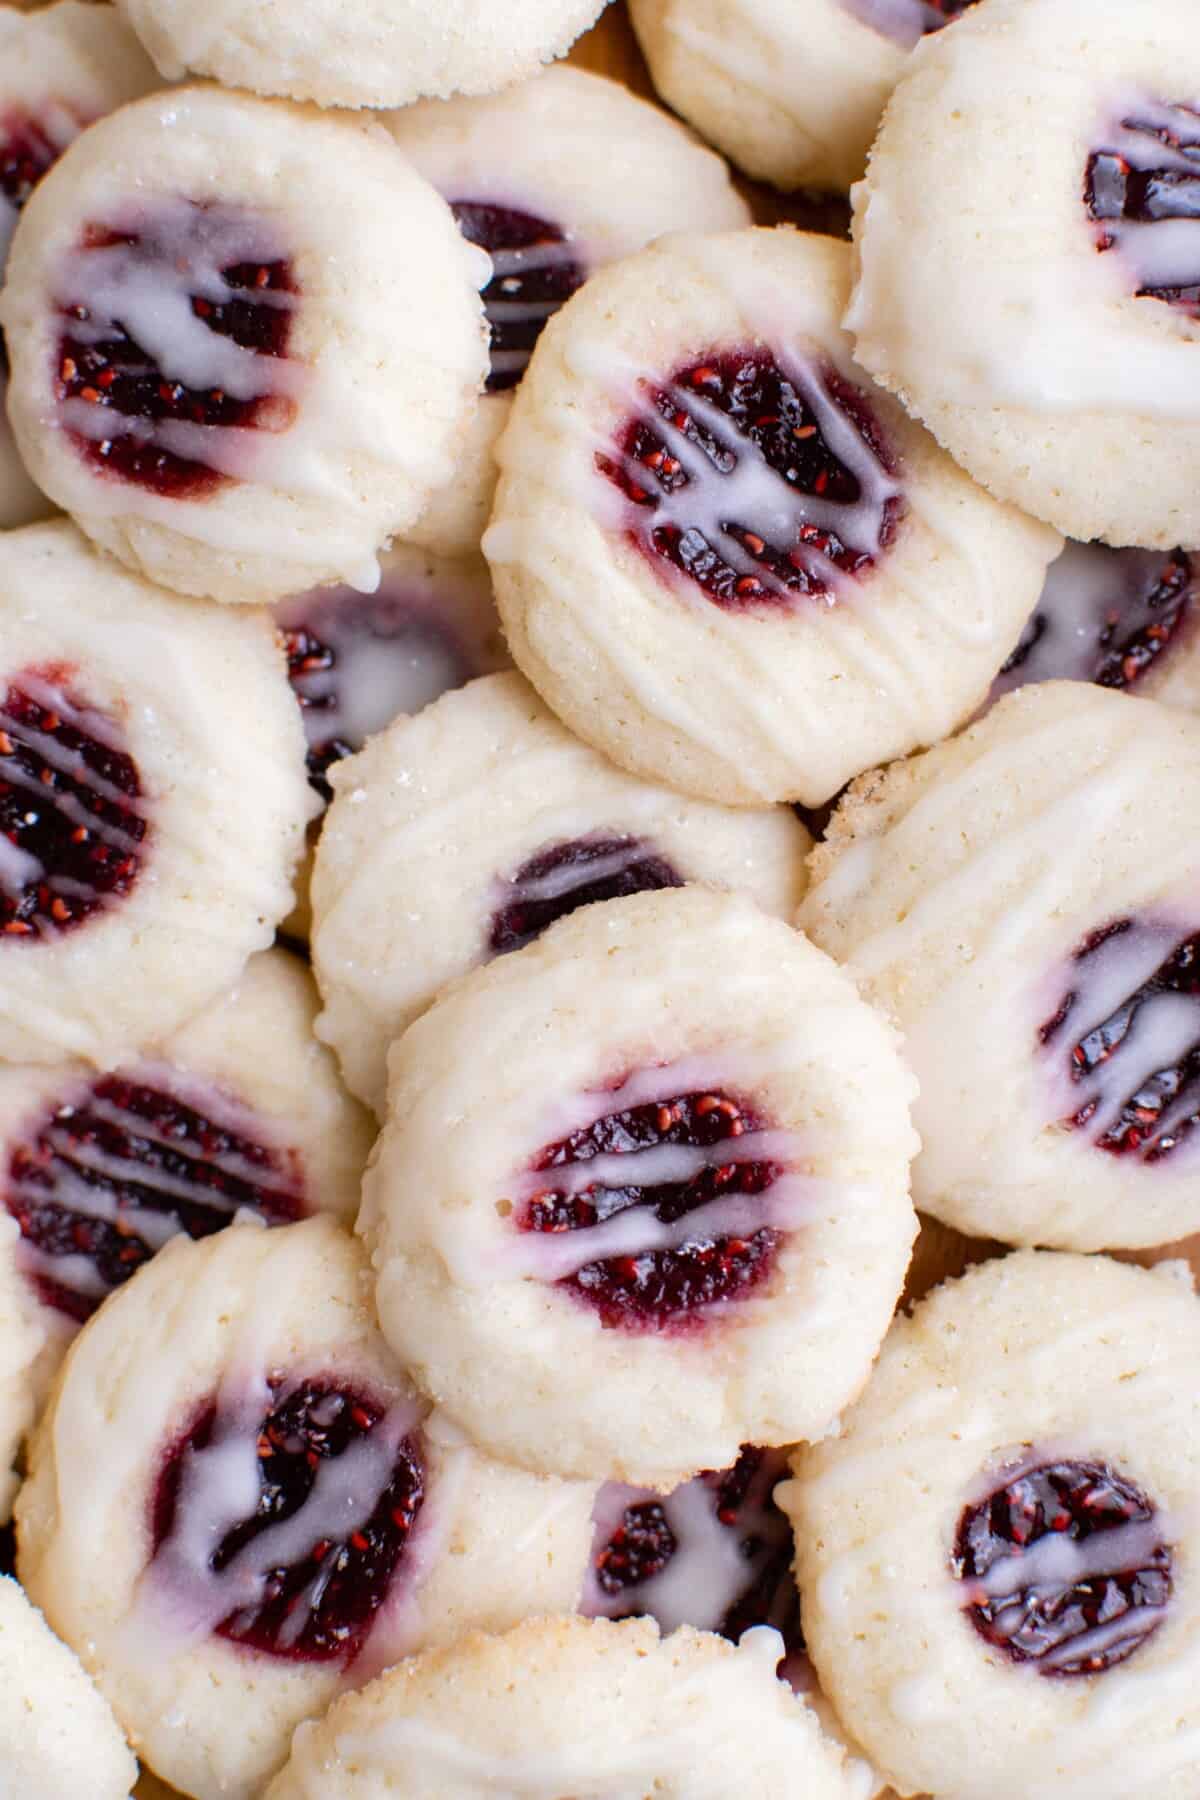
- Make the (optional) icing. In a small bowl, whisk together powdered sugar, milk, and vanilla extract. Drizzle icing on top of cookies in a zig zag pattern. Allow to dry for 10 minutes.
Raspberry Thumbprint Cookie Variations
- Add almond extract. Thumbprint cookies typically use almond extract but I chose to omit it in this recipe because I sometimes feel it can be really overpowering, no matter how much you use, and I really wanted the buttery cookie and sweet raspberry jam to shine through. If you prefer the taste of almond extract, feel free to add in a teaspoon in place of the vanilla extract.
- Use a variety of jams and preserves. You aren’t limited to raspberry preserves in this recipe. You may use the same base recipe and use different jams and preserves in the center! Some ideas are: strawberry, apricot, chocolate ganache, blueberry, and peach.
FAQs
You should definitely fill thumbprint cookies before baking, otherwise the center indention will close up and you won’t be able to fill as much jam or preserves as you like.
A number of things could be happening. First and foremost, if you didn’t allow the dough to chill for ample amount of time, your cookies will spread because of the high butter content. Second, check the expiration date on your baking powder!
You’re pressing too hard and too deep. You only need slight and gentle pressure and you must make sure you do not poke all the way through to the other side.
Storage Instructions
Countertop: these cookies may be stored in an airtight container at room temperature for up to one week.
Freezer: if you know you want to freeze cookies, my suggestion would be to create the dough balls and then freeze. When ready to bake, bring the dough to chilled temperature by allowing it to defrost in the fridge. Remove from the fridge and continue with the remaining steps.
Serving Suggestions
Add these raspberry thumbprint cookies into your holiday cookie box along with these holiday favorites: Gingerbread Man Cookies, Cornflake Marshmallow Wreaths, Classic Linzer Cookies, and Frosted Holiday Sugar Cookies.

Raspberry Thumbprint Cookies
Ingredients
For the cookies:
- 1 cup (227 g) butter, at room temperature
- ½ cup (100 g) granulated sugar, divided
- 1 egg, at room temperature
- 1 teaspoon pure vanilla extract or imitation vanilla flavor
- ¼ cup (30 g) powdered sugar
- 1 ¾ cup (219 g) all-purpose flour
- ½ teaspoon baking powder
- ⅛ teaspoon salt
- ½ cup (170 g) raspberry preserves
For the icing:
- 1 cup (120 g) powdered sugar
- 2-3 tablespoons milk
- ½ teaspoon vanilla extract
Instructions
- Whip the butter with an electric hand mixer until light and smooth. You may also use a stand mixer with the paddle attachment.1 cup (227 g) butter

- Add in ¼ cup of the granulated sugar and mix until light and fluffy.¼ cup (50 g) granulated sugar
- Crack in the egg and pour in the vanilla extract and mix again for another minute. Sift in the powdered sugar and mix until smooth.1 egg, 1 teaspoon pure vanilla extract or imitation vanilla flavor, ¼ cup (30 g) powdered sugar
- In a separate bowl, whisk the flour, baking powder and salt together.1 ¾ cup (219 g) all-purpose flour, ½ teaspoon baking powder, 1/8 teaspoon salt
- Add the dry ingredients into the wet ingredients and stir with a spatula just until combined. Cover and refrigerate for 1 hour.
- Once the dough has cooled, preheat the oven to 350 °F (177 °C). Then prepare a large baking tray with parchment paper or spray with non-stick spray and set it aside.
- Heat the raspberry preserves in a microwave for 20 seconds. Remove and stir, then return to the microwave and heat again for 10 more seconds.1/2 cup (170 g) raspberry preserves
- Remove the dough from the fridge and form a one-inch ball from the dough. Roll it in the remaining granulated sugar.¼ cup (50 g) granulated sugar
- Place 9-12 cookies on the pan, spread evenly and press your thumb or a ¼ teaspoon into the cookies quickly (do not let your thumb or spoon sit or the dough will start to stick). Fill the cavity with preserves just until it reaches the top.
- Bake for 10-12 minutes, or until the edges start to turn a light golden color. Allow cookies to cool on baking sheet for 5 minutes before transferring to a wire rack to cool completely.
- Repeat the baking process until all of the dough has been used and baked.
- To make the icing, sift the powdered sugar into a medium size bowl, pour in the milk and vanilla extract and stir to combine.1 cup (120 g) powdered sugar, 2-3 tablespoons milk, ½ teaspoon vanilla extract
- Lightly drizzle the icing over the cookies and let them dry completely for about 10 minutes before serving.


Unfortunately they were a disaster for me too. I did use 1 cup of butter but they just completely melted in the oven. I used whole wheat flour (as I did for all of my cookies) and idk if that was a deciding factor but they did not taste good at all :( I’ve never made wondow cookies before so it could very well be me but I won’t be attempting again unless I can find a modified version. I’m so sorry! I’m glad to hear it worked for some people. 4 stars because I know how rating affect blogs and girl were just trying to make it all work!
aww im so sorry!! this is the kindest comment for a failed recipe i’ve ever received.
Best recipe for thumbprints I have found.I tried two others and they were dry .These are much better !
wow. this is incredible. tastes so good! (although i did have a leakage of jam) but is was awesome
This recipe was a complete disaster for me. I followed exactly and chilled the dough for over an hour. The dough was very crumbly and when I baked them they melted into oblivion. So disappointed.
Omg, Cindy! I’m so sorry that happened to you! You mentioned the dough was crumbly; can I check with you to see if you used 1 cup of butter or 1 stick of butter? Also they melted probably because of the chill time was too little (although I did it for a hour and that’s why I said it in the recipe) so I’m wondering if 1 hour in the freezer would be better? Anyway, I’m really sorry!