This post may contain affiliate links. Please read our disclosure policy.
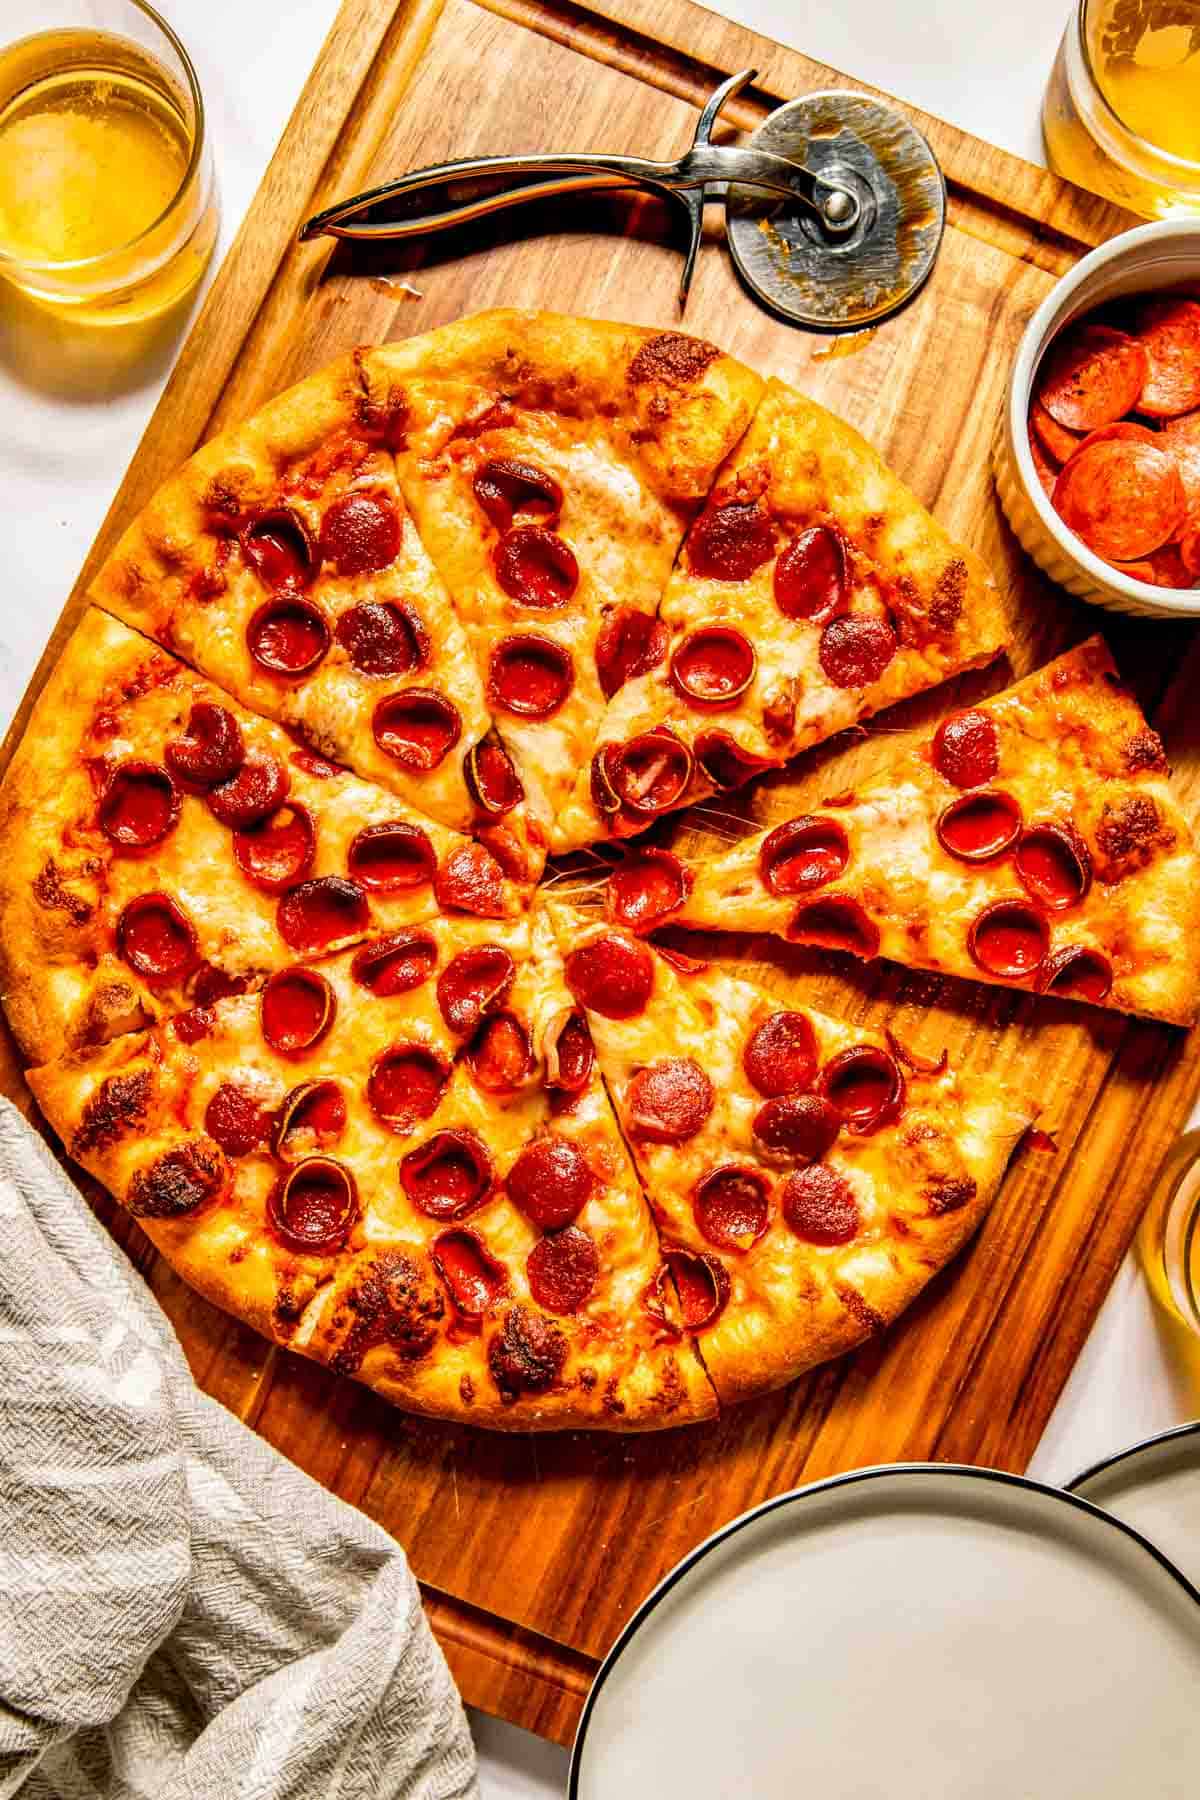
The difference between a good pepperoni pizza and the best pepperoni pizza comes down to the toppings, crust, and technique. This pepperoni pizza recipe is just like getting pizza at your favorite pizzeria. Dare I say it’s better? You be the judge — try it out for yourself!
The Best Pizzeria-Style Pepperoni Pizza
Pizza is one of those things that is so much more cost-effective to make at home than ordering from a pizza place. All you need is an easy pizza dough recipe, your favorite toppings (in this case, pepperoni and cheese), and an oven. You can make the pizza dough in advance and have them on hand for whenever the pizza mood strikes. No delivery fees and no markups.
Pepperoni pizza is probably my favorite type of pizza. You could give me a mountain of pizza toppings and I’ll likely go for pepperoni. It’s safe, it’s classic, and pepperoni is just so good!
How to Make Pepperoni Pizza
- Make the pizza dough and allow time for it to rest.
- Once the dough is ready, preheat the oven and baking stone together at 500 degrees Fahrenheit. Roll out the dough into a 12 inch circle.
- Spread pizza sauce on top of the dough, leaving a 1 inch border around the edge.
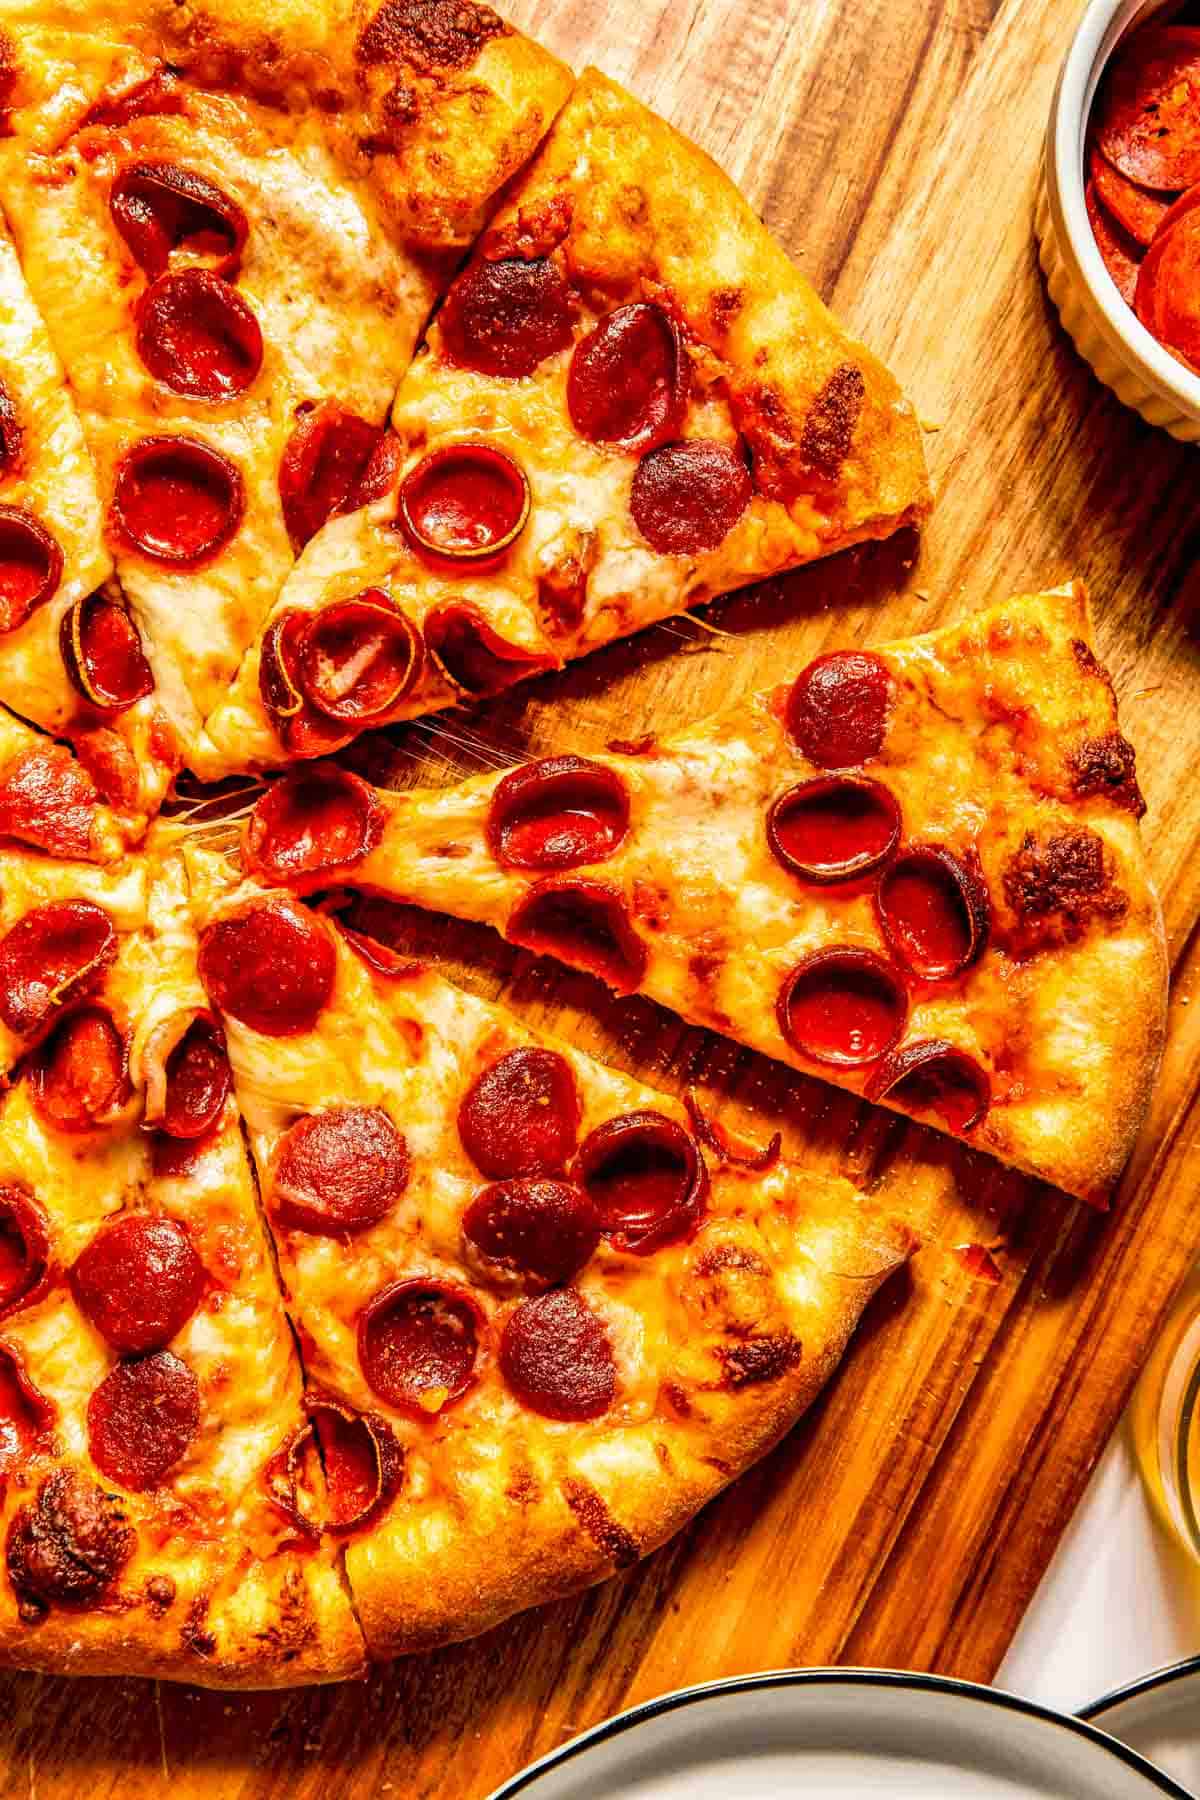
- Sprinkle shredded cheese on top then add copious amounts of pepperoni slices.
- Bake until golden brown, slice, and serve!
Types of Pepperoni
If you love the pepperoni pizza cups (like how it curls up and the pepperoni edges are crisp and the center is filled with oil), then you’ll want to buy pepperoni and slice it yourself. Or, they now do have advertised bagged pepperoni that says it’s pepperoni cups.
You can use turkey pepperoni or whatever pepperoni fits into your dietary needs. Make sure to use a lot of it because baking it shrinks them a bit so coverage before and after can be a bit different.
Pizza Recipe Tips
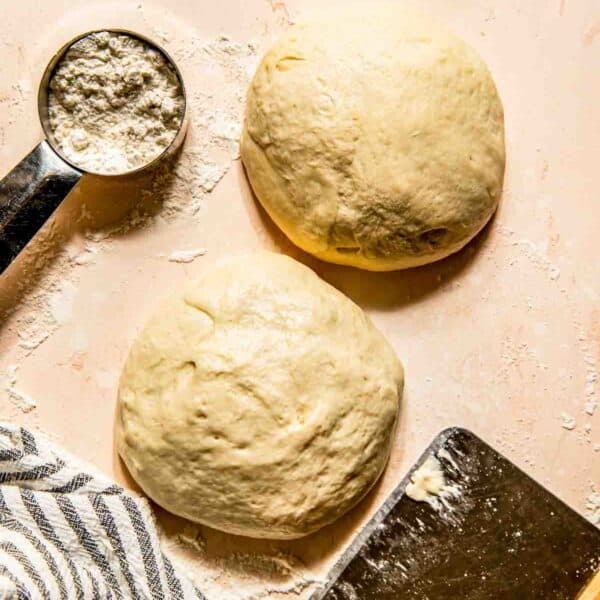
- The process of making this dough is what makes it thin. The chilling process and the COLD ingredients that you must use to make with it. It also does take a bit of planning as you chill this for 24 hours and up to 3 days, but it makes enough dough for two pizzas so you can always freeze one for later.
- The other process of getting this crust to have that CRISPY CRUNCH is the baking stone. I swear by my baking stone. I love pizza crusts that have that crispy edge just like the pizzerias. I never knew how to achieve that until I read that baking stones were essential for that. Well, they really are! They aren’t super expensive and they last forever, so it’s a great investment if you eat as much pizza as we do, and not only that, baking breads on it is wonderful too cause you get that crunchy crust on the bottom.
- Use whole-milk mozzarella. It will change your life. I won’t make casseroles or pizzas without whole milk cheeses now. It really does make a difference. I love how it melts because it’s whole milk so fat = flavor!
Storage and Reheating Instructions
Store pizza slices in a large gallon plastic bag in the refrigerator for up to 4 days. My favorite way to reheat pizza is in an air fryer. It gives it the perfect re-crisp and doesn’t overdo it.
You can also freeze pizza slices. Place leftover pizza slices into a freezer-safe plastic bag and freeze for up to 3 months. To reheat, directly place pizza slices into the air fryer and reheat until warmed through!
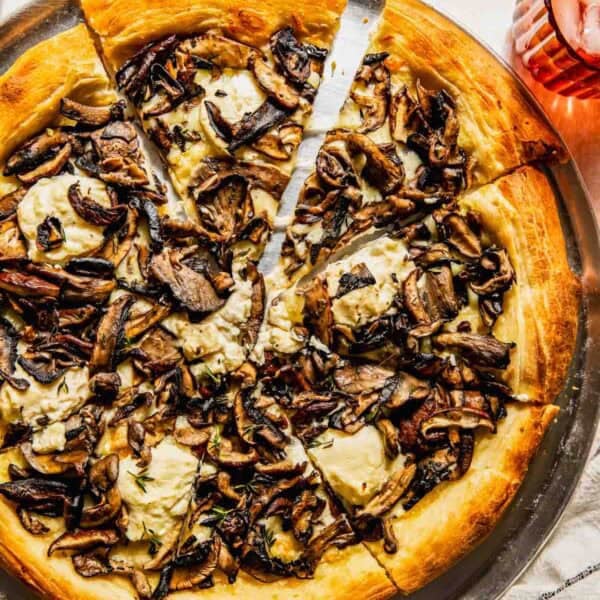
Pepperoni Pizza Goes Great With…
Make pizza night a true pizzeria feast and pair this pizza with garlic knots, a basic chopped salad, and some homemade ranch dressing!
Pepperoni Pizza
Equipment
Ingredients
- 1 recipe for pizza dough
- 1 cup (245 g) of your favorite pizza sauce, homemade or store-bought
- 2 cups (473 g) shredded, whole-milk mozzarella cheese
- Pepperoni slices
Instructions
- An hour before making the pizza, preheat oven to 500 °F (260 °C) and adjust the oven rack to the 2nd highest position. Place your baking stone on top.
- Remove the pizza dough from the fridge and divide in half. If you plan on freezing the other half of your dough for later use, this is the time to do it.1 recipe for pizza dough
- Form your dough into ball and lightly oil it. Cover and let rise for 1 hour.
- Transfer your dough to a floured work space and flatten to an 8-inch disc.
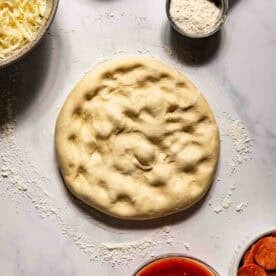
- Using your hands, gently stretch the dough to a 12-inch circle. You may need your rolling pin at this time to help you get the crust thin. Take the cornmeal and spread it over a pizza peel then place your pizza dough on top. Gently stretch it to 13-inches.

- Start layering your toppings, leaving a 1-inch border from the edge: marinara sauce, mozzarella, and pepperoni.1 cup (245 g) of your favorite pizza sauce, 2 cups (473 g) shredded, Pepperoni slices

- Carefully transfer the pizza onto the pizza stone and bake for 10-12 minutes until crust is golden brown and cheese is bubbly and melted.
- Let cool for about 5-10 minutes before slicing and serving.
Notes
Nutrition
Photographs by Meg McKeehan Photography


I finally got to make this pizza and it was the best I’ve ever made! i love the crust especially! It is perfect! I will making this crust and freezing it to have on hand. Thank you so much for this recipe.
Is it just the regular blade in the processor or do you have to have the “special” dough blade?
I used the regular blade! I’m afraid to use the dough blade ’cause I feel like the dough would snap that plastic thing right off!
Oooh, I love Annie’s pizza crusts and this picture and recipe is killing me at 10:45 at night!! I totally agree with you on full-fat cheese, no substitutes!!
I just learned the other day from our local Italian place, who have THE BEST pizza, not only their crust, but the cheese is fantastic! They said their secret to the cheese was whole milk, from Wisconsin. They said California cheese is eh, but the best comes from Wisconsin. Well we usually bake a pie on Friday’s….so I sent the hubs to the store (I’m recovering from surgery), I told him to look for some whole milk cheese, knowing he probably won’t find/look for good cheese. He calls me ten times (at least) saying he can’t find any whole milk cheese…which I should have known, and not even asked him to look..(can’t believe how much 1% cheese they are pushing in the pre-shredded cheese selection at the markets). I finally told him not to worry honey. Well, the smart man he is, went to the deli, and had them cut him some whole milk cheese. What a sweetie! Now, I didn’t ask him if it came from Wisconsin though…lol! Your pizza looks fab. Just saw this recipe, will have to give it a whirl when I’m up to it.
I just tried your crust recipe this morning, and I have a question for you. After adding the salt and oil, about how long do you process? I kept waiting for it to leave the side of the bowl completely, and because the ball of dough had the processor off-balance, the motor was overheating! I probably processed it for one good minute, but it was still really sticky. I’m afraid I cooked the yeast! It’s in the fridge now, but I’m not sure if it’s going to work.
I probably only processed it less than 30 seconds. Usually I find that if the dough is still sticky, just add more flour or just completely take it out of the food processor and hand roll it into a ball with some flour and it should be good :) I don’t think the motor heating up would kill your yeast. You should be fine!
Well I just found a reason to buy a baking stone. Hello homemade pizza!
I love the baking stone idea — it’s a life changer! Can’t stand a soggy pizza crust ;)
I’m not usually a thin crust pizza girl, but this is one of my favorite recipes!! It yields the most delicious pizza and your post reminds me that I need to get on making it again soon – preferably with pepperoni :)
Okay, so I am stupid-obsessed with pizza. And I would eat it nightly if I could afford it (or if I wouldn’t weigh 2384682374 pounds). I’ve always wanted to make pizzeria-style pizza at home but whenever I try, it always tastes… off. Who knew the secret was in cold dough and a pizza stone?! Now I’m headed to Sur La Table after work to get one.. and maybe Macy’s so I can buy some fat pants.
I have a pizza stone but rarely use it. I need to break it out this weekend for pizza night! This looks perfect and way better than any delivery pizza!