This post may contain affiliate links. Please read our disclosure policy.
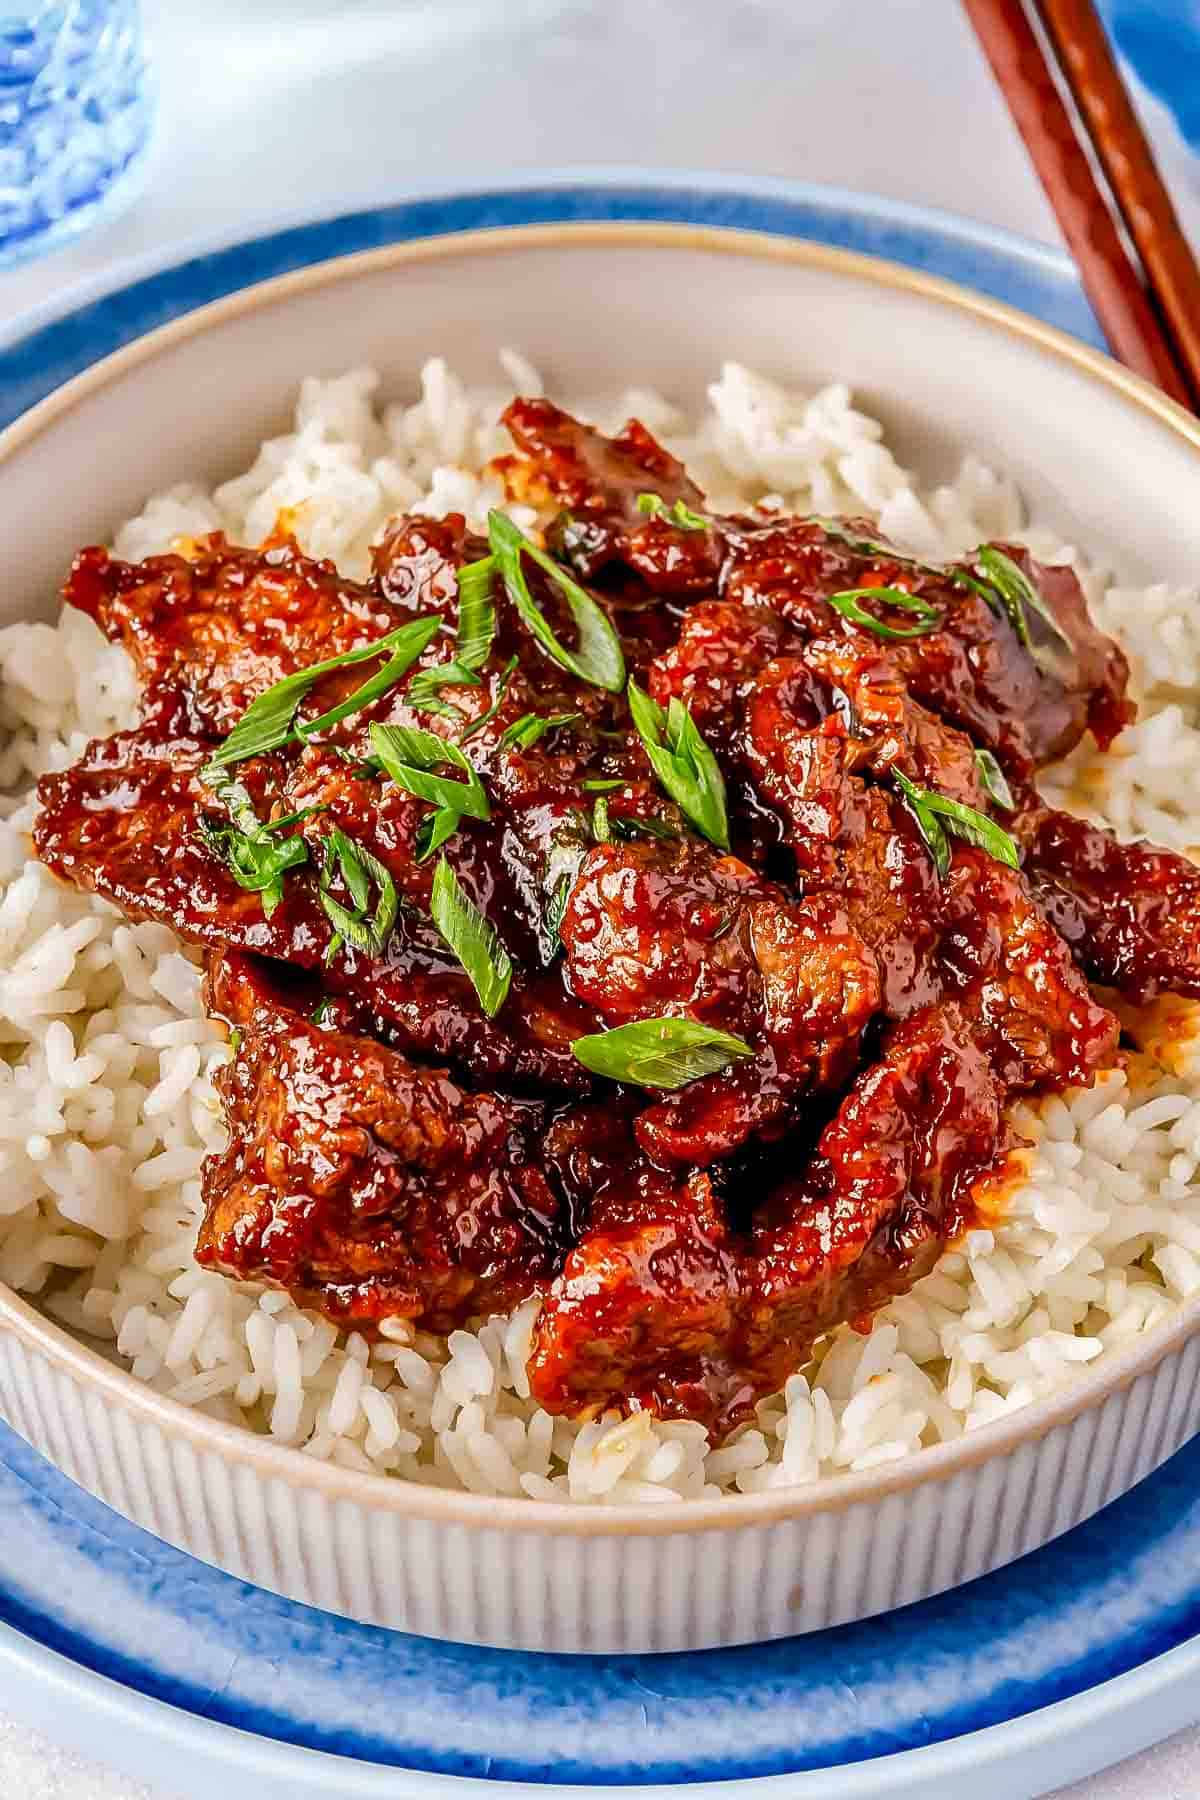
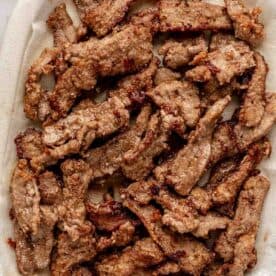
This better-than-takeout Mongolian beef recipe is thinly sliced beef crisped to perfection and finished in a velvety, sweet, and savory sauce. This Chinese take-out classic takes 30 minutes to make at home!

Imagine the sizzle of a pan, the smell of a sweet and savory sauce, the crunch of crispy, yet tender beef… yum. There’s nothing like making your favorite restaurant meal at home. This Mongolian beef is a mouthwatering DIY version of a classic Chinese take-out dish. It’s SO simple to make, too.
Thin slices of tender beef are crisped to perfection and coated in a velvety sauce filled with the flavors of zesty ginger, garlic, and brown sugar. Add a pop of color from sliced scallions and call it a day. So before you pick up the phone to dial takeout, think again!
Why You’ll Love This Take-Out Mongolian Beef Recipe
This better-than-take-out Mongolian beef is a favorite for many reasons. Allow me to name a couple.
- Quick and easy. This homemade Mongolian beef is easy to make in 30 minutes.
- Customizable. Making this Mongolian beef at home will give you peace of mind knowing that you’re using less grease and quality ingredients. Customize the flavors and add-ins however you’d like!
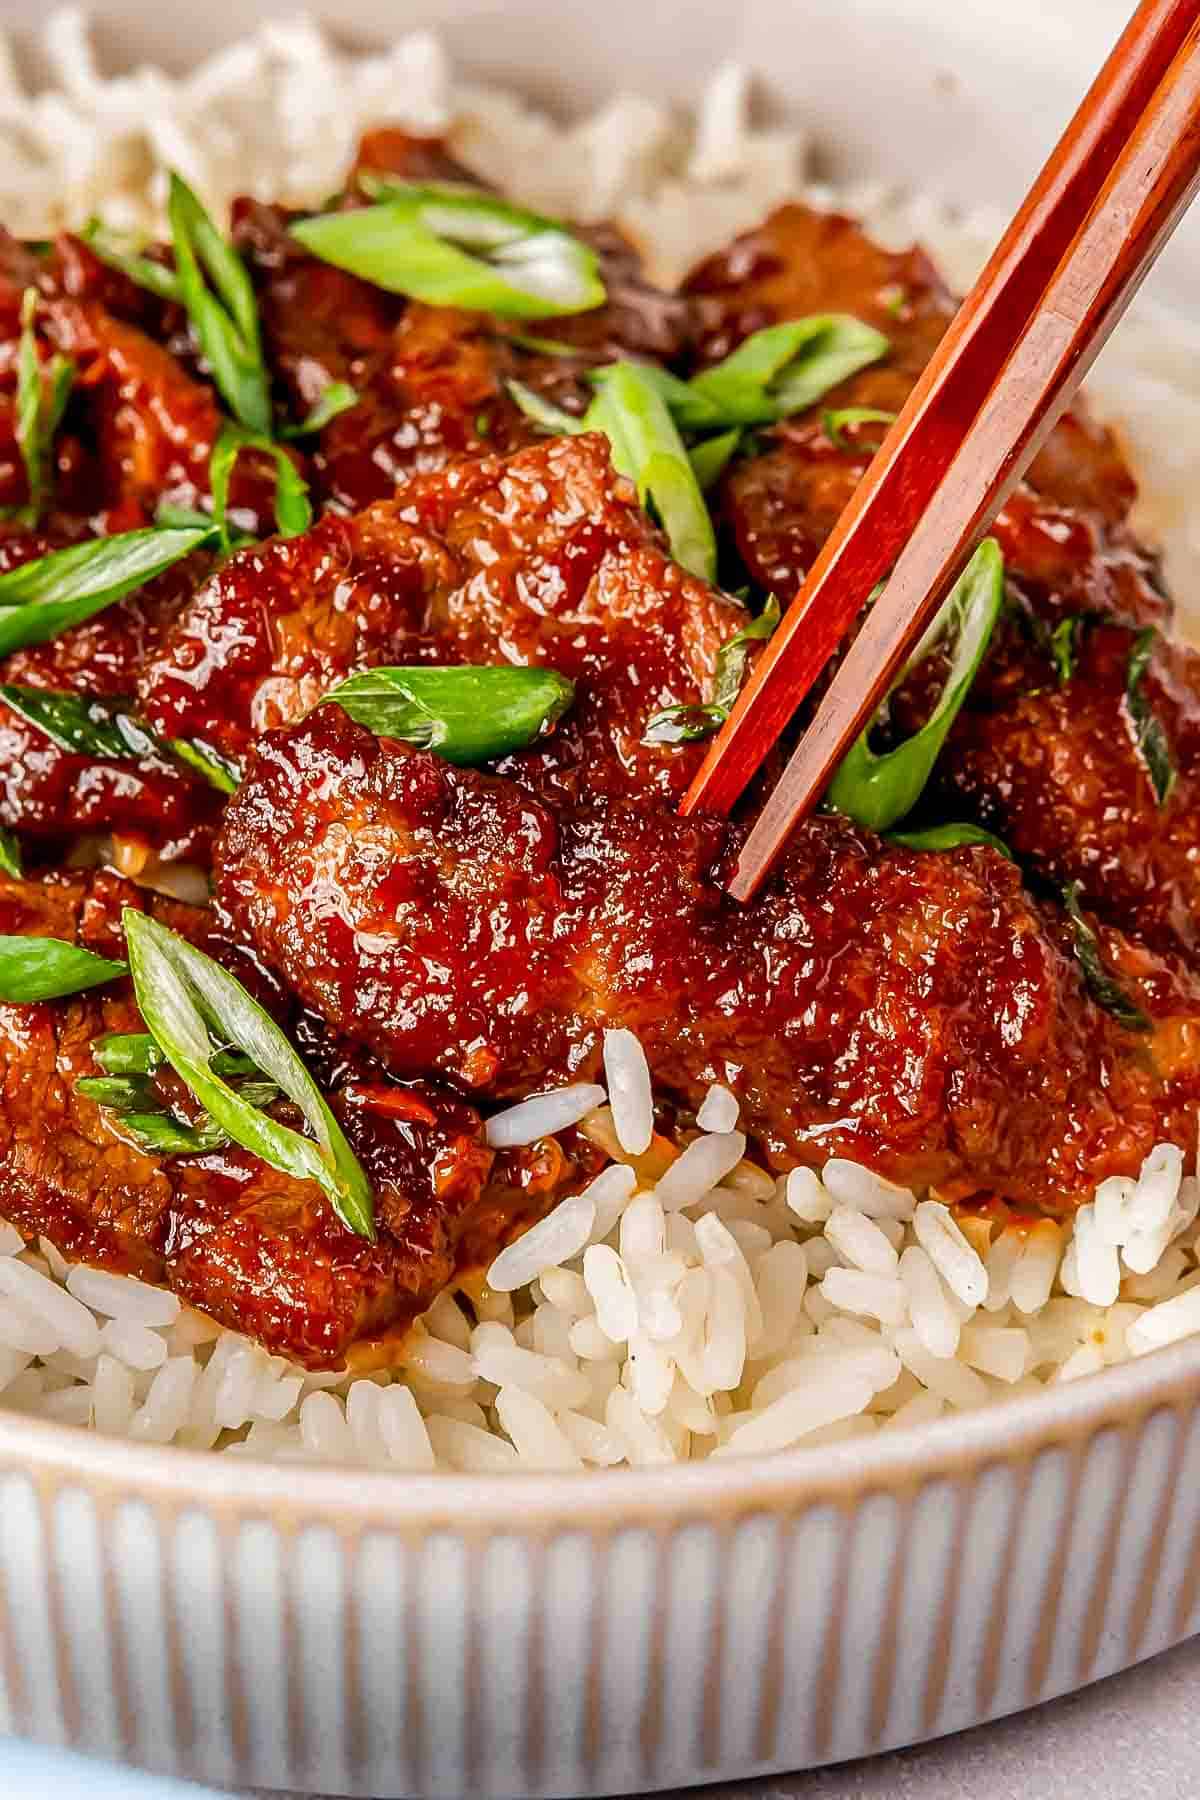
- Crispy and flavorful. The flavor-texture combo of this dish is to die for. The sweet and savory sauce matched with beef that is perfectly crispy on the outside and delightfully tender on the inside will have you coming back for seconds.
What Is Mongolian Beef?
Mongolian beef is a popular dish served in Chinese restaurants. Contrary to the name, this dish comes from Taiwan, not Mongolia. The typical Mongolian beef found in American-Chinese restaurants consists of thinly sliced beef stir-fried in a wok with green onions and finished in a luscious, sweet, and savory sauce.
Using Other Cuts of Beef
Flank steak is my top pick, but you can achieve a similar result with skirt steak or thinly sliced chuck roast (like you’ll find in my Vietnamese boc luc lac). Whichever beef you choose, look for a cut that has some fat in it. Fat adds to the flavor of the dish and leads to a more tender, melt-in-your-mouth entree. Interested in learning about the various cuts of beef? Check out this informative article.
Tips for Success
Want to know how to take your Mongolian beef to the next level? Here are some tips and tricks that will help you achieve a successful outcome.
- Don’t skip the cornstarch. Cornstarch is crucial in this recipe for 2 reasons. (1) It contributes to the crispiness of the beef once seared and (2) it is responsible for the thickening of the sauce at the end of the recipe. So don’t forget to coat the beef in cornstarch.
- Don’t coat the beef too long in advance. Aim to toss your beef slices in cornstarch about 10 minutes ahead of cooking. Allowing the beef to sit in the cornstarch for too long will cause it to get mushy, and no one wants that.
- Use enough heat. Attempting to sear the beef in a pan that isn’t quite hot enough will leave you disappointed. It will not caramelize properly and will spend too long in the pan, causing it to toughen and release liquid. Also, the cornstarch will not activate as a thickening agent unless it has enough heat to work with.
- Sear in batches. If you crowd the pan, it will cool down quickly, making it harder to get the sear you are looking for. The beef will release its moisture, leaving you with a less-than-crispy, tough bite.
What Does Coating Beef in Cornstarch Do?
In Chinese cooking, coating meat in cornstarch is called velveting, and it’s the secret to moist, tender, and crispy beef in classic Mongolian beef recipes. Meat that’s left uncoated will release its liquid as it cooks. Cornstarch locks in the juices while crisping the outside, making the meat more tender.
What to Serve with Mongolian Beef
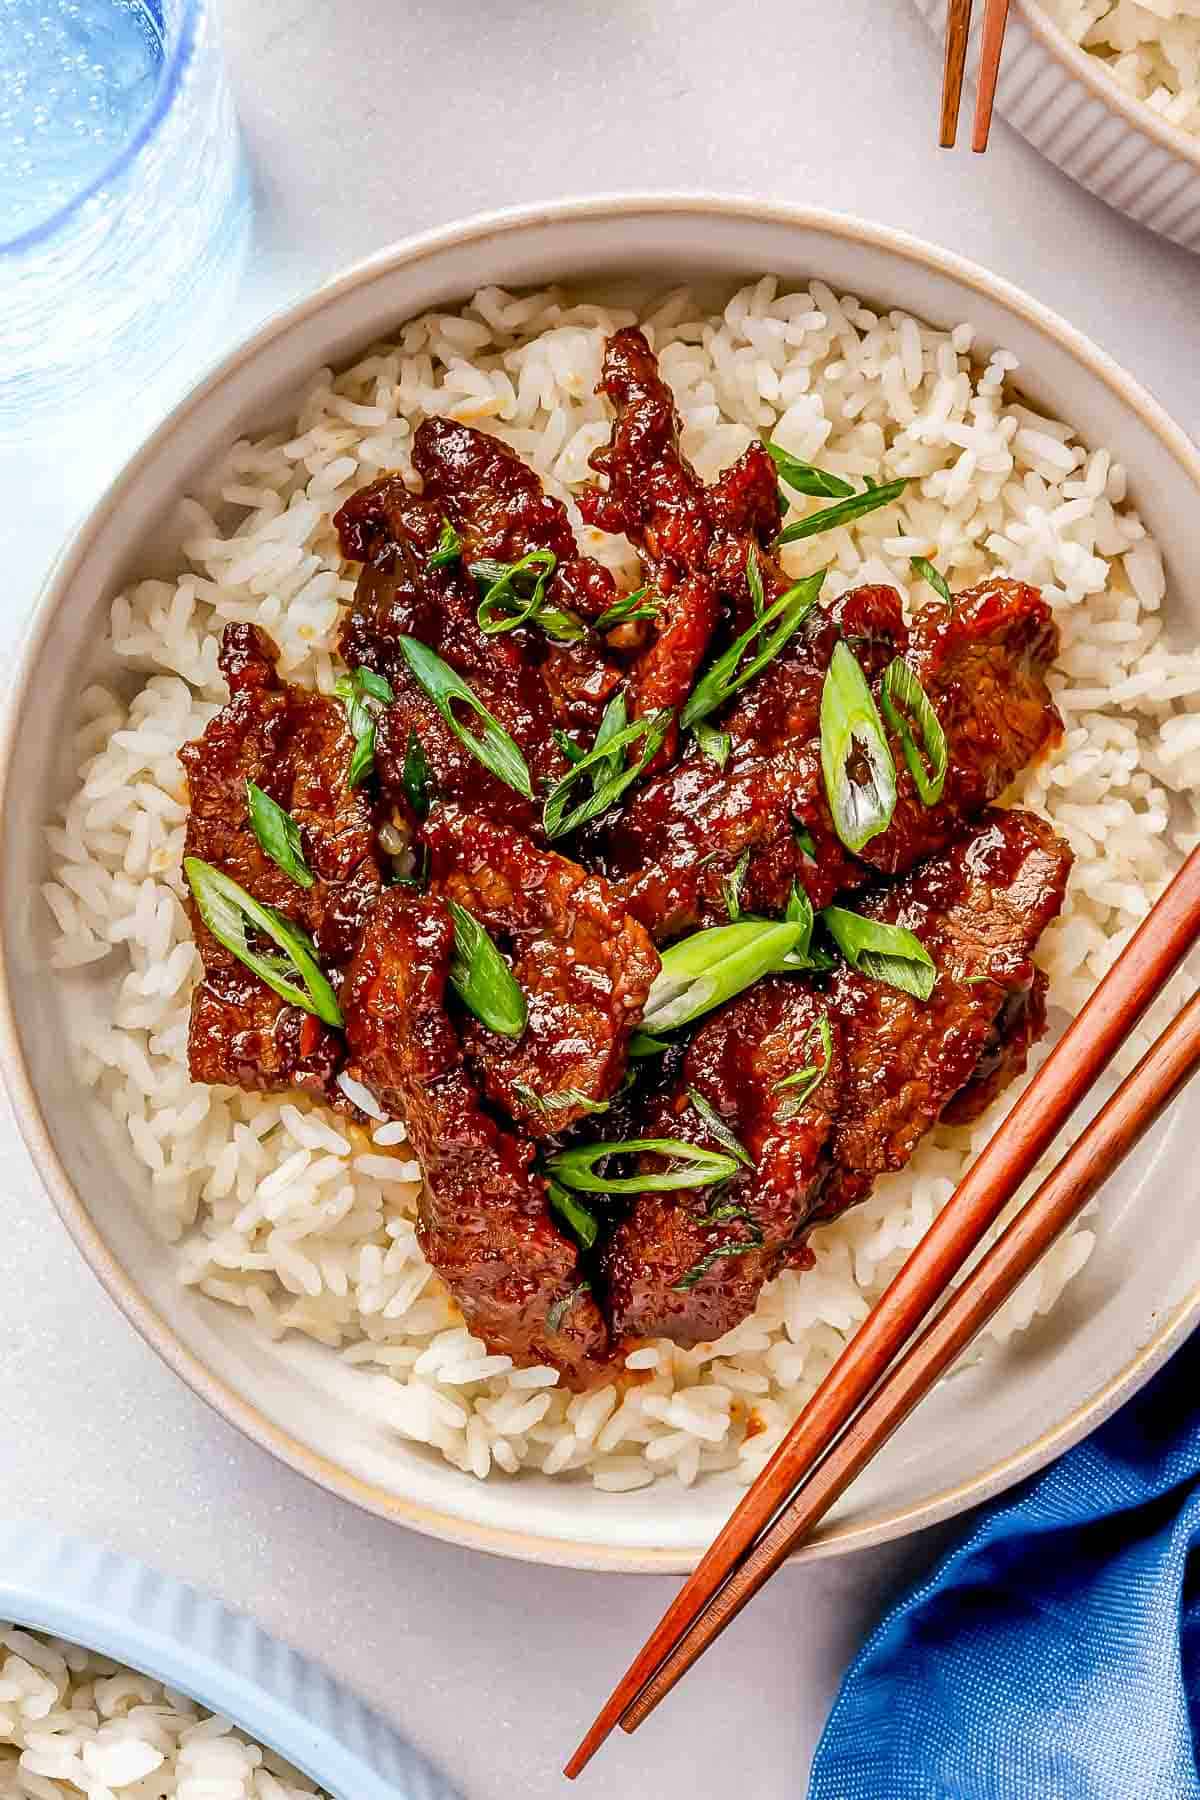
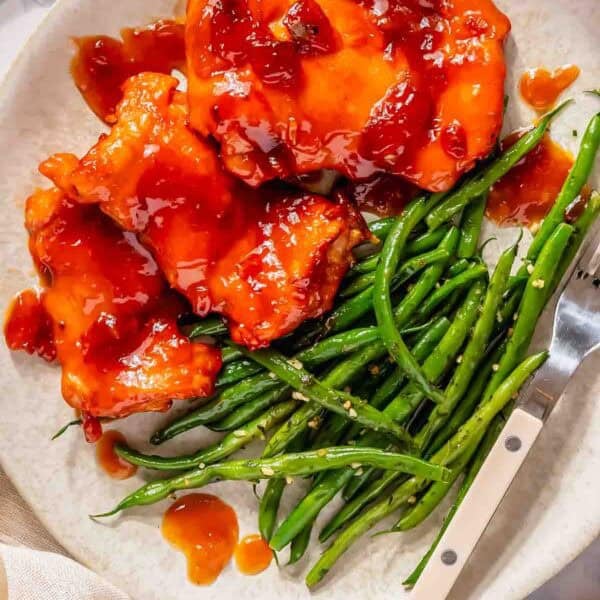
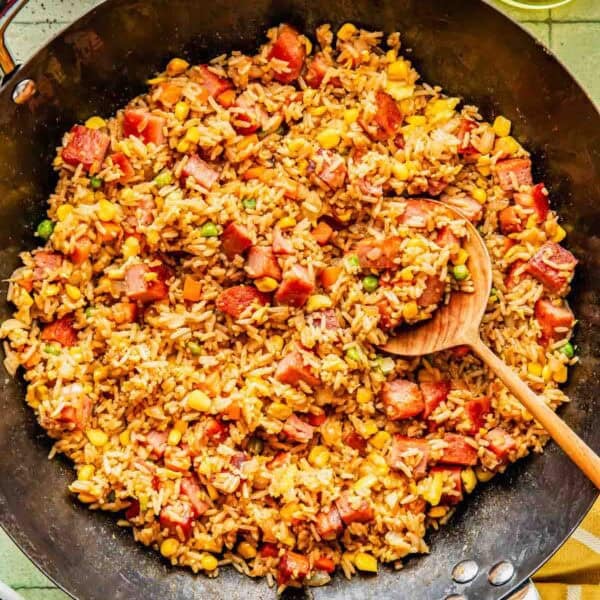
Mongolian beef is often served over steamed white rice, but feel free to try it with take-out-style fried rice, or more easy side dishes. Here are some of my favorites.
- Salad. Pair your beef dish with this Ridiculously Amazing Asian Ramen Salad or a Spicy Chinese Cucumber Salad.
- Steamed buns. Homemade Mantou 饅頭 (Chinese Steamed Buns) are a classic Chinese side dish and they’re super easy to make.
- Veggies. Try this easy Chinese Cabbage Stir Fry or a side of Garlic Roasted Green Beans.
How to Store and Reheat Leftovers
Chinese (better than take-out) leftovers? Yes, please. Make a double batch of this Mongolian beef and enjoy it in the coming days. Here’s how to go about storing and reheating.
- Storing. Allow the dish to cool completely before sealing it in an airtight container and storing it in the refrigerator for up to 3 days or in the freezer for up to 2 months.
- Reheating. Heat a bit of oil in a pan and saute until sufficiently warm. You can also use the microwave. If you are reheating from frozen, allow the dish to thaw in the refrigerator for several hours (or overnight) first.

Mongolian Beef
Equipment
Ingredients
- Vegetable oil, divided
- 1 teaspoon fresh ginger, minced
- 4 garlic cloves, minced
- 1 ½ cup (237 ml) low sodium soy sauce
- 2 tablespoons dark soy sauce
- ¾ cup (237 ml) water
- ⅓ cup (73 g) dark brown sugar
- 2 pounds (907 g) flank steak, sliced
- ½ cup (64 g) cornstarch
- Green onions, sliced
Instructions
- In a small saucepot, over medium heat, add 2 teaspoons of vegetable oil and sauté ginger and garlic until fragrant, about 2 minutes.Vegetable oil, 1 teaspoon fresh ginger, 4 garlic cloves

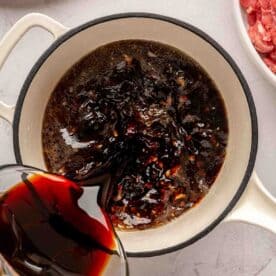
- Add the soy sauce, water, and brown sugar and stir to combine. Bring mixture to a boil and let boil for 3 minutes, then remove from heat and set aside.1 ½ cup (237 ml) low sodium soy sauce, 2 tablespoons dark soy sauce, ¾ cup (237 ml) water, 1/3 cup (73 g) dark brown sugar
- In a large bowl, toss sliced flank steak with cornstarch, shaking off the excess. Place in fridge for 10 minutes to allow coating to stick better on the beef.2 pounds (907 g) flank steak, 1/2 cup (64 g) cornstarch

- After 10 minutes, in a heavy bottom saucepan, over medium high heat, add 1/2 cup of vegetable oil and add the beef to the pan, in batches, to sear the outside on all sides, but barely cooked in the middle.

- Remove and let drain on paper towels as you finish up the rest of the beef. Pour out any excess oil in the saucepan.
- Place the saucepan back on the burner, but on medium heat, and pour in the sauce from earlier. It should come to a boil immediately. Add in the steak and coat with the sauce. Continue cooking beef and sauce at a boil for 2 minutes, stirring constantly. The sauce will thicken gradually.If you find it's not thickening to your desired sauce thickness, take 1 tablespoon of cornstarch and dissolve it in 2 tablespoons of water and add it to the skillet. Add in the scallions.Green onions

- Serve hot over white or brown rice.
Nutrition
Photographs by Jess Gaertner Creative


I tried making this and it didn’t turn out so great. I may be too much of an amateur for even this! The meat didn’t turn out crispy and when I added in the sauce it didn’t thicken on its own like the recipe said it would. I ended up adding in more cornstarch… :-(
Hi Andrea, it’s not really supposed to be crispy. The beef is just supposed to have a little bit of a sear on the outside so I think that’s fine. The sauce didn’t thicken might be due to the sauce not hot enough – cornstarch reacts and works with heat so maybe next time turn the heat up higher.
Wow, a lot of sugar. Way over the recommended daily amount per person(37.5gm which is a lot–9 tsp)
Hi there, can I use light brown sugar apposed to dark brown sugar…Thank You
Yup, you sure can!
Hi Julie! Made this for the first time tonight and really tasty! Just curious of how well you cook your meat? After the 2 minutes in the sauce, it was still pink. Did I miss something? :)
Hi Heather, mine was throughly cooked through. 2 minutes is a rough estimate because it depends on how thick your cuts of meat are. If you find that the meat is still too pink for you, then cook it longer until it is no longer pink. Hope that helps!
Perfection! I made this last night and it was not only so simple and easy to prepare, but was a BIG hit with the family. Loving your blog, delicious and easy to make family meals – what more could you want?! Thanks :)
Thanks Tracey! I’m glad this was a big hit with your family :)
Just had this for dinner, it was soooo good! Will make this again. Thanks for sharing your yummy recipes! :)
Oh this was divine, thank you so much.
I added some spring onions, mushrooms and capsicum to have some vegies and was so delicious!! will definately make this one again!
I made this dish last night and it was AMAZing! Will make again. Thanks for sharing. :)
Thanks for the feedback, Rachel. Glad you enjoyed it :)
Can I use a little flour if I don’t have enough corn starch?
Yes, absolutely!
This looks soooooo good, but I would need to cut out some of the sugar yummmmm!