This post may contain affiliate links. Please read our disclosure policy.
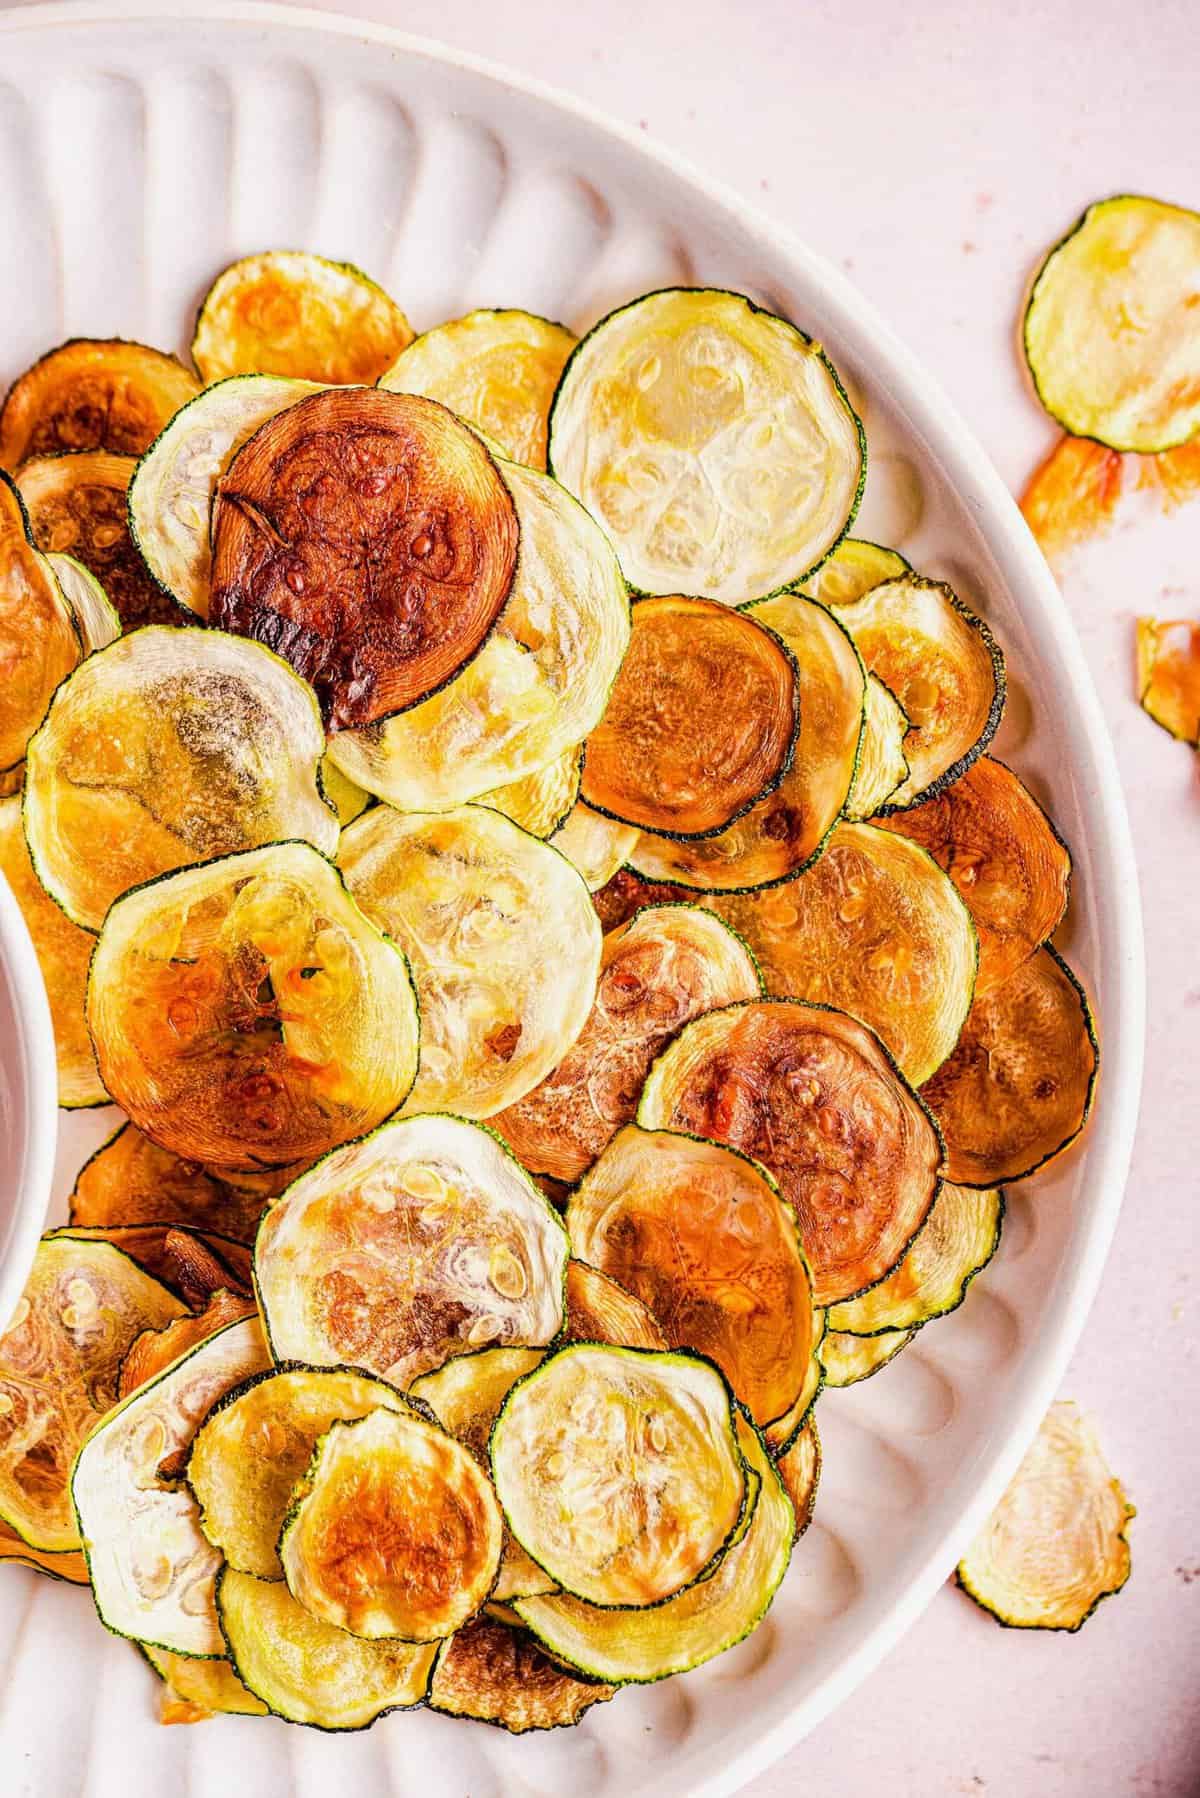
These easy oven-baked zucchini chips are thin, crispy, and perfect for pairing with all your favorite dips!
There is so much you can do with zucchini, from Zucchini Boats to Zucchini Cakes. But I think these oven-baked zucchini chips might just be my favorite. Who knew you could turn zucchini into crispy chips for snacking?!
While you won’t mistake these for potato chips, they are an excellent swap for when you’re trying to cut back on carb-heavy snacks and work some extra veggies into your life. They’re paleo-friendly, keto, naturally gluten-free, vegan, and they pretty much fit perfectly into every possible diet since they’re only made with zucchini, oil, and salt.
The next time you find yourself with an abundance of zucchini to use up, you know what to do with it: make zucchini chips!
What You’ll Need
While you only need 3 ingredients for this recipe, you can also add seasonings, flavored salts, etc.
- Zucchini – Look for one that is large but not too large. The baseball-bat-sized zucchini you harvest at the end of August is not going to work here!
- Olive oil
- Kosher salt
How do you make thin sliced zucchini?
I highly recommend using a mandoline slicer; if yours has thickness settings, set it to 2, otherwise, aim for 1/8-inch. It’s very difficult to cut thin, uniform slices of zucchini with a knife.
How to Make Oven-Baked Zucchini Chips
This is one of those recipes that comes down to technique. Follow these instructions closely and you’ll have perfectly crisp zucchini chips!
Prepare. Preheat your oven to 225ºF and line two large baking sheets with silicone baking mats or parchment paper.
Blot the zucchini dry. After you slice your zucchini, place the slices on a sheet of paper towels. Place another paper towel on top and press down to absorb any excess liquid.
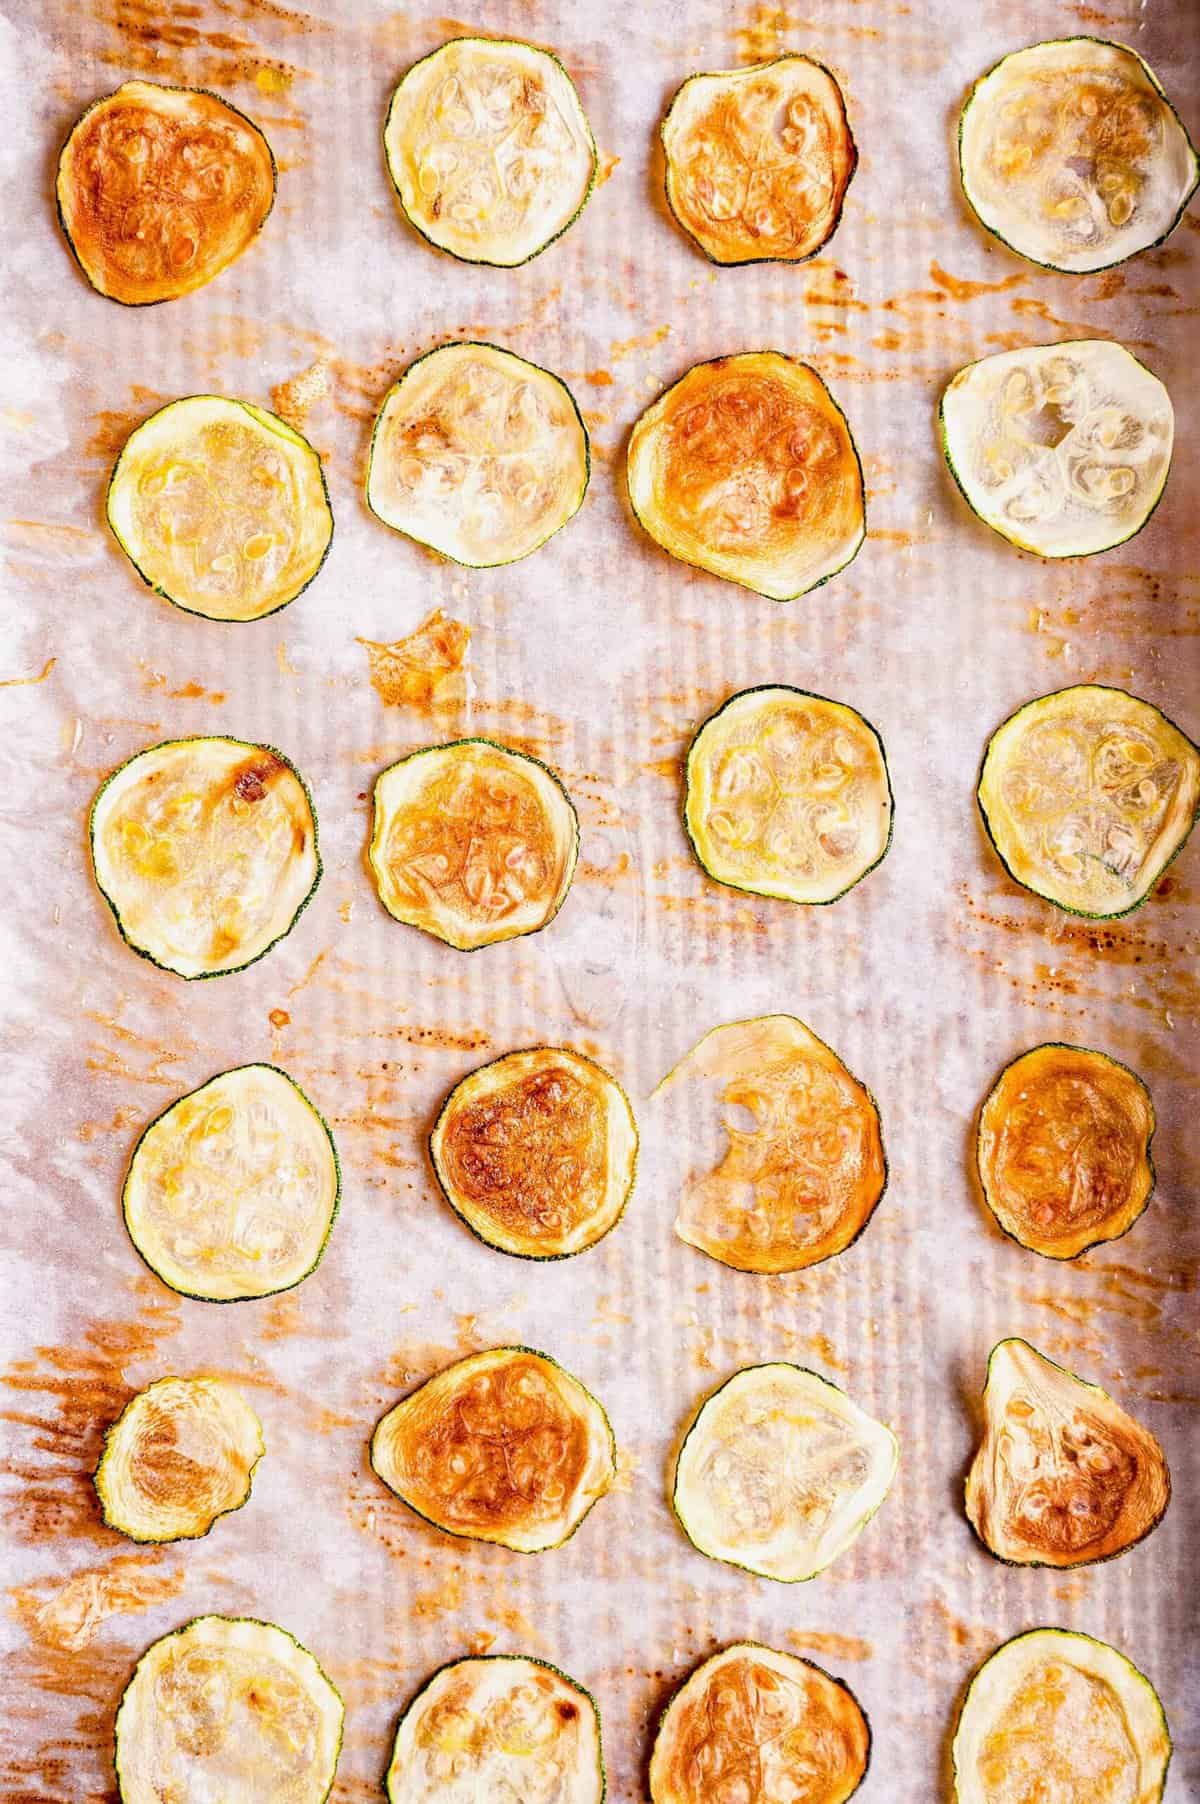
Oil and season the zucchini. Line the zucchini slices on the prepared baking sheet. Don’t overlap them, but they can be very close, as they’ll shrink when they bake. Brush the slices with oil, then sprinkle them with salt.
Bake. Place the baking sheet in the oven and bake the zucchini for 2+ hours, or until they start to brown, feel dry, and seem crisp.
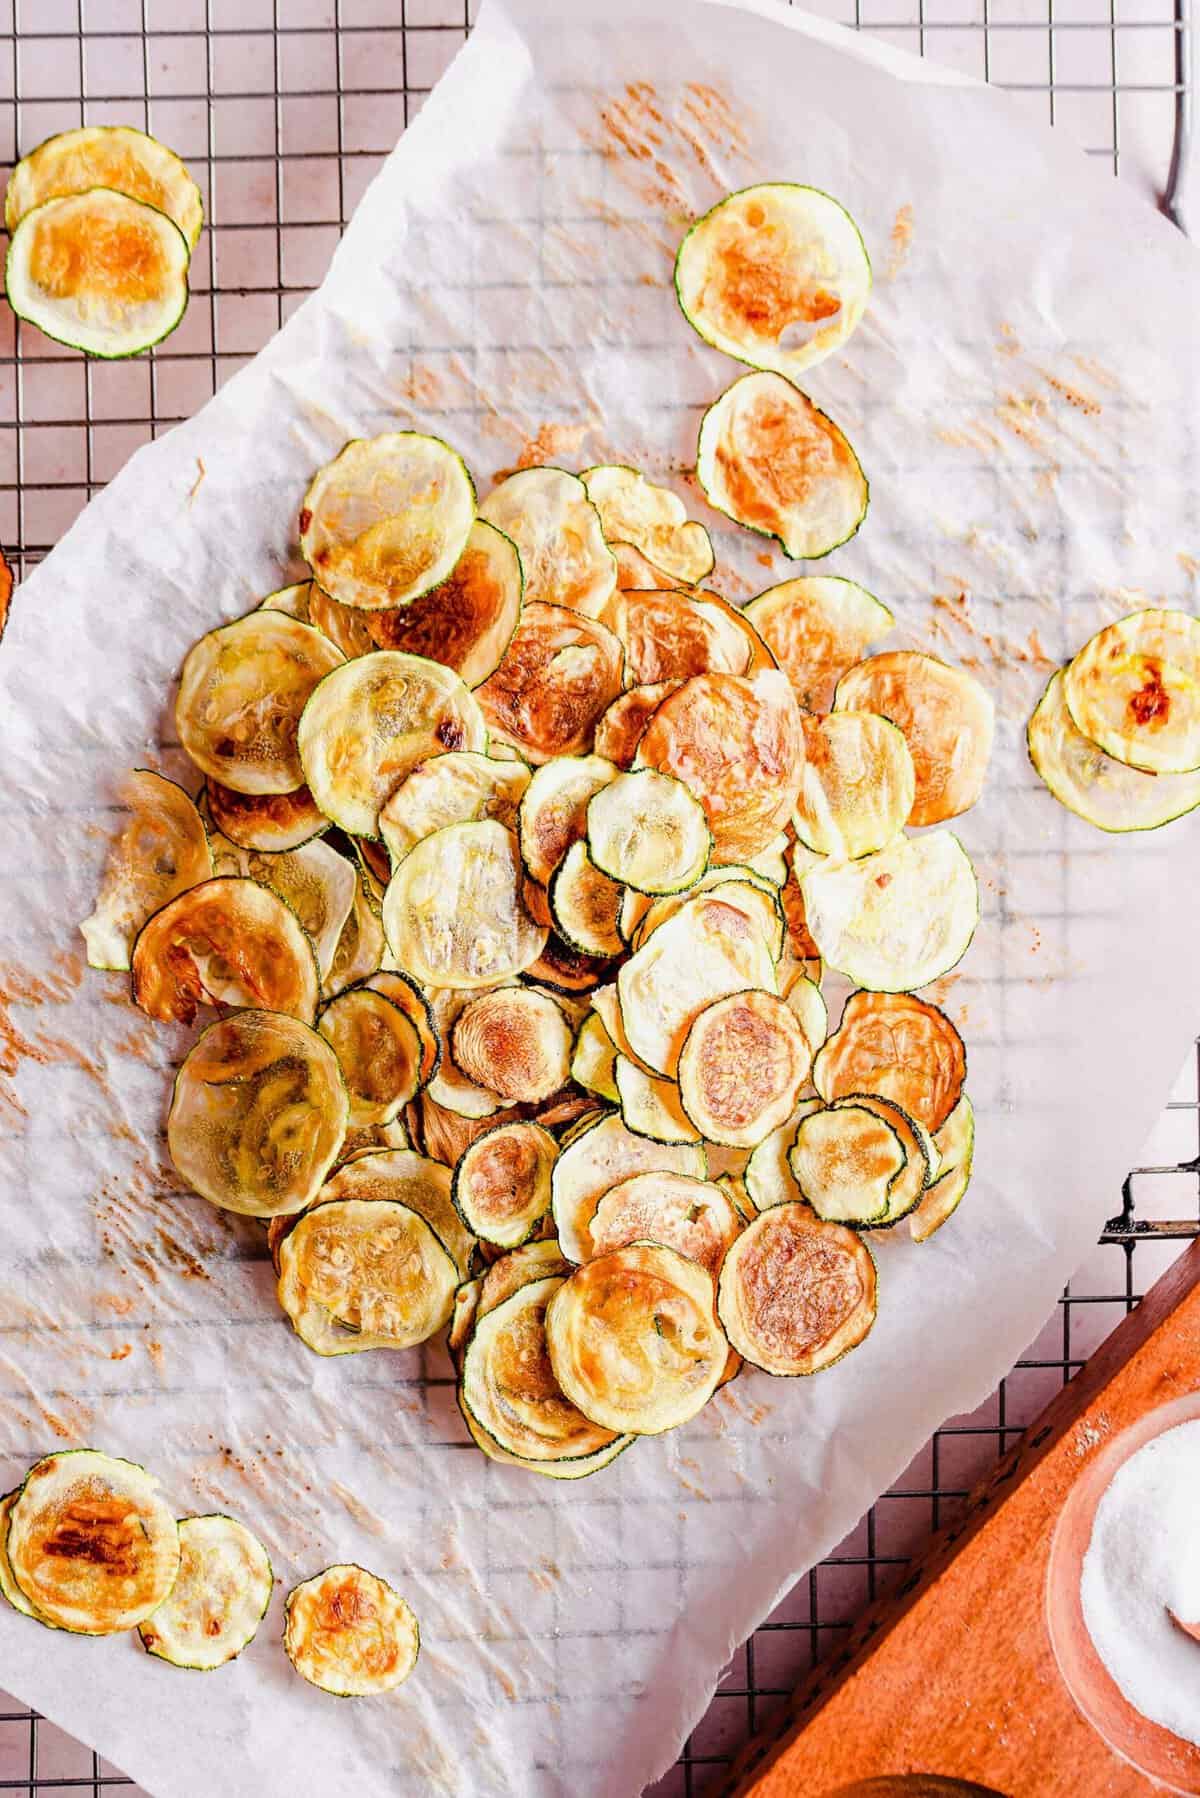
Cool. Let the zucchini chips cool on the baking sheet, then serve.
Can you make zucchini chips in a dehydrator?
Yes, zucchini chips can be made in a dehydrator, but you’ll need to follow the directions for your food dehydrator to make them. This recipe was developed for making baked zucchini chips in the oven.
Tips for Success
Again: technique is everything here. These tips will help you nail it.
- Cut thin, uniform slices. Thinly sliced zucchini rounds are a must. Thick slices won’t get crispy, and if your slices are uneven, you’ll have some chips that are burnt while others are still soggy.
- Be conservative with the salt. Use less salt than you think; the zucchini slices will shrink in the oven, so they can easily get too salty.
- Don’t walk away. Once you’re nearing the 2-hour mark, you’ll need to keep a close eye on the chips to make sure they don’t burn.
- Don’t rush them. Bake the zucchini chips until you see that most liquid has cooked off. If you don’t do this, the zucchini will stick to the parchment paper or your chips will be soggy. You’ll also need to let the zucchini chips cool on the pan before removing them.
How to Store
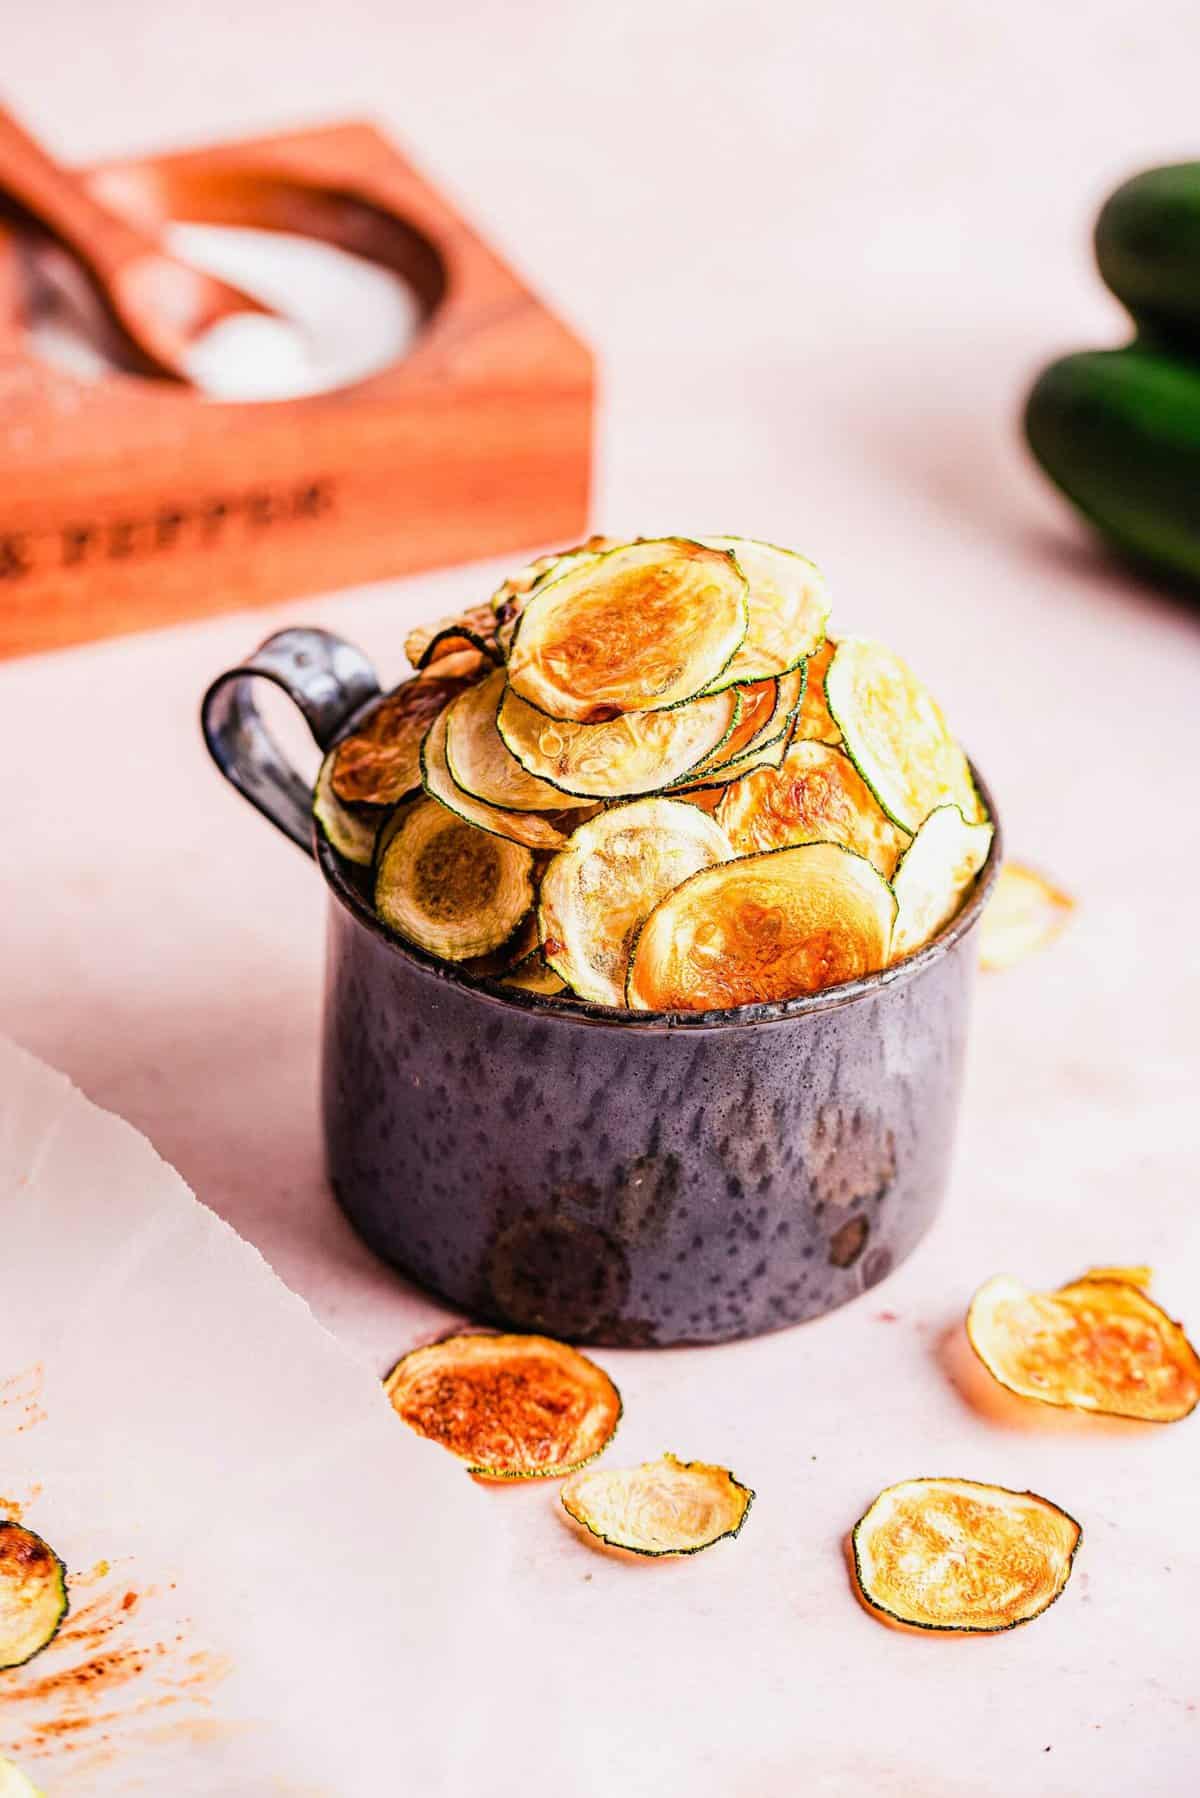
Keep zucchini chips in an airtight container at room temperature for no more than 3 days.
Serving Suggestions
Here are some of my favorite dips for pairing with zucchini chips:
- Beet Hummus
- Homemade Tzatziki Dip
- Street Corn Hummus
- Herbed Tahini Spread
If you love zucchini chips, you may like these recipes with zucchini:
- Roasted vegetables
- Zucchini Turkey Meatballs
- Zucchini Noodle Cashew Stir Fry
- Zucchini Brownies
- Zucchini Chicken Meatballs

Easy Oven-Baked Zucchini Chips
Ingredients
- 1 large zucchini
- 2 tablespoon olive oil
- Kosher salt
Instructions
- Preheat oven to 225 °F (107 °C). Line two large baking sheets (I used two 17" baking sheets) with silicon baking mats or parchment paper.
- Slice your zucchini on a mandolin. Mine had 1, 2, or 3 for thickness and I used 2.1 large zucchini
- After you slice your zucchini, place the slices on a sheet of paper towels and take another paper towel and sandwich the zucchini slices and press on them. This helps draw out the liquid so it’ll cook a bit faster.
- Line up the zucchini slices on the prepared baking sheet tightly next to each other in a straight line, making sure not to overlap them.
- In a small bowl, pour your olive oil in and take a pastry brush to brush the olive oil on each zucchini slice.2 tablespoon olive oil
- Sprinkle salt throughout the baking sheet. Do NOT over-season, in fact, it’s better to use less salt initially because the slices will shrink; so if you over-season, it’ll be way too salty! You can always add more later.Kosher salt
- Bake for 2+ hours until they start to brown and aren’t soggy and are crisp.
- Let cool before removing and serving.
- Keep in an airtight container for no more than 3 days.
Video
Notes
Nutrition
There is an affiliate link within this post.


Trying these out tonight – the photos are beautiful! I actually just scrolled down to the recipe but after reading that jerky comment I decided I WANTED to read the story! haha
Haha :) well at least you are capable of scrolling and don’t mind it!
I was sure to slice them very thin and make sure they were dry b4 cooking them. Just took them out and they r great!
Sounds good
I am gonna try these looks yummy…ty
Question:
How did you get them so golden in the recipe photo? Mine always turn out very dark, like in the video. Just wondering if there was something different about the photo version? Thanks!!
I honestly couldn’t tell ya! When I made them the first time, they turned out golden like the photos but then when I made them in the video, they turned out a bit darker! I think it depends totally on oven rack setting and the type of olive oil used.
I too, love zucchini chips. However I have tried this recipe a couple of times and always find the chips shrink to the size of a nickle and are over-browned. Is the oven hotter than the temperature control; am I safe to just take them out earlier?
Some ovens can vary on internal temperature vs. what the dial says. The best way to ensure that your oven is at the right temperature is for you to buy an oven-safe thermometer and keep it inside the oven to see if the temperature is truly what the dial says. Yes, you are safe to take them out earlier as soon as you see that they’re crisped up and browned.
Hey Julie! Thanks for the awesome recipe! Mine were very uneven and I think my oven might have been at fault! However my husband loved them and even ate the burnt and soggy ones! Ha ha ha! I was determined to be meticulous with the directions because I really wanted these to work for my son’s Letter Z snack for preschool. But alas, not all ovens or cooks are created equal!
Yours were beautiful! Well done on such a great recipe! Thank you again and have a great day!
Aw haha, thanks for letting me know and I’m glad yours partly worked out!
I so want to try this. I love the veggie chips especially the okra, beets,and green beans.
Do you think that this recipe would work in a dehydrator?
I usually make Apple chips in the stand dehydrator. Use the mandolin and slice it on number 1-2. Soak in 1/2 cup lemon juice and 2 qts of water. Place on drying racks and flavor with cinnamon & sugar, sea salt, powdered sugar, or even chili powder. Dehydrate over night or check to see if crispy.
My son will eat them until he is stuffed tired if I will let him.
I miss the farmers markets my home town in Texas had, but there are several fruit stand/markets in the town I live close to now (still Texas). We always had a huge garden growing up and my husband and I have a reasonable sized garden now.
Thank js for the wonderful story.
Yes, I think it could work on a dehydrator but I haven’t tried it myself so I don’t know the settings or how to even tell you to proceed. I guess the only thing is – slice it thin like you would any chips that you want to make in a dehydrator!
I was wondering if it would be okay to use tin foil instead of parchment paper? If not, what is the benefit to parchment paper? Thanks!!
I haven’t personally used foil before but I believe someone did try and it stuck. I have always used parchment paper just because of its nonstick qualities.
Can’t wait to try them