This post may contain affiliate links. Please read our disclosure policy.
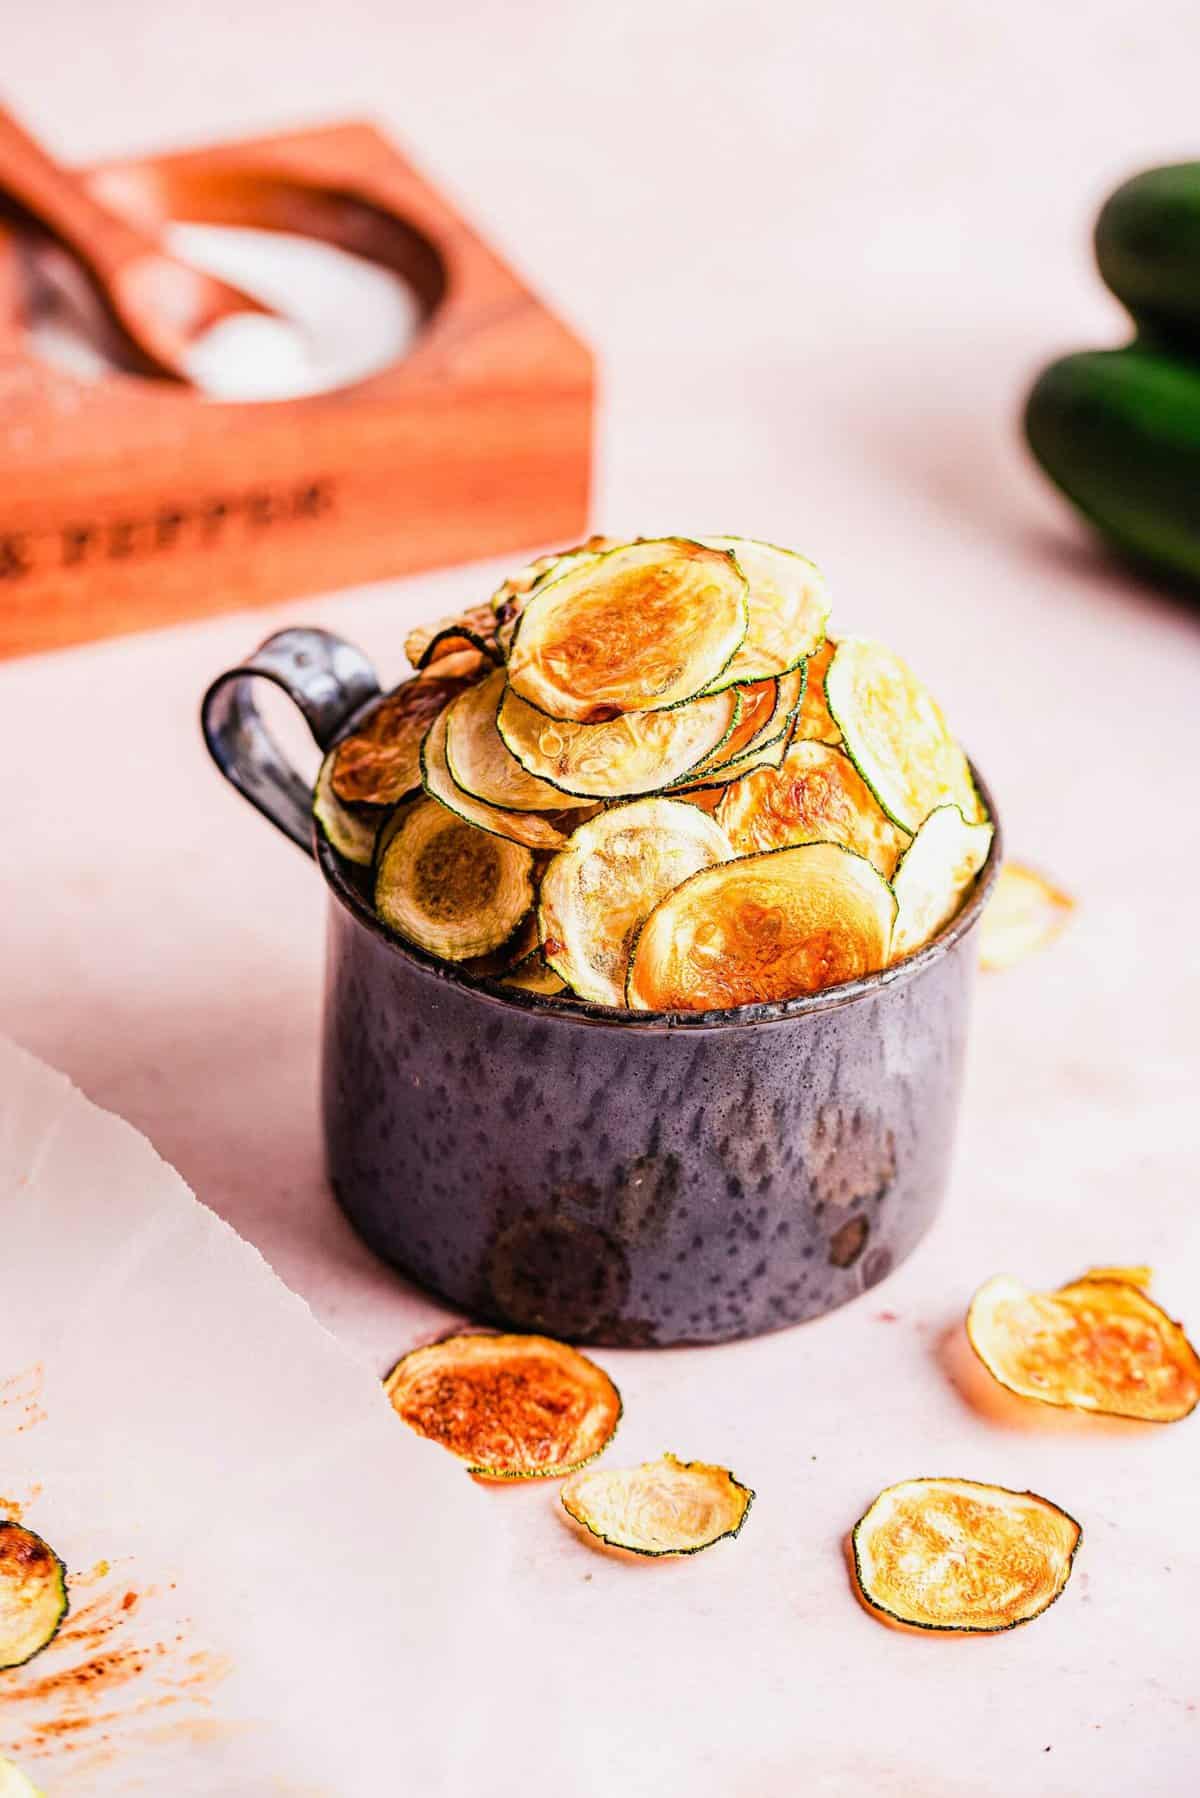
These easy oven-baked zucchini chips are thin, crispy, and perfect for pairing with all your favorite dips!
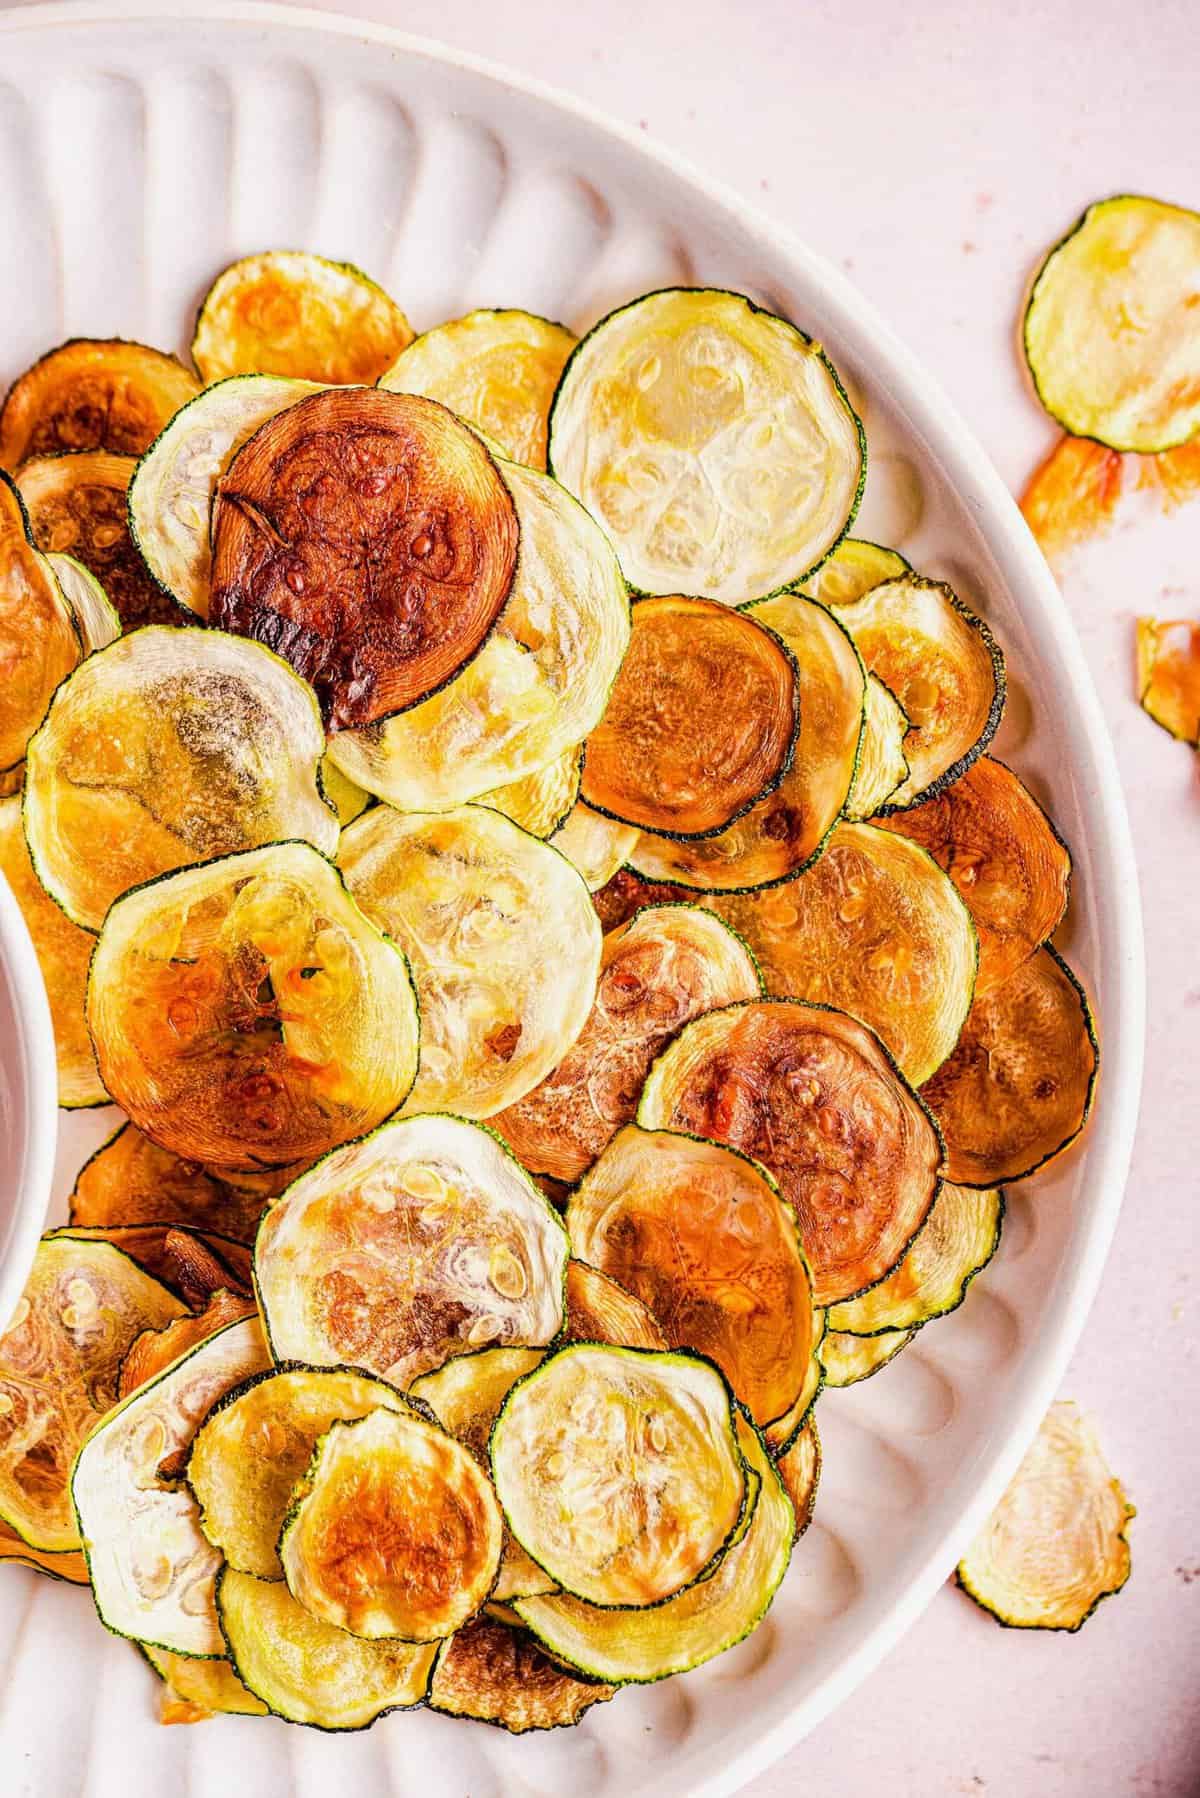
There is so much you can do with zucchini, from Zucchini Boats to Zucchini Cakes. But I think these oven-baked zucchini chips might just be my favorite. Who knew you could turn zucchini into crispy chips for snacking?!
While you won’t mistake these for potato chips, they are an excellent swap for when you’re trying to cut back on carb-heavy snacks and work some extra veggies into your life. They’re paleo-friendly, keto, naturally gluten-free, vegan, and they pretty much fit perfectly into every possible diet since they’re only made with zucchini, oil, and salt.
The next time you find yourself with an abundance of zucchini to use up, you know what to do with it: make zucchini chips!
What You’ll Need
While you only need 3 ingredients for this recipe, you can also add seasonings, flavored salts, etc.
- Zucchini – Look for one that is large but not too large. The baseball-bat-sized zucchini you harvest at the end of August is not going to work here!
- Olive oil
- Kosher salt
How do you make thin sliced zucchini?
I highly recommend using a mandoline slicer; if yours has thickness settings, set it to 2, otherwise, aim for 1/8-inch. It’s very difficult to cut thin, uniform slices of zucchini with a knife.
How to Make Oven-Baked Zucchini Chips
This is one of those recipes that comes down to technique. Follow these instructions closely and you’ll have perfectly crisp zucchini chips!
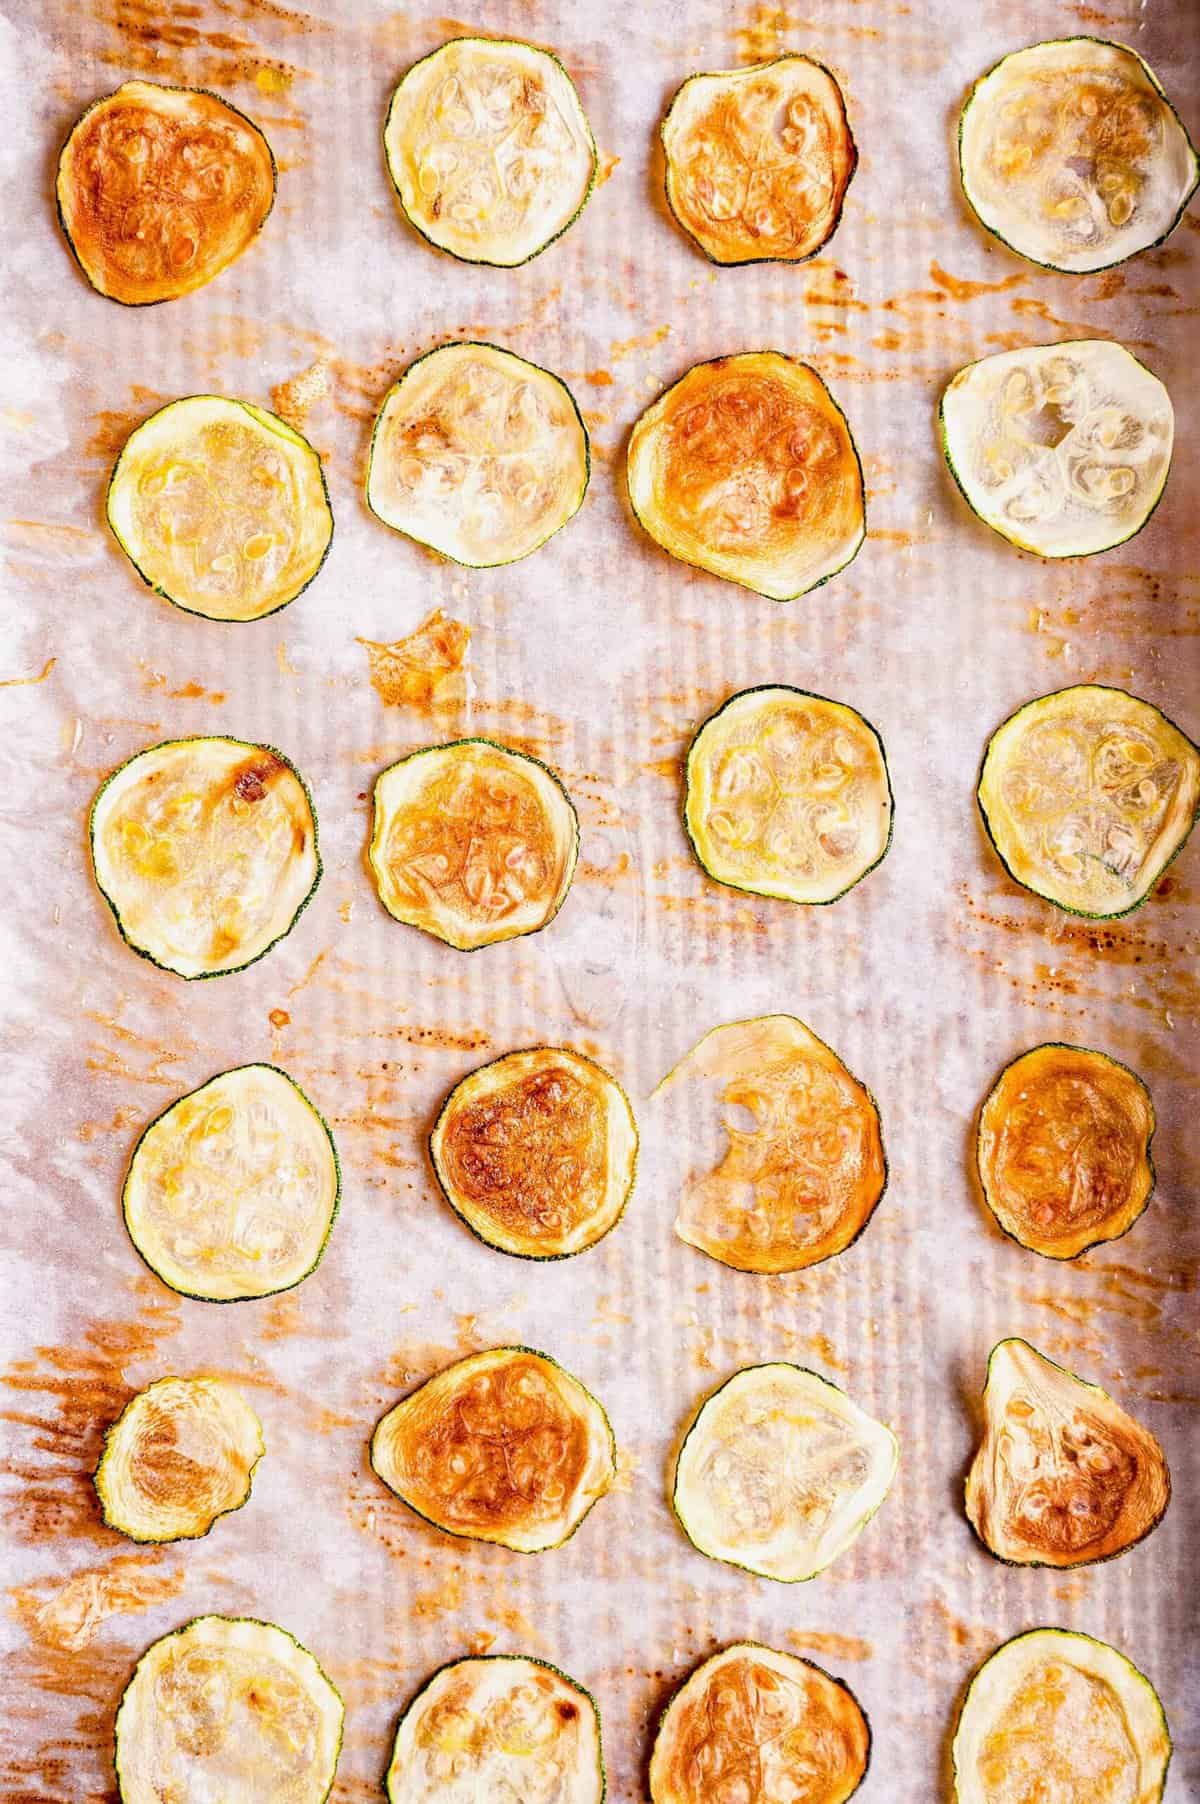
Prepare. Preheat your oven to 225ºF and line two large baking sheets with silicone baking mats or parchment paper.
Blot the zucchini dry. After you slice your zucchini, place the slices on a sheet of paper towels. Place another paper towel on top and press down to absorb any excess liquid.
Oil and season the zucchini. Line the zucchini slices on the prepared baking sheet. Don’t overlap them, but they can be very close, as they’ll shrink when they bake. Brush the slices with oil, then sprinkle them with salt.
Bake. Place the baking sheet in the oven and bake the zucchini for 2+ hours, or until they start to brown, feel dry, and seem crisp.
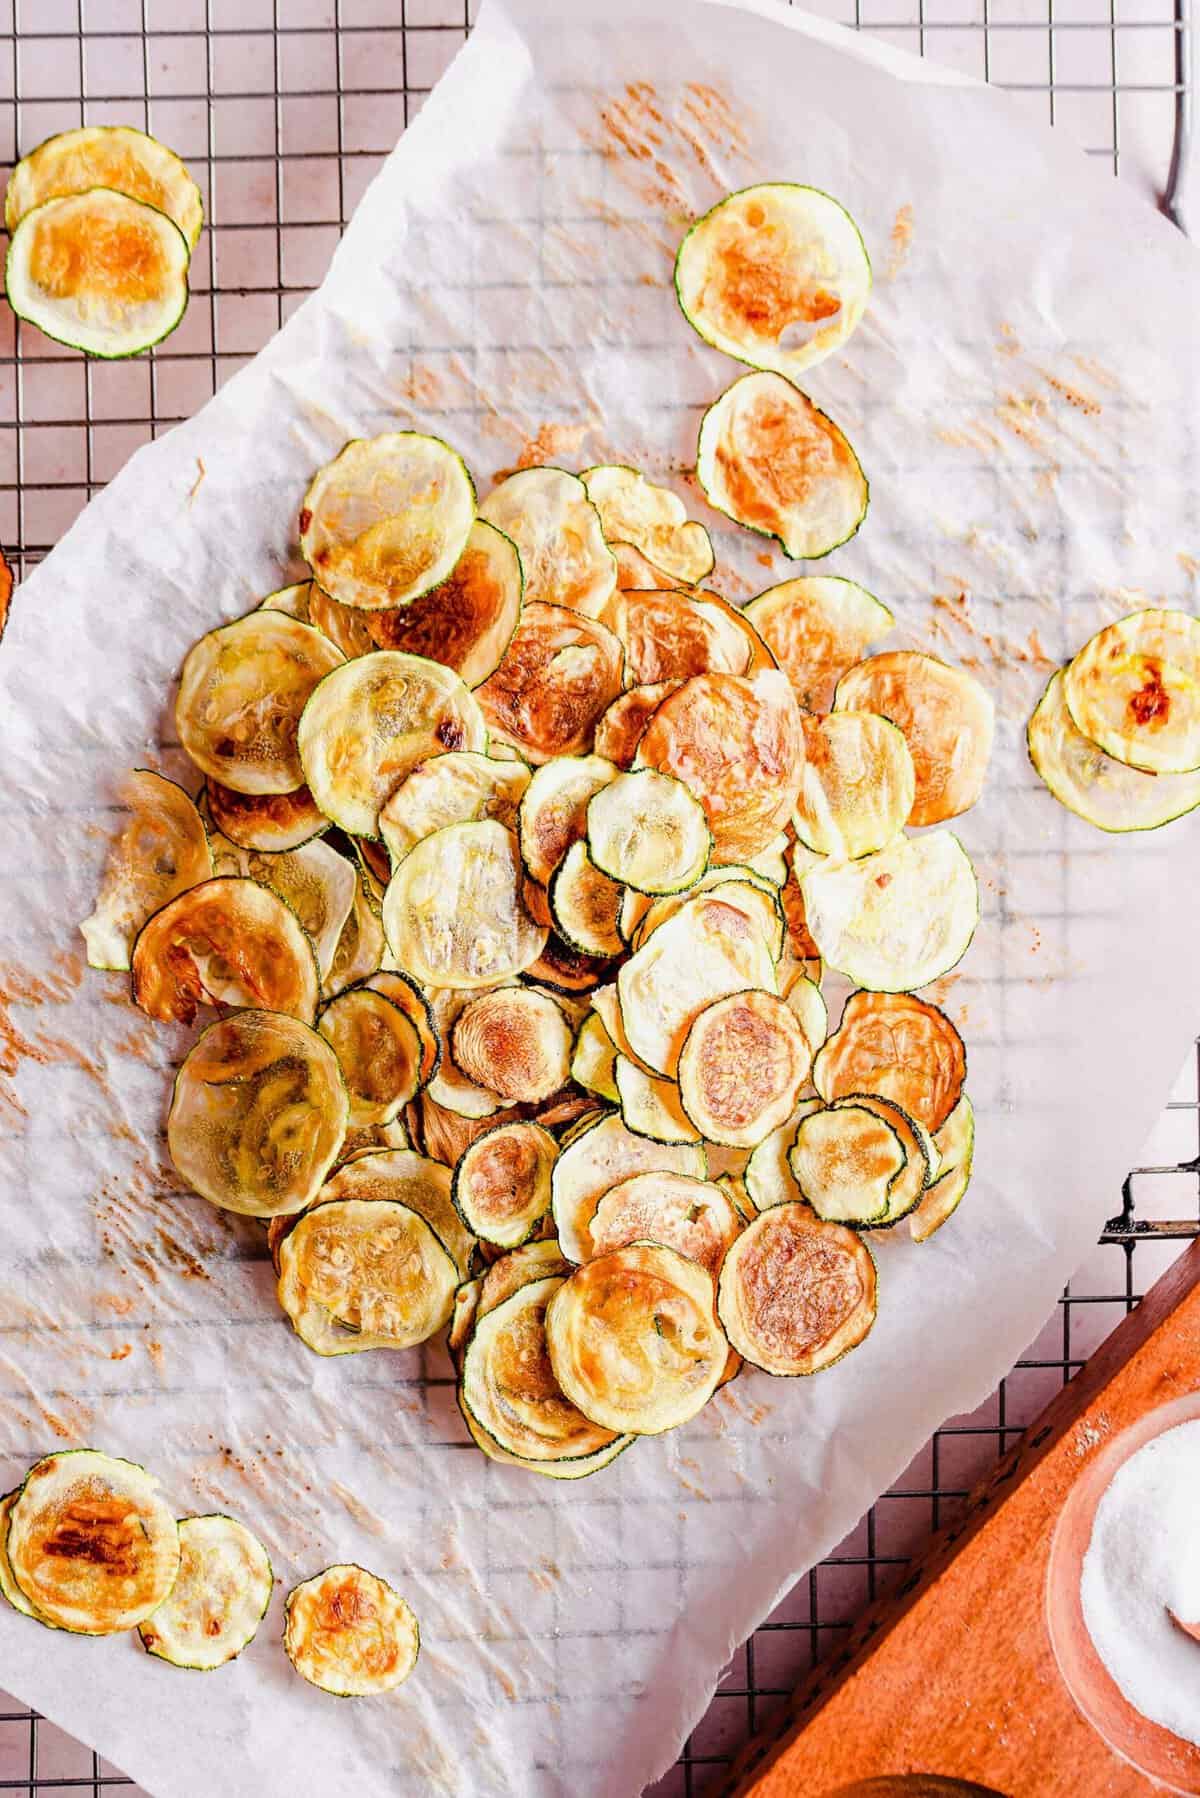
Cool. Let the zucchini chips cool on the baking sheet, then serve.
Can you make zucchini chips in a dehydrator?
Yes, zucchini chips can be made in a dehydrator, but you’ll need to follow the directions for your food dehydrator to make them. This recipe was developed for making baked zucchini chips in the oven.
Tips for Success
Again: technique is everything here. These tips will help you nail it.
- Cut thin, uniform slices. Thinly sliced zucchini rounds are a must. Thick slices won’t get crispy, and if your slices are uneven, you’ll have some chips that are burnt while others are still soggy.
- Be conservative with the salt. Use less salt than you think; the zucchini slices will shrink in the oven, so they can easily get too salty.
- Don’t walk away. Once you’re nearing the 2-hour mark, you’ll need to keep a close eye on the chips to make sure they don’t burn.
- Don’t rush them. Bake the zucchini chips until you see that most liquid has cooked off. If you don’t do this, the zucchini will stick to the parchment paper or your chips will be soggy. You’ll also need to let the zucchini chips cool on the pan before removing them.
How to Store
Keep zucchini chips in an airtight container at room temperature for no more than 3 days.
Serving Suggestions
Here are some of my favorite dips for pairing with zucchini chips:
- Beet Hummus
- Homemade Tzatziki Dip
- Street Corn Hummus
- Herbed Tahini Spread
If you love zucchini chips, you may like these recipes with zucchini:
- Roasted vegetables
- Zucchini Turkey Meatballs
- Zucchini Noodle Cashew Stir Fry
- Zucchini Brownies
- Zucchini Chicken Meatballs

Easy Oven-Baked Zucchini Chips
Ingredients
- 1 large zucchini
- 2 tablespoon olive oil
- Kosher salt
Instructions
- Preheat oven to 225 °F (107 °C). Line two large baking sheets (I used two 17" baking sheets) with silicon baking mats or parchment paper.
- Slice your zucchini on a mandolin. Mine had 1, 2, or 3 for thickness and I used 2.1 large zucchini
- After you slice your zucchini, place the slices on a sheet of paper towels and take another paper towel and sandwich the zucchini slices and press on them. This helps draw out the liquid so it’ll cook a bit faster.
- Line up the zucchini slices on the prepared baking sheet tightly next to each other in a straight line, making sure not to overlap them.
- In a small bowl, pour your olive oil in and take a pastry brush to brush the olive oil on each zucchini slice.2 tablespoon olive oil
- Sprinkle salt throughout the baking sheet. Do NOT over-season, in fact, it’s better to use less salt initially because the slices will shrink; so if you over-season, it’ll be way too salty! You can always add more later.Kosher salt
- Bake for 2+ hours until they start to brown and aren’t soggy and are crisp.
- Let cool before removing and serving.
- Keep in an airtight container for no more than 3 days.
Video
Notes
Nutrition
There is an affiliate link within this post.


I enjoyed these, BUT they were in the oven for less than an hour and some were borderline burnt, which is irritating as I carefully followed the instructions on the thickness of the slices, etc. I added some ground garlic to one tray of them and some onion granules to another, together with sea salt. I used an oil mister on both sides, which worked really well. I definitely over-salted them, and had I realised they would shrink quite as much as they did, I would have also realised that I was putting WAY too much salt on. I will definitely do them again, and turn the oven down even lower, reduce the salt, etc, so I’m pleased I tried the recipe and I’m looking forward to tweaking and perfecting it for us and our oven!
It was also an invaluable exercise to work out where the hotspots are in my oven, because some slices were basically burnt and some on the same tray were still floppy (hmm!).
My zucchini is just about to come on out of my garden. I will be trying this for sure.
I found that using a cookie cooling rack placed on top of a sheet pan works great – both sides get more evenly dried. And yes, watch those seasonings, they do concentrate! My mandolin slicer only has two settings. The thin setting is too thin for my liking, the chips are tasty but extremely fragile. I have a batch of the thick slices toasting in the oven right now! I used coconut oil spray (Trader Joes) once the slices were on the rack, then applied seasoning. Quick and efficient!
I love these recipes thank so much.
I made these using the 1 setting on my mandolin slicers and I see why you suggested the 2. The 1 setting comes out tissue paper thin and brittle. But they tasted good especially the chili lime seasoning! Trying again with the 2 setting.
Simple. Easy. Healthy. One of my favorite snack recipes! Thank you
When I brush one side with oil and salt them, do I flip them over to brush the other side as well?
yep!
I just made some of these chips and they are so good and addicting! Now I won’t be wasting my over abundance of zucchini!
Thank you!
Do you brush the oil on both sides?
you can, but i did one side
Did this. Problem is I eat them all within 10 minutes of them being done. Also I had to go to the emergency room and throw some away when a large chunk of finger got lost. I do not belong in the kitchen! But for these, yes!
@Jana, you need to use “cut-proof” gloves. They are about $15 per pair on amazon. A MUST with a mandoline!