
This post may contain affiliate links. Please read our disclosure policy.
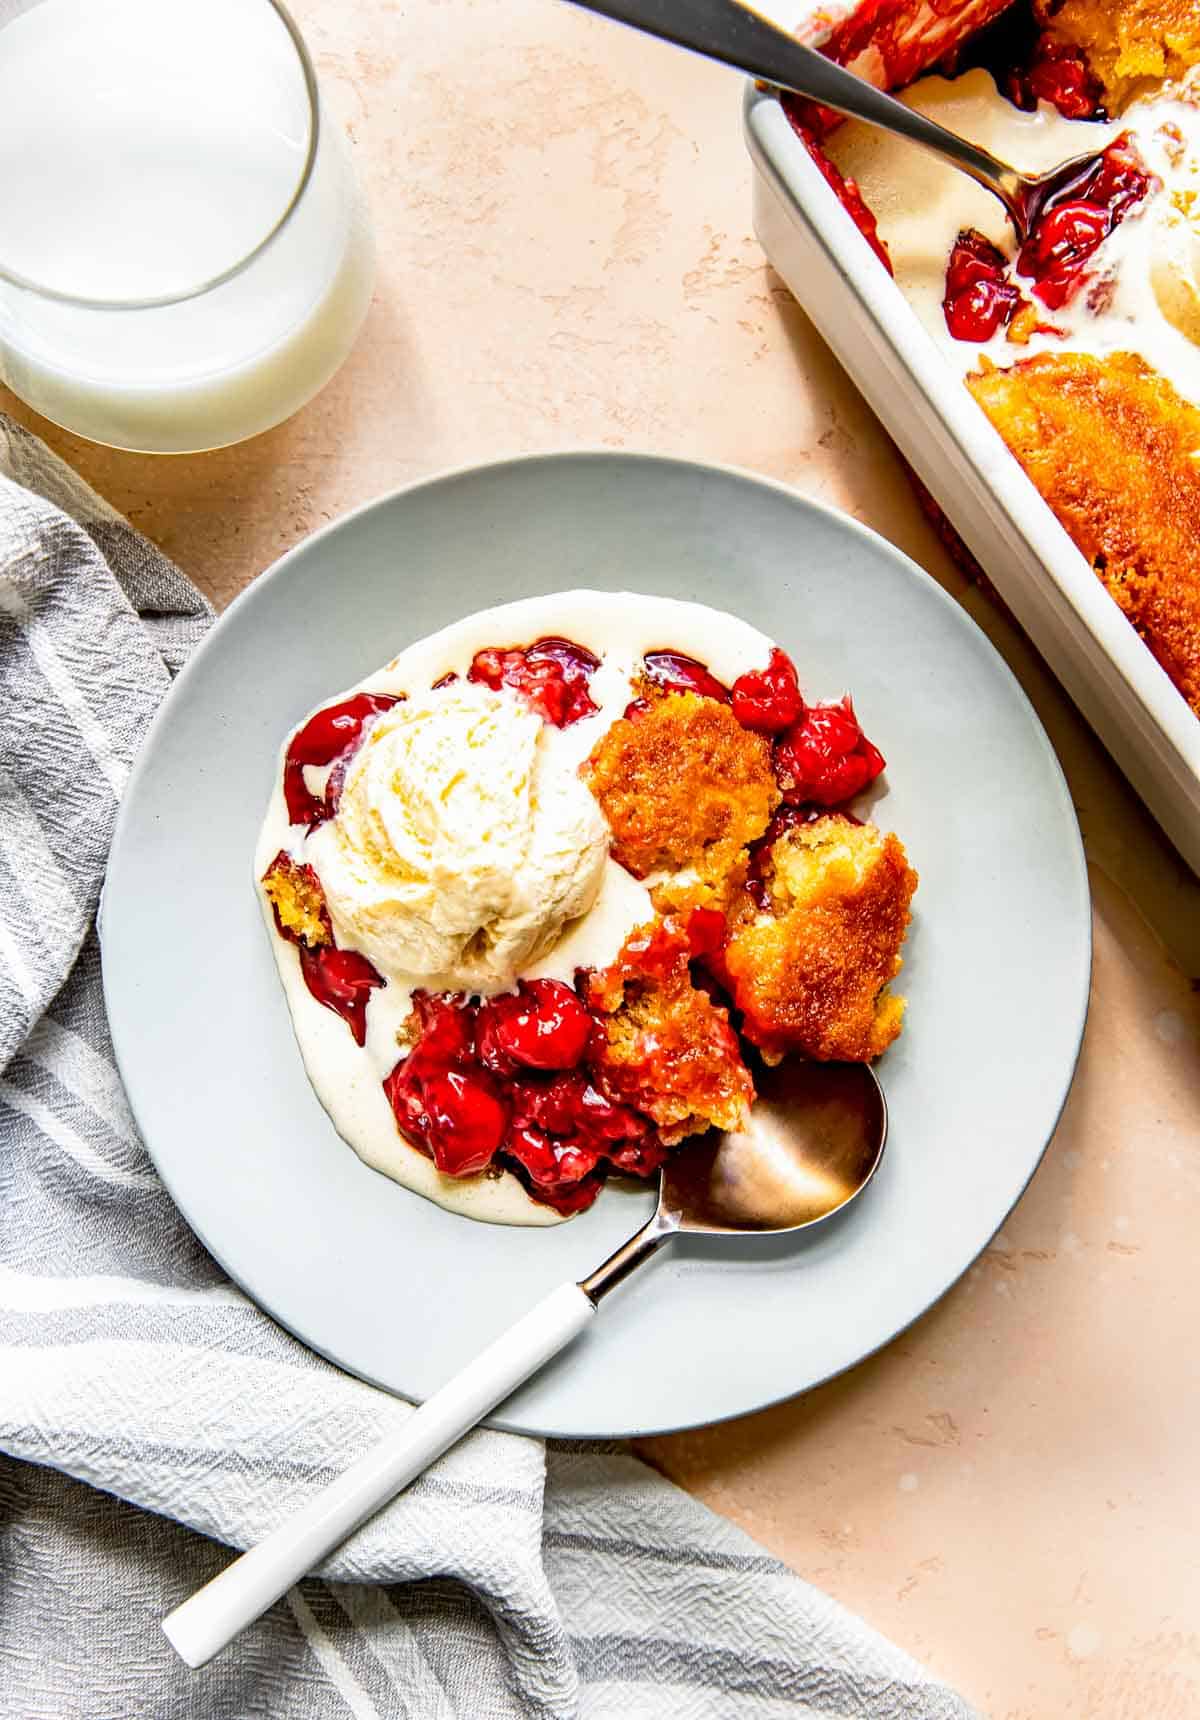
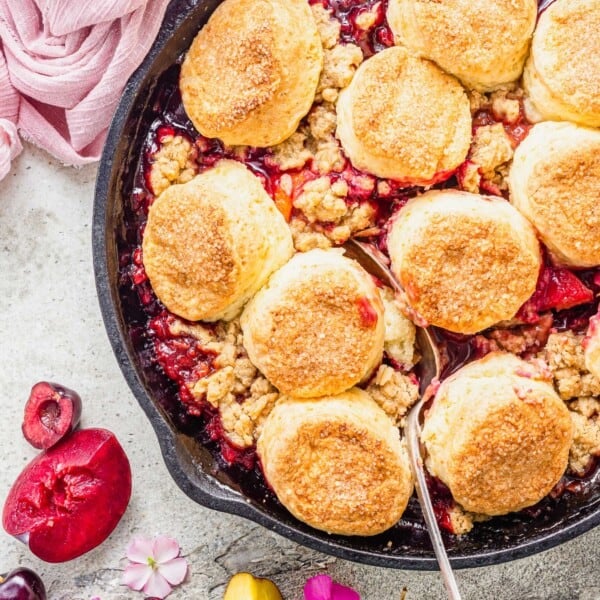
Cherry cobbler is a classic summer dessert that pairs sweet and tart canned cherry pie filling with a buttery topping, and this recipe couldn’t be any easier to make. Just add a scoop of vanilla ice cream and you’re good to go!
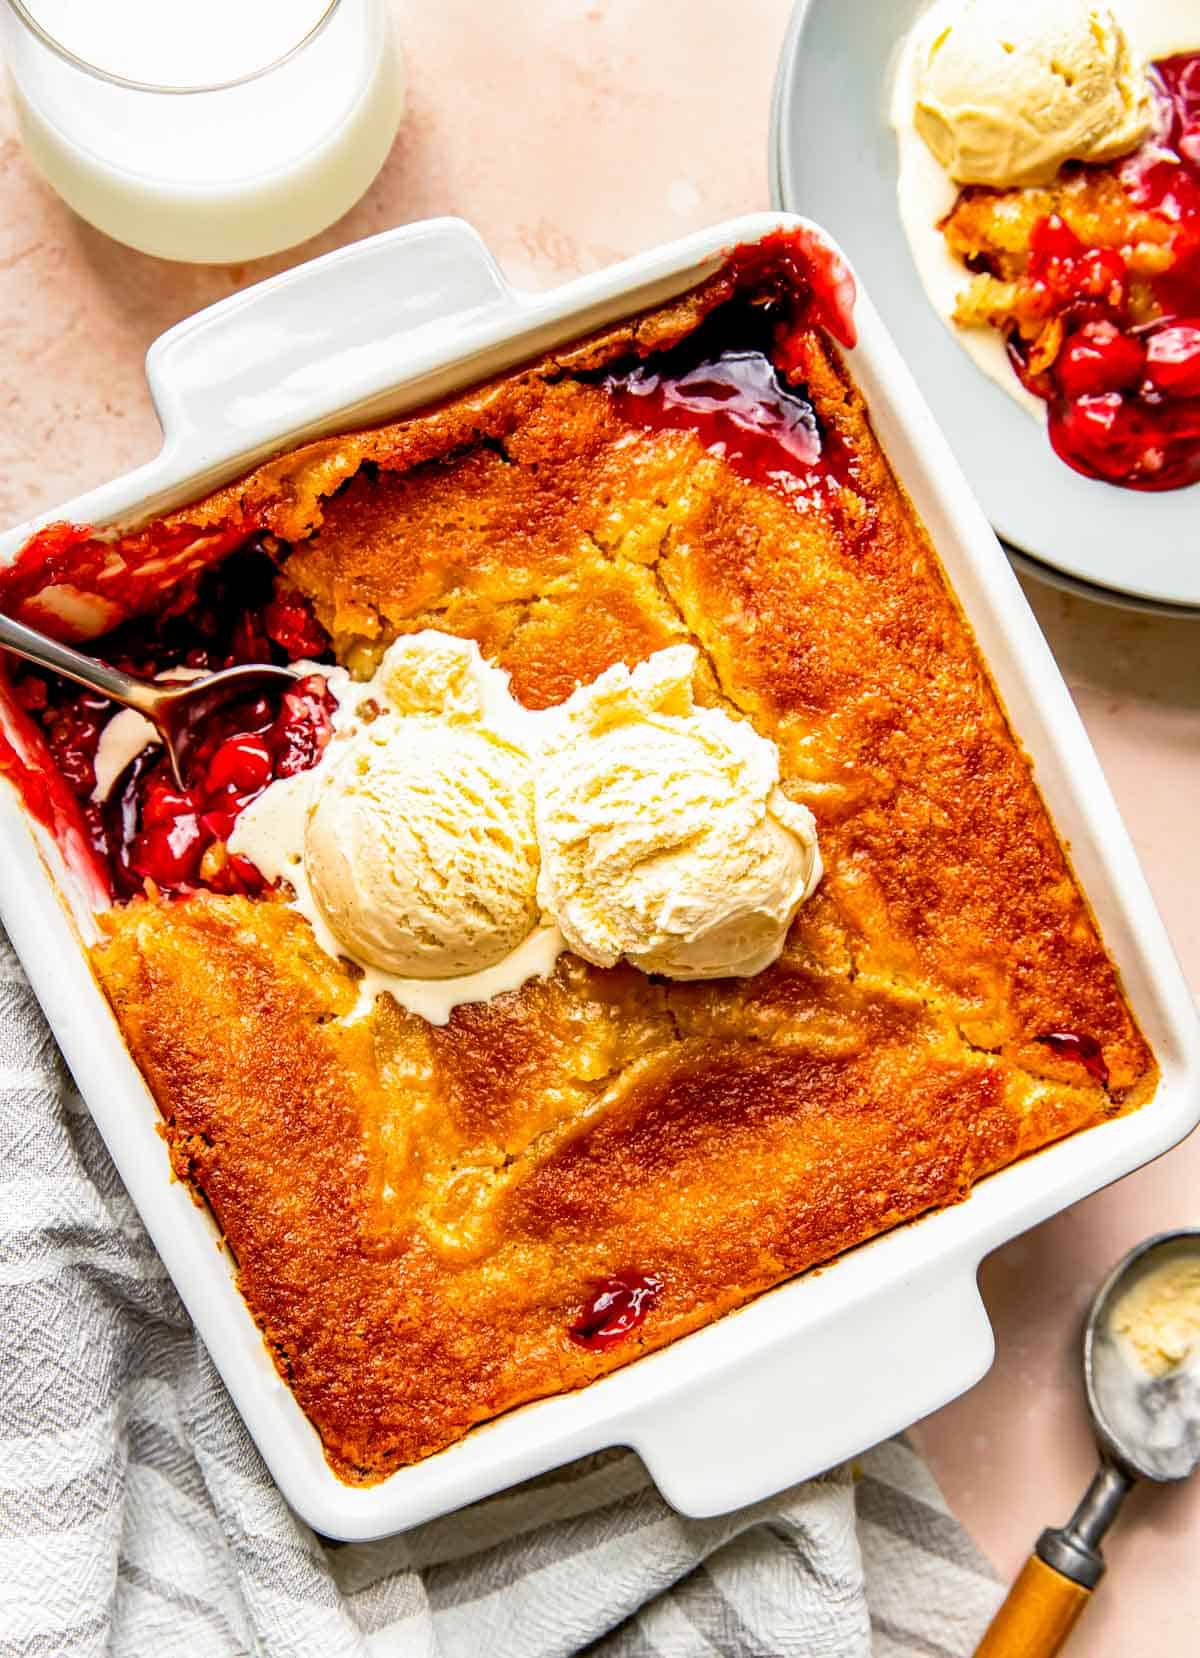
Cherry cobbler is a delicious dessert perfect for any occasion, but it’s definitely one of those recipes you automatically associate with summertime. While you could spend precious time pitting cherries and staining your fingers red in the process, this easy cherry cobbler is made with a shortcut: canned cherry pie filling!
What Is a Fruit Cobbler?
A fruit cobbler is a type of dessert that consists of fruit and a dough or batter topping. Fruit cobblers can be made with fresh, frozen, or canned fruit, and they are often served warm with ice cream or whipped cream.
While a lot of people confuse fruit cobblers, fruit crisps, and fruit crumbles, they’re actually all different desserts! Each starts with a fruit base, but crumbles have a streusel crumb topping and crisps have a lighter streusel made with oats.
Variations
Since this recipe uses canned pie filling, it’s easy to switch it up with different varieties. You can easily make a stone fruit cobbler, a sour cherry cobbler, blackberry cobbler, apple cobbler, or blueberry cobbler using this recipe as a template. You can even go the savory route and make a tomato cobbler!
Serving Suggestions
So now that you’ve got your homemade cherry cobbler ready, how should you serve it? Here are a few suggestions:
- Pair it with a scoop of vanilla bean ice cream, or use my Peach and Toasted Almond Ice Cream for a summery twist.
- Add a dollop of whipped cream.
- Garnish it with a sprig of fresh mint.
Storage and Reheating Instructions
Cherry cobbler can be stored in the fridge for up to 3 days. When you’re ready to eat it, simply reheat in the oven at 350ºF in an oven-safe container or microwave until it’s warmed through. (It can be eaten chilled or at room temperature, too, but warm is always best!)
Cherry cobbler can be frozen as well! Place it in a freezer-safe container and freeze it for up to 3 months. When you’re ready to eat, thaw it in the refrigerator overnight and reheat before serving.

Cherry Cobbler
Equipment
Ingredients
- 42 ounces (1191 g) cherry pie filling, (two 21 ounce cans)
- 1 cup (125 g) all-purpose flour
- ¾ cup (150 g) white sugar
- ¼ cup (55 g) light brown sugar, packed
- 2 teaspoons baking powder
- ¼ teaspoon salt
- 8 tablespoons (112 g) unsalted butter, room temperature
- ½ cup (118 ml) milk
- ½ cup (118 ml) boiling water
Instructions
- Preheat the oven to 375 °F (191 °C)
- Pour the cherry pie filling into an 8×8 baking pan and set aside for later.42 ounces (1191 g) cherry pie filling

- Whisk the flour, sugar, brown sugar, baking powder and salt together in a large bowl.1 cup (125 g) all-purpose flour, ¾ cup (150 g) white sugar, ¼ cup (55 g) light brown sugar, 2 teaspoons baking powder, ¼ teaspoon salt
- Cut the butter into the dry mix until it forms a crumbly mixture.8 tablespoons (112 g) unsalted butter
- Pour in the milk and stir until combined.½ cup (118 ml) milk
- Pour the mixture on top of the cherry filling and spread it out.
- Pour the water on top then bake for 40-50 minutes or until the top turns a light golden color.½ cup (118 ml) boiling water
- Allow cobbler to cool for 10-15 minutes before serving with vanilla ice cream, if desired.


Nutrition
Photographs by Meg McKeehan Photography


I just made the cherry cobbler, and it was so easy! The sweet and tart cherry pie filling with the buttery topping is perfect. Just added a scoop of vanilla ice cream, and I was all set.
Wow, this was so good! My family wants it again soon
Just tried this and it was delightful. Thanks for sharing!
This cherry cobbler was just the right size for our weekly game night with friends. Everyone loved the buttery cobbler topping and it was so darn easy to make.