This post may contain affiliate links. Please read our disclosure policy.
Corn on the cob is one of the quintessential summer foods that we all look forward to. The sweet, juicy kernels bursting with flavor and the satisfying crunch make it a favorite at picnics, barbecues, and backyard gatherings.
As someone that’s constantly running on fumes by the time dinnertime comes around, I’m always on the lookout for easy and efficient ways to cook my meals, and the Instant Pot has been a game-changer for me. Of course, after the initial, “am I going to blow this up?” doom thoughts, I now turn to my Instant Pot (and air fryer) for so many meals. Not only does it save time, but it also makes clean-up a breeze.
With summer just around the corner, corn on the cob is a staple at every backyard barbecue and family gathering. So, my question to you is: why not simplify your life and make this classic side dish with the help of your trusty Instant Pot? Yup, it might sound ridiculous but have you ever watched water boil on the stove? Haha, slightly kidding, but really, unless you have an induction stove, boiling water seems to always take forever, and sometimes I don’t want to throw corn on the cob on the grill since I’m reserving space for other goodies!
Why You’ll Love This
Instant Pot Corn on the Cob is a quick and easy method for making sweet and juicy corn on the cob that’s perfect for any occasion. Here are more reasons why I love making it in the Instant Pot:
- Quick and effortless. With the help of an Instant Pot, you can have perfectly cooked corn on the cob in just a fraction of the time it would take to boil it on the stovetop. This method is perfect for those busy weeknights when you don’t have a lot of time to spend in the kitchen.
- Perfectly cooked corn. Cooking corn on the cob in an Instant Pot ensures that each ear is cooked evenly and thoroughly, resulting in sweet and juicy kernels every time. You won’t have to worry about overcooking or undercooking the corn, as the Instant Pot takes care of all the guesswork.
- Easy clean up. Cooking corn on the cob in an Instant Pot requires minimal clean-up. Simply remove the cooked corn from the pot and discard the water and swish around some tap water to rinse it out.
Ingredients You’ll Need
No surprises here – you’ll just need corn on the cob for this recipe!
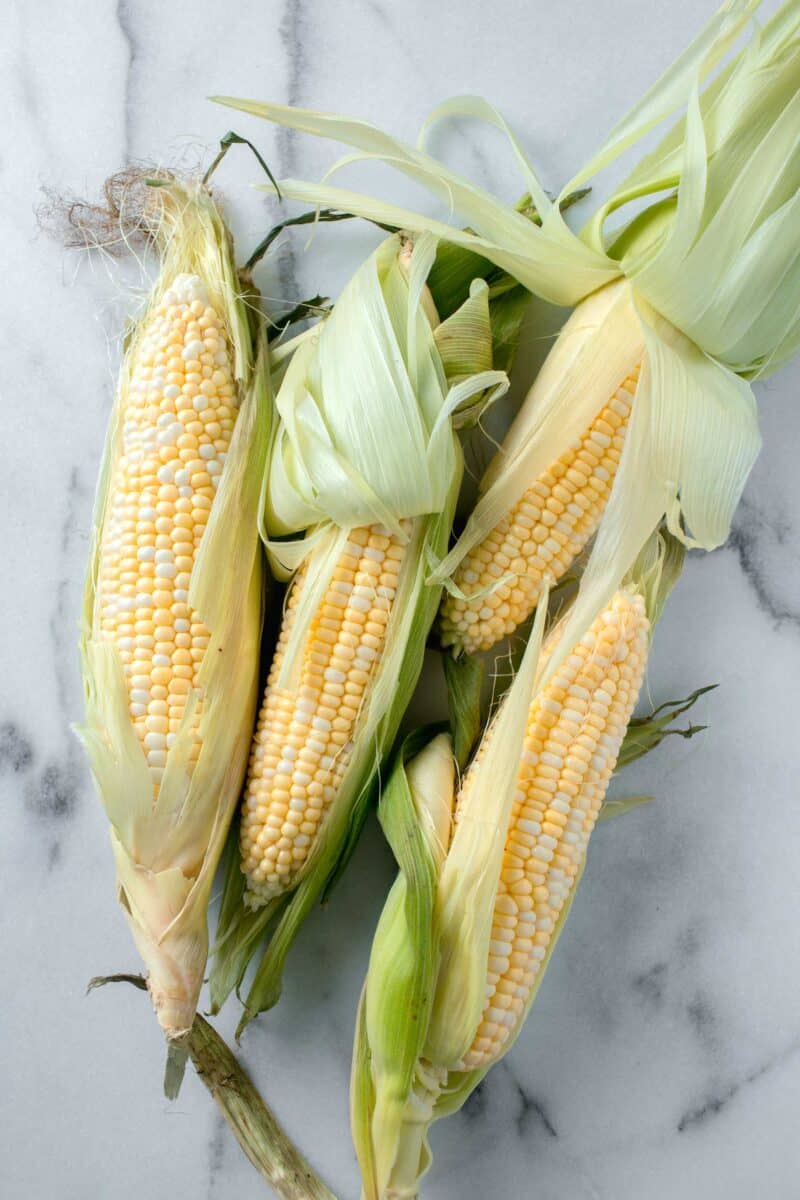
Corn on the cob – you can buy them already shucked or you can buy them still in the husk and shuck it at home yourself.
How To Make Instant Pot Corn on the Cob
It’s super easy to make corn on the cob in a pressure cooker. Here is a step-by-step overview.
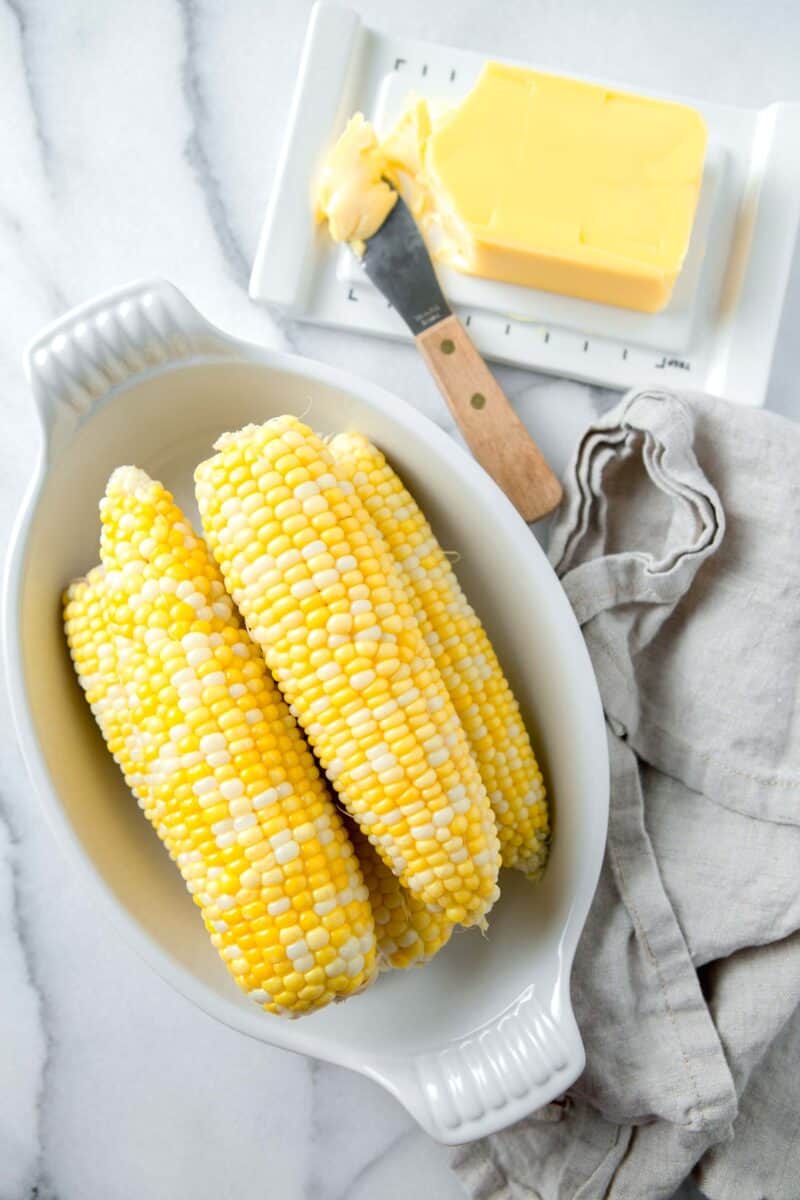
Shuck the corn. If you bought corn on the cob still in the husk, shuck the corn and try to remove all the silk and husk from the corn.

Add water and corn to the insert. Place the metal trivet into the bottom of the Instant Pot liner then pour in 1 cup of water. Stack the corn in an alternating fashion.
Set the Instant Pot and cook. Cook the corn using the manual function on the Instant Pot. Make sure the vent is flipped over to sealed. Press Manual, adjust the time to 2 minutes, and High Pressure. It will take about 10 minutes for it to come to pressure.
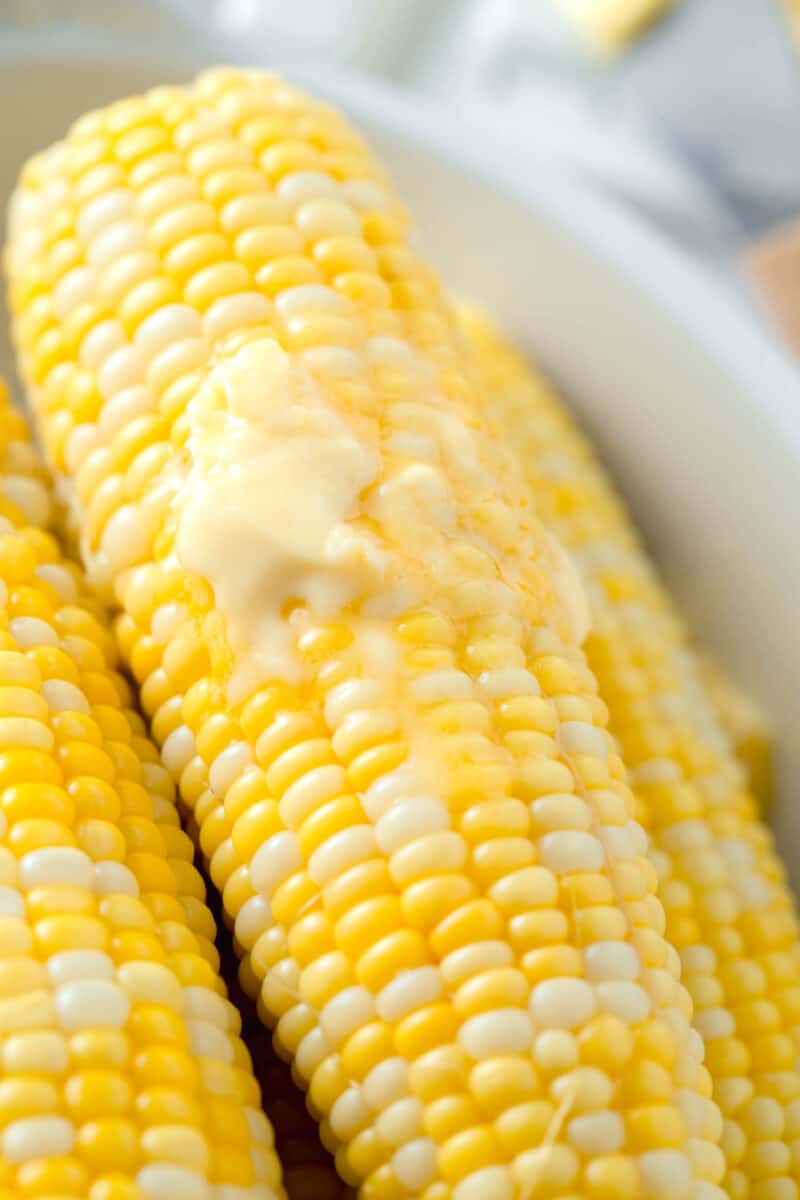
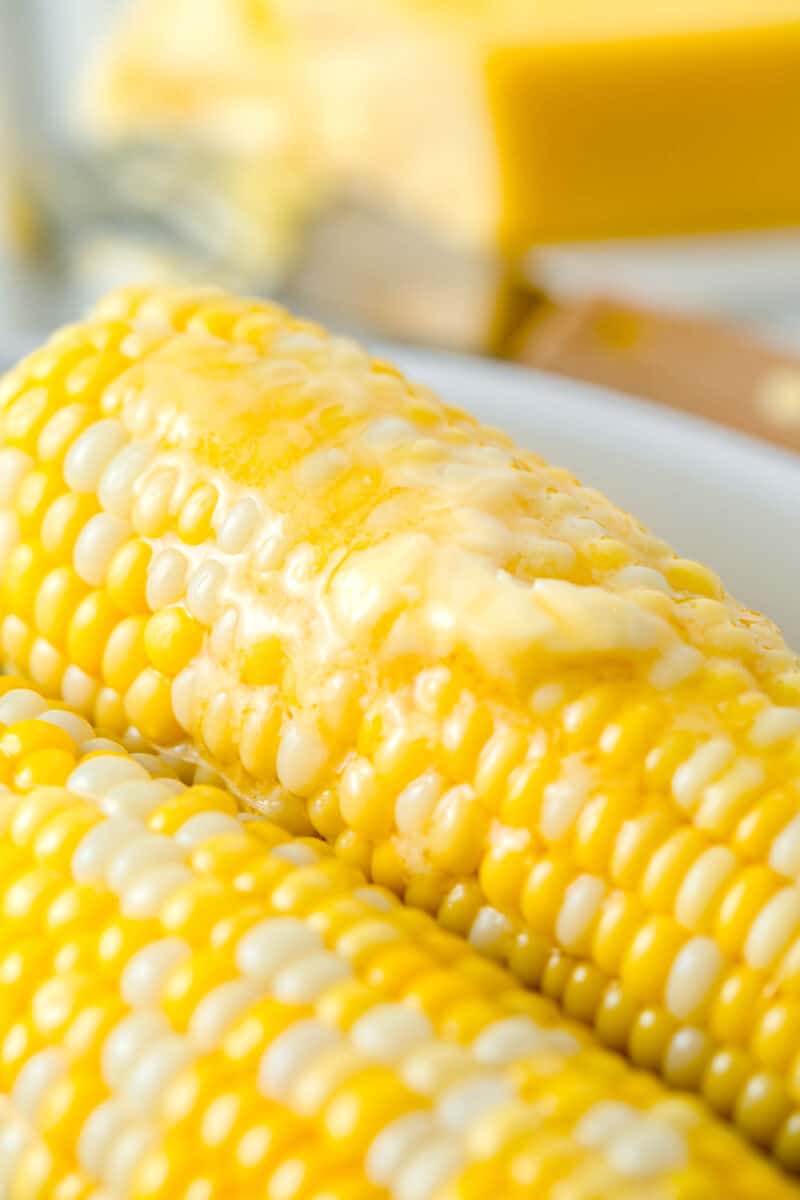
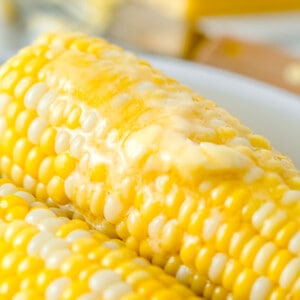
Release, carefully remove, and serve. Once the corn is done cooking, manual release the pressure by flipping the vent to venting then remove the lid once the pressure is released fully. Carefully remove the corn and serve warm!
Recipe Tips, Substitutions, and Variations
Tips:
- Pick the perfect corn. Choose fresh, unhusked ears of corn for the best results.Take a peek at the corn kernels in store by pulling down on the husk a little bit to expose the kernels to make sure they’re plump, well-formed, and not mushy or missing.
- Manual release vs. natural release. Manually release pressure to prevent the corn from becoming overcooked.
- What size pressure cooker? A 6 quart Instant Pot will fit about 6 ears of corn. If you want to cook more than 6, you will need a larger pressure cooker.
- Add water to the insert. Don’t forget to add water to the insert of the Instant Pot before cooking. It needs the water to build pressure and also to prevent the corn from drying out.
- Shucking vs. not. I shucked my corn from their husk prior to putting it in the Instant Pot. I haven’t done it un-shucked but apparently you can. I think it’s easier to shuck prior though because then it can go straight to the table instead of waiting for the corn to cool down enough to hold it and shuck.
Flavor Variations:
This is where the fun and creative part is, and let me preface this with: there’s no wrong way to eat corn on the cob. Whether you prefer your corn on the cob slathered in butter, sprinkled with salt, or coated in herbs and spices, there’s no denying the simple pleasure that comes from biting into a freshly cooked ear of corn. If you’re looking to take it up a notch from just butter, try these flavorful variations:
- Mexican-style: Brush the cooked corn with melted butter and sprinkle with chili powder, cotija cheese, and fresh cilantro. Basically a version of Mexican street corn but on the cob!
- Asian-style: Brush the cooked corn with a mixture of soy sauce, brown sugar, and gochujang sauce for a sweet and spicy Asian-inspired glaze. Sprinkle sesame seeds on top!
- Parmesan and herb: Mix together melted butter, grated parmesan cheese, and chopped fresh herbs, such as thyme, basil, oregano, or parsley.
- Lemon pepper and garlic: Combine melted butter, minced garlic, and lemon juice for a tangy and savory twist. Sprinkle fresh cracked black pepper on top!
- Tropical: Hear me out…brush the cooked corn with coconut cream and sprinkle with toasted coconut flakes, lime zest, and sea salt. YES?!
- Olive Oil and Herb: Brush the cooked corn with olive oil and sprinkle with dried herbs, such as oregano, thyme, and basil.
- Spicy Mustard: Mix together dijon mustard, hot sauce, and maple syrup for a sweet and spicy glaze.
Storage and Reheating Instructions
So many ways to store, reheat, and even reuse the corn!
Refrigerate. If you have leftover cooked corn on the cob, you can store it in an airtight container in the refrigerator for up to 3 days. To reheat, wrap the corn in damp paper towels and microwave for 30 seconds to 1 minute per ear of corn.
Freeze. If you have a lot of corn on the cob leftover, you can freeze it for later. Allow the corn to cool completely, then wrap each ear of corn tightly in plastic wrap or aluminum foil and place them in a freezer-safe bag. Frozen corn on the cob will keep for up to 6 months. To reheat, thaw the corn in the refrigerator overnight, then microwave or boil as usual.
Grilled. If you want to enjoy leftover corn on the cob with a different flavor, you can grill it. Preheat your grill to medium-high heat and place the leftover corn on the cob directly on the grill grates. Grill for 2-3 minutes on each side, or until heated through and slightly charred.
Oven-baked. Another way to reheat leftover corn on the cob is to bake it in the oven. Preheat your oven to 350°F and wrap each ear of corn in aluminum foil. Bake for 10-15 minutes or until heated through.
Turn those leftovers into another side dish! If you have leftover corn kernels, consider making any of these amazing corn recipes: Corn Casserole, Zucchini Corn Fritters, Street Corn Hummus, Poblano Mexican Street Corn off the Cob, Mexican Street Corn off the Cob, Jalapeño Corn Dip, and Corn Dip.
What to Serve with Corn on the Cob
POV: you are having a backyard get together and you have corn on the cob as a side dish. What else should you serve with it? I’ve got you covered.
- Basic BBQ Grilled Chicken
- Grilled Mojo Chicken With Pineapple Salsa
- Grilled Pork Tenderloin
- Mexican Street Corn Kale Salad
Instant Pot Corn on the Cob
Equipment
Ingredients
- 6 ears of corn
- 1 cup water
Instructions
- If you bought corn on the cob still in the husk, shuck the corn and try to remove all the silk and husk from the corn.
- Place the metal trivet into the bottom of the Instant Pot liner then pour in 1 cup of water. Stack the corn in an alternating fashion. Cook the corn using the manual function on the Instant Pot. Make sure the vent is flipped over to sealed. Press Manual, adjust the time to 2 minutes, and High Pressure. It will take about 10 minutes for it to come to pressure.6 ears of corn, 1 cup water
- Once the corn is done cooking, manual release the pressure by flipping the vent to venting then remove the lid once the pressure is released fully. Carefully remove the corn and serve warm!